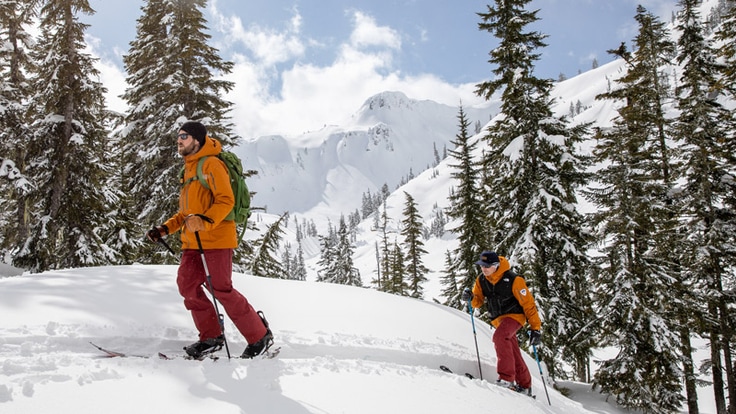
The allure of carving turns through fresh, untracked snow without having to wait in a lift line is what draws many people to backcountry skiing and snowboarding. But before you head out on your first trip, it's essential that you have a solid understanding of what it takes to travel responsibly in the backcountry.
To some people, going backcountry skiing or snowboarding means hiking deep into the wilderness to make turns on distant slopes. To others, it's riding an out-of-bounds slope at a ski resort. Regardless of whether you hike, snowshoe, skin, ride a lift or take a helicopter to get there, any time you're outside of the maintained and controlled boundaries of a resort, you're in the backcountry. Before you go, you must make sure you're properly equipped and trained to do so.
Here's how to get started backcountry skiing and snowboarding:
- Get educated on avalanches and backcountry travel: Start with a free avalanche awareness class (which many REI stores and U.S. avalanche centers offer), and then consider taking more formal avalanche courses.
- Assess your skiing/snowboard skills and fitness level: Consider a course on backcountry touring and, if needed, work on your ski skills and fitness.
- Get the right backcountry gear: Everyone must carry an avalanche transceiver, shovel and probe. If you're a skier, get geared up with backcountry skis, bindings and boots. If you're a snowboarder, consider a splitboard.
- Plan your first backcountry outing: Get a group together, check the avalanche forecast and use guidebooks, websites and maps to plan your first adventure.
Step 1: Get Educated on Avalanches
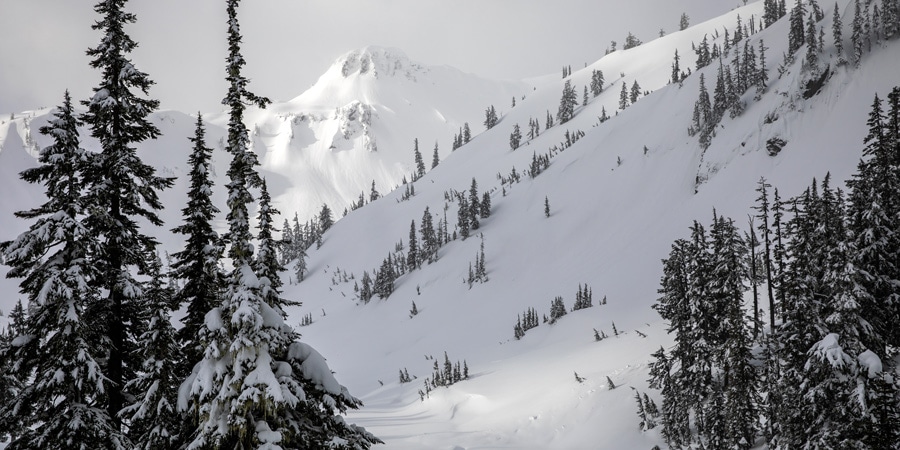
In the backcountry, there's no lodge and no ski patrol. Whether you're setting off into the wilderness or riding a lift and skiing out of bounds at a ski area (sometimes called "slackcountry" or "sidecountry" terrain), you're in an uncontrolled environment. Before you head into the backcountry, it's essential that you seek out education and training.
Avalanches pose very real danger to all winter backcountry travelers. If you want to ski or snowboard in the backcountry, it's crucial that you enroll in avalanche safety training taught by a qualified professional.
To get started, take an avalanche awareness course. Offered for free in many locations, including some REI stores (look for an REI avalanche awareness class in your area), this course introduces and explains where and why avalanches occur and provides a basic approach to managing risk in the backcountry. You'll learn to how to access local avalanche bulletins and weather reports and recognize basic signs of avalanche danger.
Next, take a formal avalanche training course offered by numerous course providers across the country. (Find Level 1 or 2 course or avalanche rescue course providers endorsed by the National Avalanche Association.) The avalanche rescue course teaches the basics of companion rescue, including how to use a transceiver, shovel and probe to search for a buried victim. The Level 1 course focuses on decision-making in avalanche terrain. You'll learn how to develop a backcountry plan, how to identify avalanche terrain and how to make good decisions.
To learn more about avalanche safety, check out our series of articles, starting with Intro to Avalanche Safety.
Step 2: Assess Your Fitness and Skills
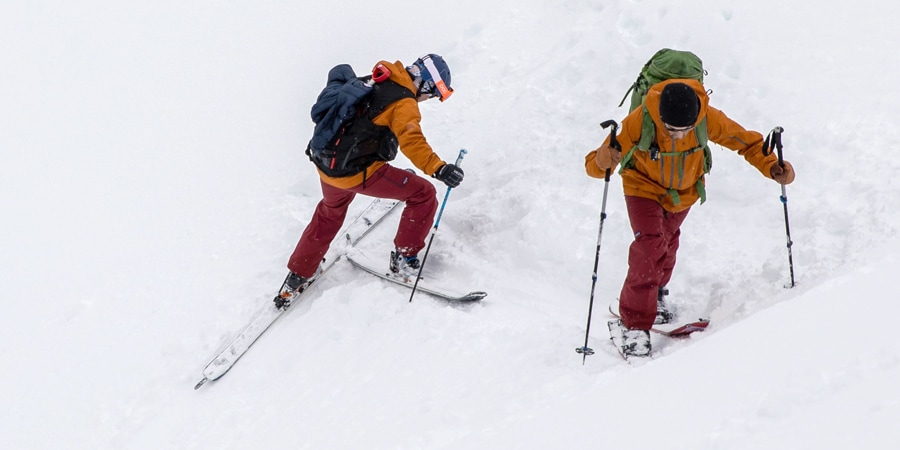
You don't need to be an elite athlete to go backcountry skiing or snowboarding, but climbing uphill in fresh snow and skiing or riding back down can be challenging, so it's important to assess your fitness level.
If you're reasonably fit, you can most likely enjoy a moderate backcountry tour. As you aspire to take on bigger objectives and spend longer days out touring, you may want to devote some time to training. Read How to Train for Backcountry Skiing and Snowboarding to learn how.
Assess your ski /snowboard skill level: It's also a good idea to take a minute to consider how well you can ski or snowboard at the resort before you head into the backcountry. It's generally recommended that you can confidently navigate down the blue square (intermediate) runs at a resort before trying backcountry skiing or snowboarding. If you need to work on your skills, consider lessons at your local ski resort.
Compared with the resort, where the trails are purposefully built and the snow often groomed, the backcountry is an undisturbed and wild place. Snow conditions can run the gamut from perfect powder to wet and heavy (sometimes all in the same day), and the slopes are never marked, leaving it up to you to find the best way through trees, down chutes, around or over cliffs, and across flat sections. On top of that, you also need to get comfortable with going uphill, which involves using touring bindings, putting on climbing skins and being able to perform uphill kick turns.
Consider a class: A great way to learn these things is to take a course specific to backcountry touring—in it, you'll learn how to backcountry ski and snowboard from trained and experienced professionals rather than stumbling through it on your own. To sign up, look for an REI class in your area or courses offered by local guiding companies or outdoor clubs.
Also, check out REI articles and videos that cover many of the skills needed for backcountry skiing and riding and practice them at your local ski hill.
Backcountry skiing articles:
- Uphill Travel Techniques
- How to Choose, Trim and Attach Ski Climbing Skins
- How to Ski Powder
- Off-Piste Ski Techniques
- How to Ski Steeps
Backcountry snowboarding articles:
- Uphill Travel Techniques
- How to Choose, Trim and Attach Splitboard Climbing Skins
- How to Ride Powder
- Off-Piste Snowboard Techniques
- Intermediate Snowboarding Techniques and Tips
Step 3: Gear Up for Backcountry Skiing and Snowboarding
To maximize your fun out there, you'll want to get outfitted with backcountry-specific gear. And, you absolutely must get the required avalanche safety equipment. Read on for more details, and use our Backcountry Skiing/Snowboarding Checklist to make sure you don't forget anything important.
Avalanche Safety Equipment
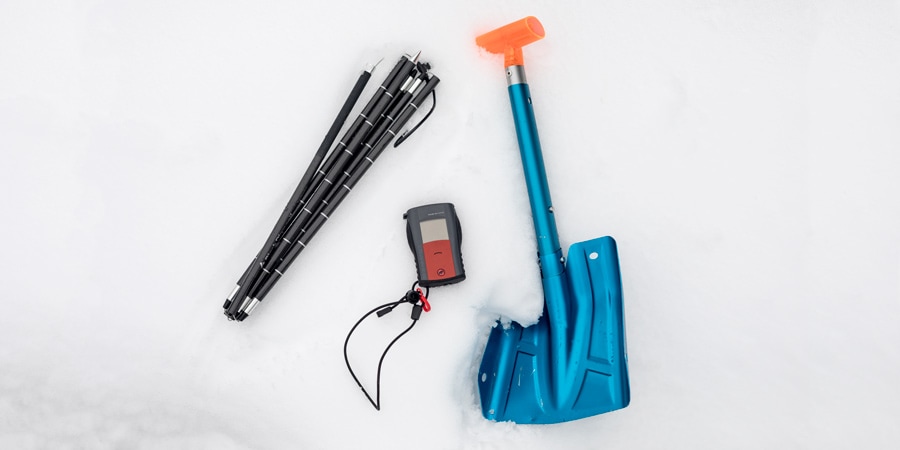
Before you set foot in the backcountry, you and everyone else in your group must carry several safety items (and know how to use them):
- Avalanche transceiver: A transceiver emits a signal that rescuers can pick up with their transceivers. The receiving transceivers interpret the signal into a visual and audible display that assists the search. Learn more about transceivers.
- Avalanche shovel: A snow shovel is essential for testing snow conditions and digging out victims. Don't use any old shovel; get one specifically designed for backcountry travel from a reputable outfitter. Learn more about shovels.
- Avalanche probe: This collapsible pole is used to probe for a buried victim during the pinpoint phase of the search.
Avalanche airbag packs: Though not one of the three mandatory items, these are becoming increasingly popular. These packs have an airbag that is typically deployed by manually pulling a ripcord. The airbag inflates and can possibly help you rise to the top of an avalanche debris field.
Learn more about these and other accessories in our article Avalanche Safety Gear and Checklist.
Backcountry Ski and Snowboard Equipment
There's a wide range of backcountry ski and snowboard equipment available, from ultralight gear for racing and ski mountaineering to big and burly for surfing deep snow and aggressive descents. Before buying, think about where you like to ski or snowboard and what type of terrain you prefer. This will help you determine the right balance of weight and performance that will work for you. For instance, skiers who want to cover lots of ground and climb lots of elevation gravitate toward lighter setups that often sacrifice a bit of performance in deep snow. Skiers who prioritize surfing pow typically prefer wider skis and will accept the added weight.
Starting out, many skiers and boarders put together an all-mountain, do-it-all setup that will perform well the majority of the time. From there, if you become hooked on backcountry skiing or snowboarding, you can add different setups to meet specific needs, such as deep powder skiing or ultralight ski mountaineering.
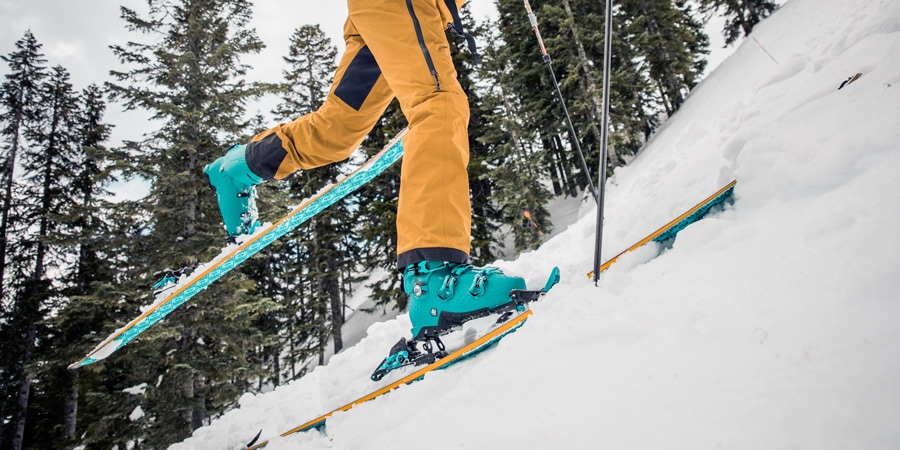
Backcountry skis: Really any pair of downhill skis could be mounted with backcountry bindings and taken out on a tour, but backcountry-specific skis are usually lighter weight than downhill skis, making uphill travel easier.
As with downhill skis, backcountry skis come in different widths and feature various amounts of rocker and camber. When choosing, take into consideration the balance of weight and performance that works for where you like to ski and what conditions you're likely to encounter. For instance, wider skis will float better in powder than skinnier ones, but they're heavier to haul in. Learn more about choosing backcountry skis.
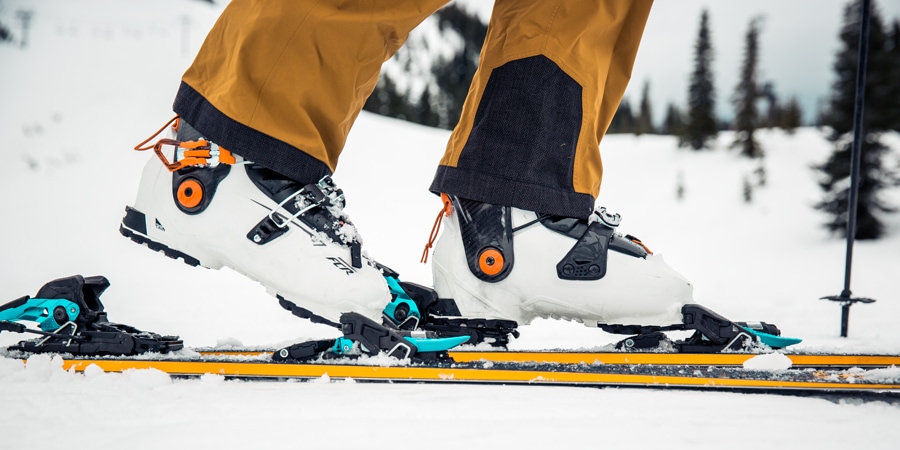
Backcountry ski bindings: The defining feature of backcountry bindings is the ability to move your heels up and down so you can tour up the mountain. The majority of backcountry skiers use alpine touring (AT) bindings, which allow you to lock your heels down at the top of the hill so you can ski back down making parallel turns as you would while downhill skiing. AT bindings range from ultralight tech bindings to heavier frame bindings that look and perform more similarly to downhill bindings. Learn more about AT bindings in our article How to Choose Backcountry Ski Bindings.
Telemark bindings are another option for backcountry skiers. With these, your heels always remain free, even on the descent. If you're used to downhill skiing, you'll have to learn to descend using the telemark turn, which features a lunging motion that puts your forward leg in a distinctive bent-knee position.
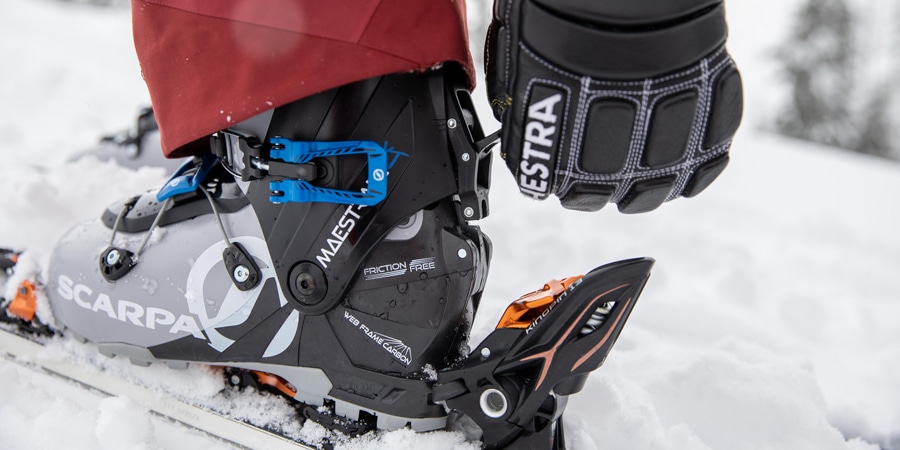
Backcountry ski boots: Boots designed specifically for backcountry skiing are lighter weight than downhill boots and they have a walking mode that allows the upper cuffs to pivot forward and back for comfort while skinning and hiking. The lightest backcountry boots emphasize climbing and may sacrifice some downhill performance.
Make sure you get backcountry boots that are compatible with your backcountry bindings. There are some alpine touring boots that are only compatible with lightweight tech bindings, while some others are only compatible with heavier frame bindings. If you're a telemark skier, you'll need telemark boots. Learn more about choosing backcountry boots.
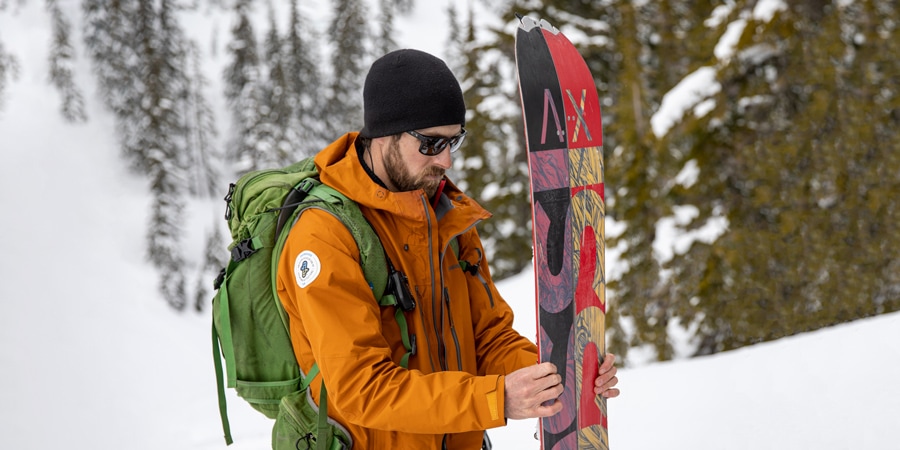
Splitboard: While it's possible to put your snowboard on your backpack and hike uphill with snowshoes on your feet, many backcountry riders eventually switch to a splitboard. A splitboard is a modified snowboard that splits into two, essentially creating two free-heeled skis. With special movable bindings, you can easily tour along with your friends who are on skis. When you reach the top of the hill, you reassemble the board and snowboard back down. Using a splitboard rather than a traditional board reduces the amount of gear you have to carry and makes travel more efficient.
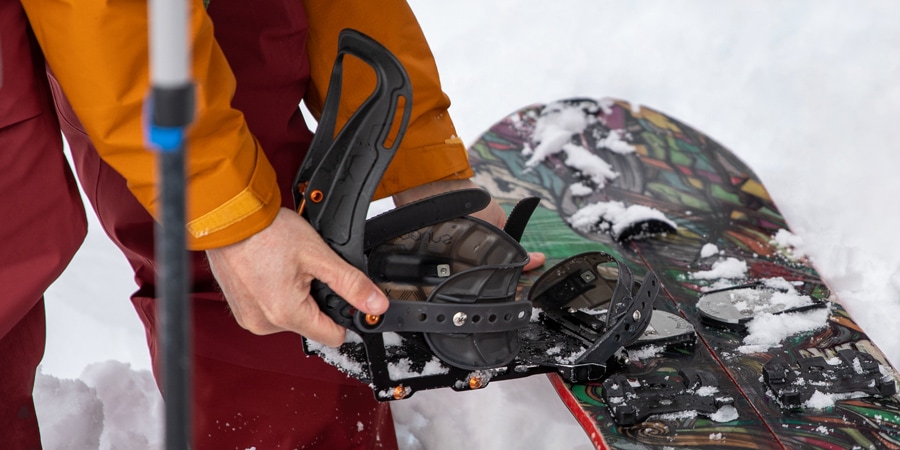
Splitboard bindings: Splitboard bindings are lighter than standard snowboard bindings and designed to be comfortable and efficient during uphill travel. Some bindings come with mounting plates to attach the bindings to your splitboard. If they don't, you'll need to buy them separately. Learn more about splitboard bindings.
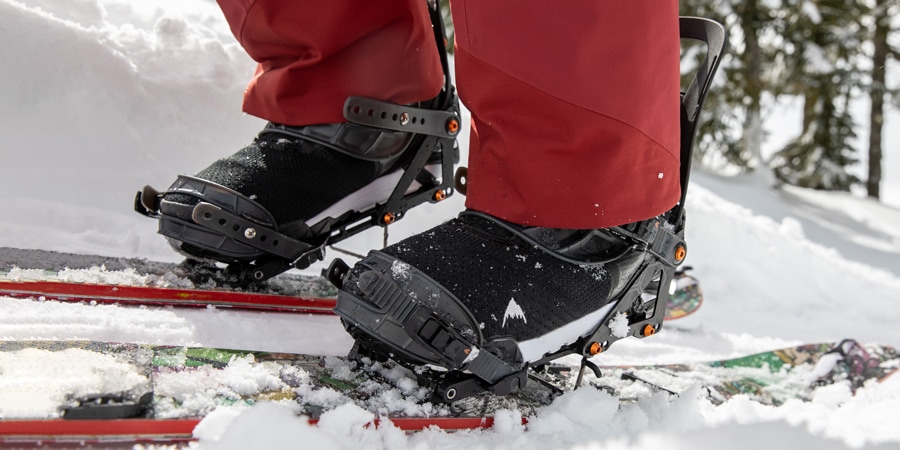
Snowboard boots: Many backcountry snowboarders use the same boots they use for regular snowboarding. If you're buying a pair specifically for use in the backcountry you might choose boots with sturdier soles for walking around and more lateral stiffness for support while touring. Learn more about choosing snowboard boots.
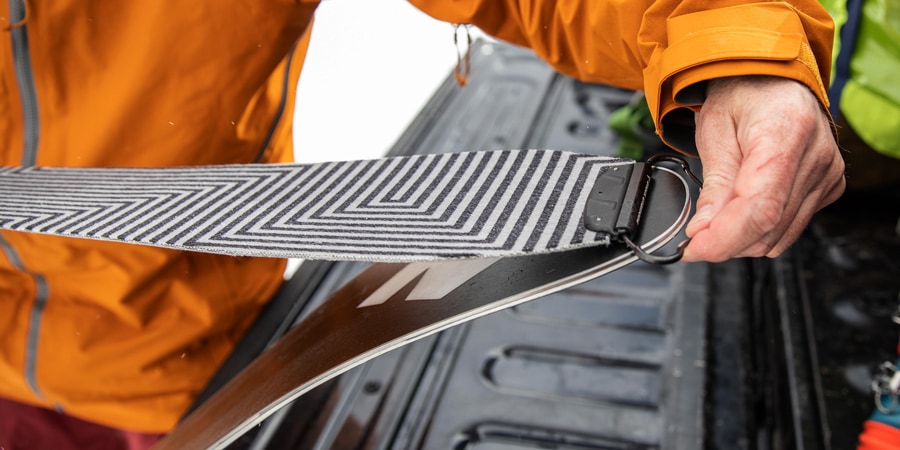
Climbing skins: Climbing skins are like pieces of carpet that temporarily stick to the bottom of your skis or splitboard to provide traction for going uphill. When you get to the top, you take them off your skis or board, put them in your pack and ski or ride back down. They are another essential if you don't want to carry your skis or snowboard on your backpack.
Some skins are made to fit specific ski models, while others are long rectangular strips sold in different widths that will need to be trimmed to fit. Learn more about choosing and using climbing skins.
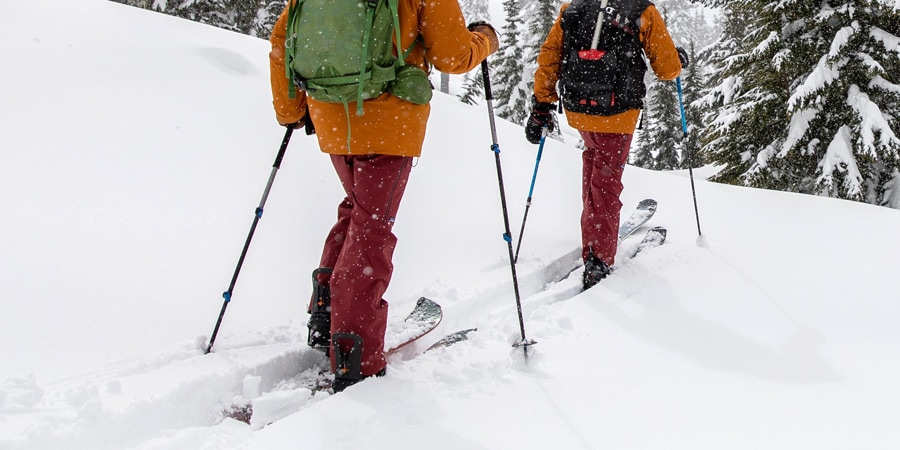
Ski poles: A standard pair of fixed-length ski poles that you use for downhill skiing can work, but many backcountry travelers prefer adjustable poles. This is so you can set your poles longer when skinning uphill and then shorten them for the descent. Backcountry snowboarders typically look for poles that collapse down short enough to be lashed securely to the outside of a backpack for the descent. Learn more about choosing ski poles.
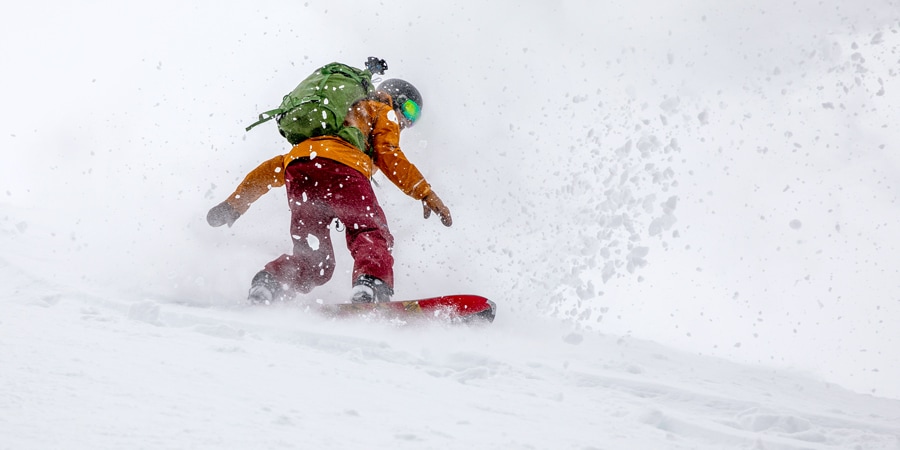
Backpack: You'll need a pack to carry your gear, clothing and food for a day of backcountry skiing. Chances are a pack you have at home will work for your first couple tours, but eventually you may want to invest in a backcountry-specific pack. Packs built for backcountry skiing and snowboarding are made with durable fabrics and are reinforced where ski edges rub. Most backcountry packs have a secure place to keep your snow shovel and probe and straps for attaching skis, a snowboard and/or snowshoes. Avalanche airbag packs are pricey but they feature an airbag that inflates when you pull a ripcord, possibly helping you rise to the top of an avalanche debris field.
Step 4: Plan Your First Backcountry Tour
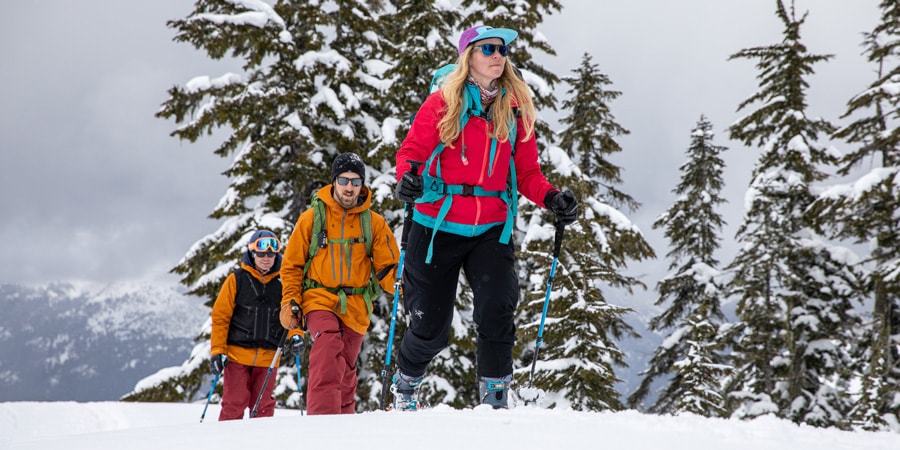
Round up a group to go with: Don't go alone into the backcountry. If you have friends who backcountry tour, see if they're up for a mellow trip (make sure they know you're a beginner). If you don't have a group to go with, try reaching out on an online forum. Keep this in mind: You can learn a lot by going out with a group of experienced skiers and snowboarders, but just because you're new to the backcountry doesn't mean you have to rely on the decisions of those who have more experience. If you recognize signs of increasing avalanche danger or are uncomfortable with a situation while you're out there, speak up.
Check the avalanche forecast: Do this every single time you plan a backcountry tour. An avalanche forecast gives you a sense for what hazards may exist in the snowpack so you can plan your trip accordingly. For instance, if you know there is greater avalanche danger on north-facing slopes above tree line, you might choose to avoid a tour that takes you into that type of terrain. You can check the avalanche forecast by visiting the website of your local avalanche center or by going to avalanche.org. After studying the forecast, make sure to discuss it with your partners.
Choose a destination: As tempting as it may be to go big on your first tour, choosing a simple trip that has easy access, moderate skiing and low avalanche risk is recommended. On your first outing, you'll spend most of your time getting used to new gear and practicing skinning and doing kick turns (being somewhat close to the car will allow you to easily bail if you have gear issues or you get tired).
There are several ways you can find a tour that will be right for you:
- Word of mouth: If you have friends who backcountry ski or snowboard, they can likely suggest some good locations for a beginner.
- Guidebooks are a great resource and will provide all the essential information, such as distance, elevation gain, directions and difficulty.
- Websites: Like guidebooks, websites typically offer all the stats you'll need to plan a trip, plus they often have recent trip reports that can give you a sense of what the snow conditions are like.
Powder Project
For backcountry tour recommendations, check out Powder Project. It includes maps, high-res photos and detailed descriptions.
Maps: You may be able to choose a route based on the details you can glean from a topo map. Touch up on reading a topo map.
Make sure to cross reference information you get from guidebooks and elsewhere with what you learned in the avalanche forecast. And, before you set out, check that everyone is comfortable with the plan.
