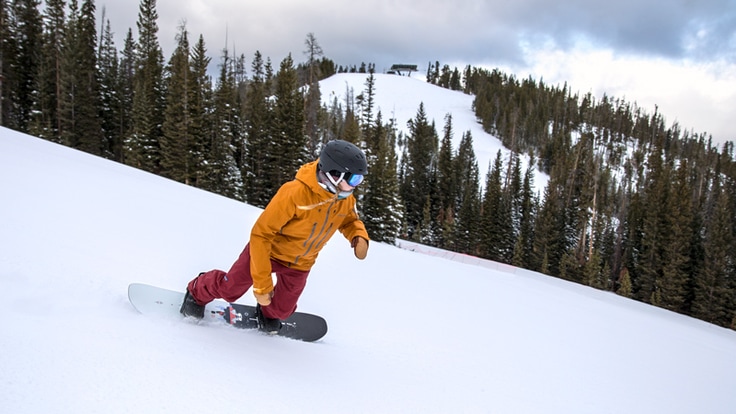
Now that you've learned to make turns and link them, it's a mileage game as you ride more and build on those fundamental snowboarding skills. One of the best ways to get better is to ride new and varied terrain. For example, ride a trail with a fall line that may pull toward the woods rather than straight downhill to help break you out of perfectly timed symmetrical turns and add to your versatility and confidence.
In this article, we'll give you tips on how to improve your riding, including:
- How to steer your board
- How to control your speed with turns
- How to make turns on steeper terrain
- How to ride bumpier terrain
Before you start, learn the basics of snowboarding in our introductory article How to Snowboard. Also, take a lesson to improve your riding and skills.
How to Steer Your Snowboard (with Both Feet)
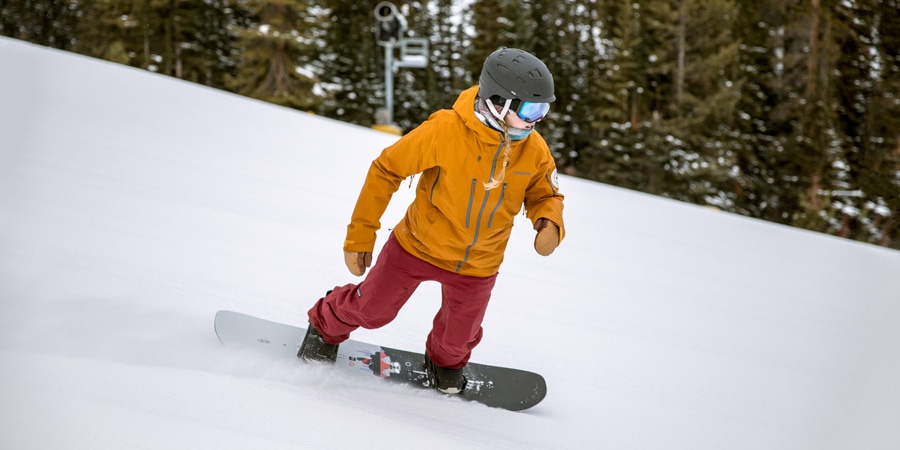
The key to steering your board in the direction you want to go is using both feet and remaining relatively centered on your board. A common mistake many riders make (often without realizing it) is putting too much weight on their back foot when turning. If you do this, you end up kicking your back foot straight down the fall line and skidding out a bit as you turn. These are commonly called "windshield wiper turns."
Focus on steering with both feet to avoid kicking your back foot down the fall line at each turn. Keep these points in mind:
- Traverse across the hill before starting your turns. Carry speed across the hill at the start and finish of your turn to create a nice rounded shape to your turns.
- Initiate your turns with your front foot and allow your back foot to follow the same path your front foot takes.
- Start with more weight on your front foot but even out the weight onto both feet by the end of your turn.
How to Control Your Speed on a Snowboard
Practice controlling your speed by varying the shape of your turns and doing so in different terrain.
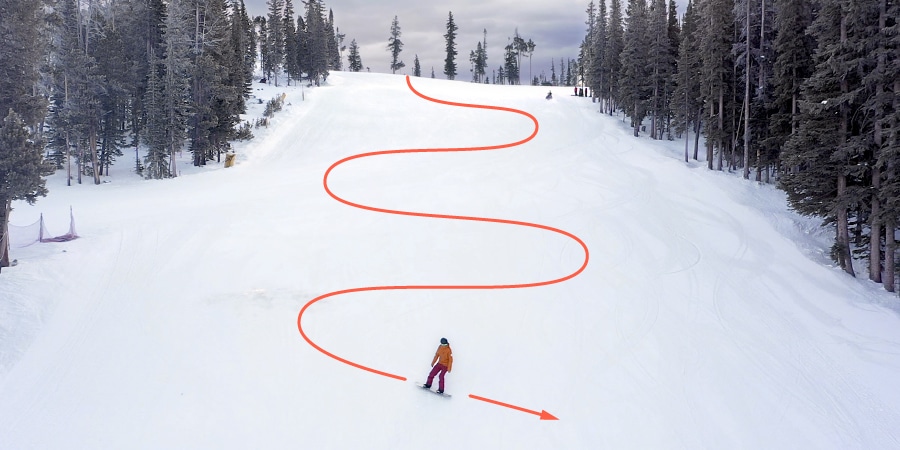
Make wider turns (or "close" your turns) to keep speed down: Make your traverse longer across the slope so you have time to get back into control and slow yourself down. You can slow down by steering your board across the slope or uphill to dump speed. Look uphill for traffic when riding across the trail.
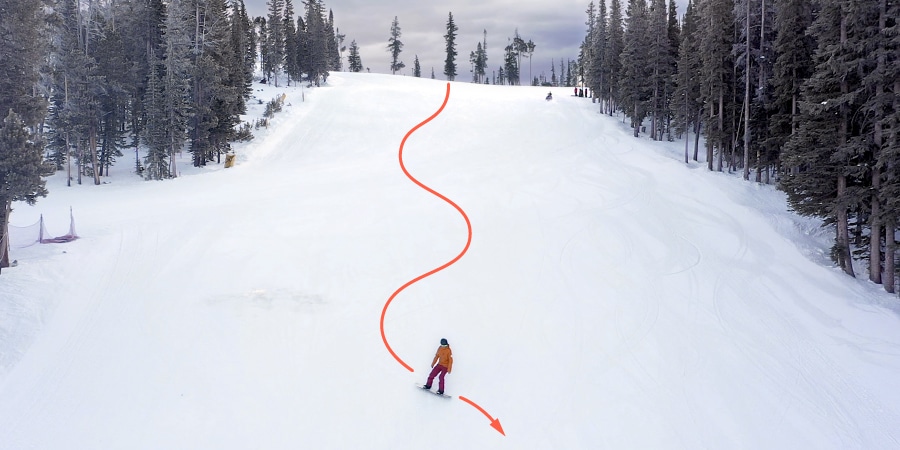
Make tighter turns (or leave turns "open") to carry more speed: Instead of riding all the way across the slope, make more frequent turns while keeping up your momentum.
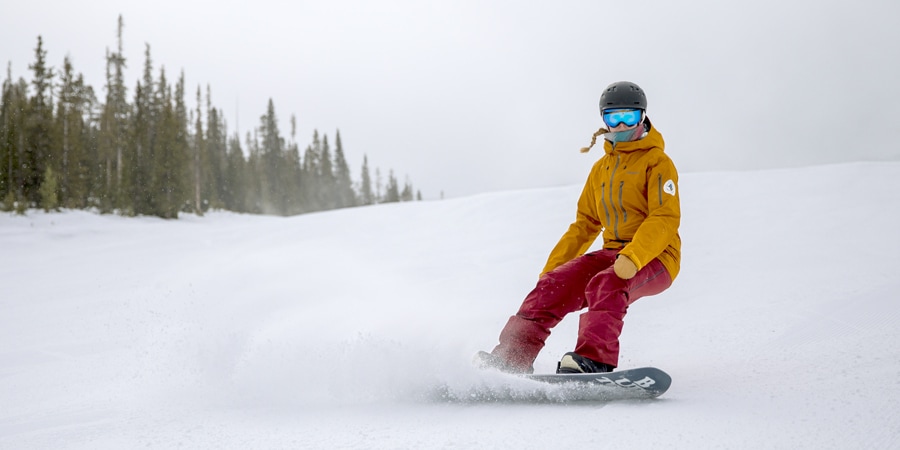
Snowboarding Practice Drill: Slash/Spray Snow
If you've ever watched snowboard movies, you've probably seen riders in deep powder spraying huge waves of snow off their board. There are two reasons they do this: To keep speed down and because it's super fun and feels good. As you get more comfortable riding around green (beginner) terrain and maybe have ventured onto some blue trails, you can start practicing this same move.
Slashing/spraying snow to slow down: Start your turn in a low athletic stance and push both feet out and away from you through the middle of your turn as you spray snow off to the side of the trail. With your back foot, you should be digging in aggressively (though not quite kicking). Keep your edge engaged so it's not chattering. Do this by starting early enough so that you're spraying the snow sideways.
Slashing/spraying snow to stop: Be in a low athletic stance at the start of your stop, and then get taller as you spray the snow downhill. This is how we get our legs active and add power to our riding.
Note: Focus spraying just one side at a time. Practice each side to help you become more versatile.
How to Make Snowboard Turns on Steeper Terrain
The same fundamentals apply on steeper terrain. Try to remember that you're not trying something brand new when you move to intermediate blue runs or steeper terrain. While it's new terrain, they're old skills. Still, if you ever get to a spot on the mountain where it's uncomfortable to make turns, you can always side slip down the slope. (There's nothing wrong with that, especially if that's safest.)
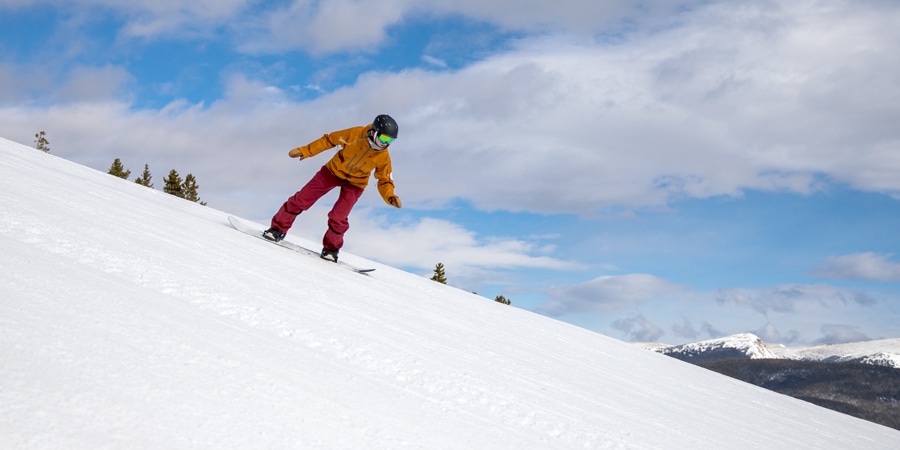
Keep these tips in mind when riding steeper terrain:
- Remember to bend your front leg enough for your body to match the pitch of the slope. Your shoulders and hips should be in line with the angle of the terrain rather than vertical. If you're upright, you're likely leaning too far back and won't be able to weight the front of the board and get the grip of the board to initiate the turn.
- Over-exaggerate the lean the first couple of times you try steeper terrain. If it feels like you're going forward an awkward amount, it's probably the right amount because it will feel unnatural at first.
- It may help to bend down and touch your front knee or boot with your front hand at the start of the turn. This can help you get your weight forward.
- Pay attention to where the fall line is pulling you. At the end of every turn, get your board all the way across the fall line. Look to the sides of the trail rather than straight down the hill.
How to Snowboard on Bumpy or Rough Terrain
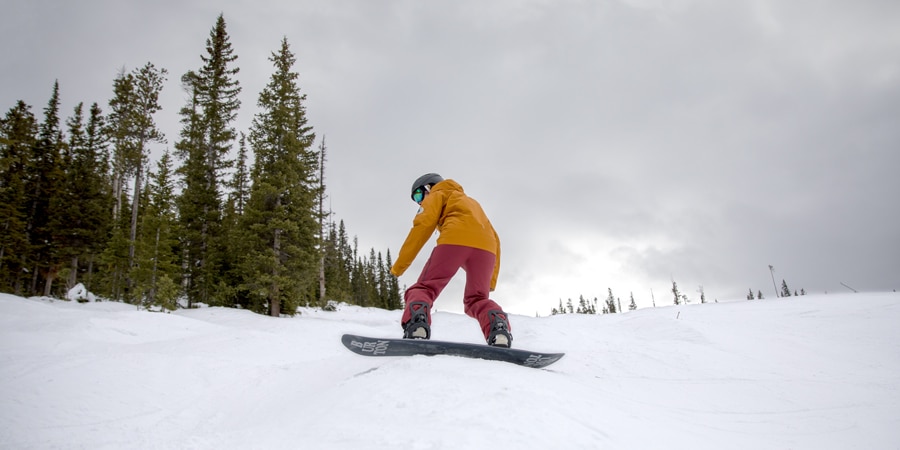
The key to riding small bumps or rougher, uneven terrain is relaxing your legs so that you can absorb the bumps. It's a quick one-two process: Your front leg, then your back leg independently absorbs the bumps so your board stays on the ground (rather than getting air).
- Some resorts have a groomed path on each side of the bumps which is great for learning. If this is the case, slowly traverse across the bumps, absorbing them as you go. When you get to the groomer, turn onto your other edge and traverse back through. This will get your legs used to the bumps without needing to make a turn in them yet.
- Otherwise, traverse across the bumps looking for the widest spot that you can turn. Then turn using the side of the bump as your bank to help you. It's OK to slow down or make frequent stops as you choose your path.
- Absorb the impact of the bumps with flexed, loose legs and extend your legs down into the trough so your board stays on the ground the entire time. Think of your legs like water flowing over the top of the bumps.
- Try to keep your head at one level: If your head is bouncing up and down, your legs probably aren't doing a good enough job sucking up those bumps.
