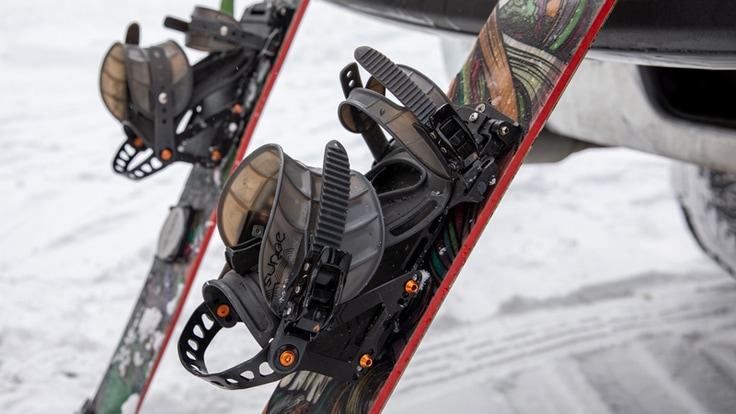
Innovation in splitboard binding technology over the last few years has made bindings lighter, more efficient and easier to use. It's also created many more choices. In this article, we discuss the different types of splitboard bindings and things to think about, like weight, flex and forward lean, so you can find the bindings that work well for you on backcountry tours.
It's worth mentioning that while it is possible to make your conventional snowboard bindings work on a splitboard with adapters, this article focuses on splitboard-specific bindings. Splitboard-specific bindings make the whole experience of splitboarding that much more enjoyable and we strongly recommend them for anyone getting into splitboarding. But if conventional bindings with adapters are what get you out and climbing uphill, then go for it.
Soft-Boot vs. Hard-Boot Splitboard Bindings
Even though the vast majority of splitboarders choose one type of binding, a discussion about splitboard bindings would be incomplete without mentioning all the options. So, with that, there are two main types of splitboard bindings to know about: soft-boot bindings and hard-boot bindings.
Snowboarders have fiercely debated the pros and cons of soft-boot and hard-boot bindings for years, so you'll have no trouble finding a trove of opinions online about which is better. In the meantime, here's a concise look at the differences:
Soft-Boot Bindings
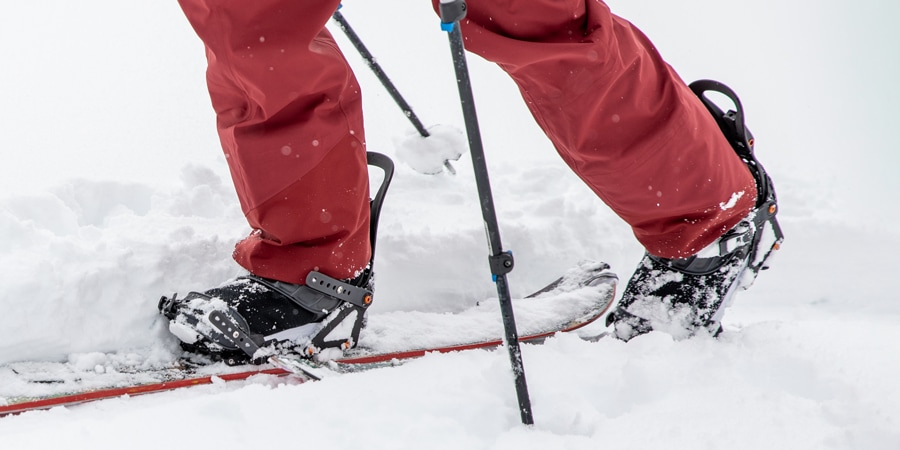
Soft-boot bindings are what most splitboarders use. Staying true to traditional snowboard binding design, they look and perform a lot like regular snowboard bindings—they have similar ratcheting straps and highbacks, and they work with conventional, soft snowboard boots.
For downhill riding, the bindings attach firmly across the splitboard. For uphill travel, you reposition the bindings, one going onto each splitboard ski, and attach them such that they can pivot up and down.
Here's a look at the pros and cons when compared with hard-boot bindings:
Pros:
- Feel: Soft-boot bindings tend to retain more of the surfy feel that snowboarders know and love. For some splitboarders, this is enough to keep them from ever considering a hard-boot setup.
- Cost: You can generally spend less on a soft-boot setup, especially when you consider that you can use snowboard boots you already own.
- Comfort: Soft snowboard boots often require less break-in time.
Cons:
- Durability: Soft boots can wear out faster than hard boots that have a plastic shell, particularly if you use them very frequently.
- Efficiency: Soft-boot bindings typically don't allow as much front-to-back range of motion for efficiency while skinning. Also, soft boots are inherently less rigid than hard boots, which can make them less efficient when traversing slopes on your way uphill.
Hard-Boot Bindings
Hard-boot bindings are a niche setup preferred by a relatively small number of experienced backcountry riders and mountain guides who focus most of their attention on uphill efficiency. Hard-boot bindings stray from tradition by doing away with highbacks and straps in favor of a design that works with plastic alpine touring ski boots that backcountry skiers use rather than snowboard boots.
For going downhill, the bindings have wire toe and heel bales that hold onto the toe and heel welts on plastic ski touring boots. When traveling uphill, you remove the downhill binding components completely (rather than repositioning them like you do with soft-boot bindings) and step into tech-style toe pieces (much like the toe pieces of Dynafit alpine touring bindings) that are mounted on the splitboard skis.
Here are some of the pros and cons of hard-boot bindings compared with soft-boot bindings:
Pros:
- Efficiency: Ski touring boots typically have very good front-to-back cuff range of motion, which allows for a longer, more-efficient stride during uphill travel.
- Agility: The narrow profile of ski touring boots combined with their hard-plastic shells, rotating cuffs and lugged soles make them ideal for booting up trails and kicking steps in snow. Hard boots also accept fully automatic crampons, which go on quickly and securely for technical ascents.
- Durability: The hard-plastic shells of ski touring boots make them more durable than most snowboarding boots.
Cons:
- Cost: The boots and bindings for hard-boot setups will almost always add up to more than those for soft-boot setups.
- Comfort: This isn't to say comfort can't be achieved with hard-boot setups, but plastic ski boots can take more time to break in, and many splitboarders end up making modifications to their boots to get them just right for splitboarding.
Splitboard Binding Interface
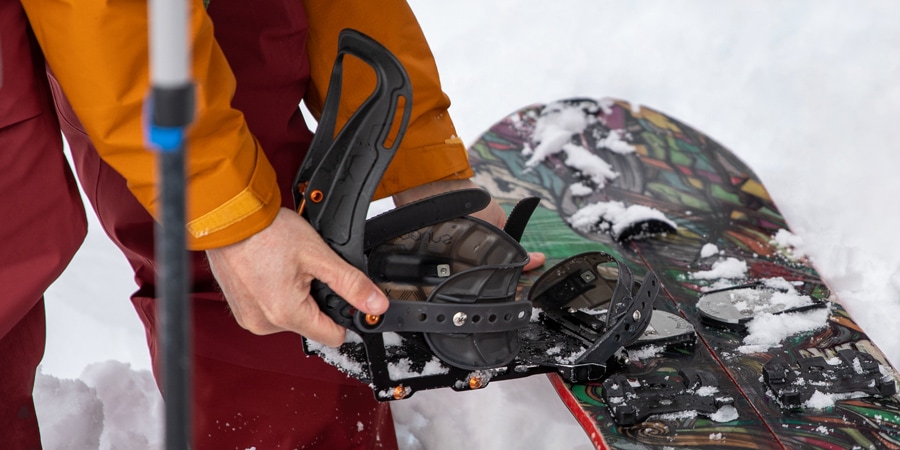
With an understanding of the differences between soft- and hard-boot bindings, you can begin to take a closer look at specific bindings. For some splitboarders, the pros and cons of the binding interface, which is how the bindings attach to the board, are significant enough to push them toward one binding or another.
To understand the differences among binding interfaces, it can be helpful to lump them into two very broad categories: puck-style interfaces and everything else.
- Puck-style: This interface features plastic or metal pucks that mount to the splitboard. For downhill riding, you slide the bindings onto the pucks and secure the bindings in place with a clamp, pin or some other fastener. For the uphill, you remove the bindings from the pucks and attach them to the hinges on the splitboard skis, securing each one in place with a clamp, pin or other fastener. Puck interfaces are simple, light and reliable. Several popular soft-boot bindings use the puck interface as well as most hard-boot bindings.
- Everything else: Non-puck-style interfaces feature various methods for attaching the bindings to the board for downhill riding. Commonly, the bindings clamp or twist onto the interface that is mounted on the splitboard. For example, a popular design by Karakoram features bindings with mechanical locking mechanisms that, when clamped onto the interface, pull the two board halves together for a tight, secure connection that, according to Karakoram, improves ride quality. For the uphill, you unclamp or untwist the bindings and move them to the hinges on the splitboard skis, securing each binding with a clamp, pin or other fastener.
As you look at different bindings and get to know their interfaces, here are some things to keep in mind:
Ease of use: How easy it is to put your bindings on for riding downhill and then switch them over to tour mode is an important consideration. All manufacturers aim to make a system that is simple, but you may find that you prefer the way one works more than another. When you're specifically considering the ease of use, look at how the bindings attach to the board both for uphill and downhill travel; most people find pin-style attachments to be more difficult to work with than clamps or other types of fasteners.
Simplicity of design: Some designs are simpler than others. This doesn't necessarily mean the system is easier to use, but rather less intricate. A simpler design with fewer moving parts can mean there's less opportunity for something to break.
Weight: If the weight of your setup is a top concern, pay attention to how much one interface weighs compared with another.
Price: Higher-end interfaces are typically made from costlier materials and they may have more intricate ways of connecting the bindings to the board, which can drive up the price.
Compatibility: It's helpful to understand that, in most cases, the type of binding interface dictates what brand of bindings you can get and vice versa. That's because not all bindings are compatible with all interfaces. For instance, if you're drawn to the Karakoram interface, you must choose Karakoram bindings. There can be some crossover with bindings that use the puck-style interface, but to ensure the best possible experience, we recommend not mixing and matching brands. In other words, if you choose Spark R&D bindings, use the Spark R&D puck-style interface.
Splitboard Binding Specs and Features
As you look at the bindings themselves, it's helpful to pay attention to several key specs and features to narrow down the selection. Throughout the process, you can think about the type of terrain you plan to explore, how frequently you will get out and how much you want to spend—this can help you decide how much importance to place on one thing or another.
Weight
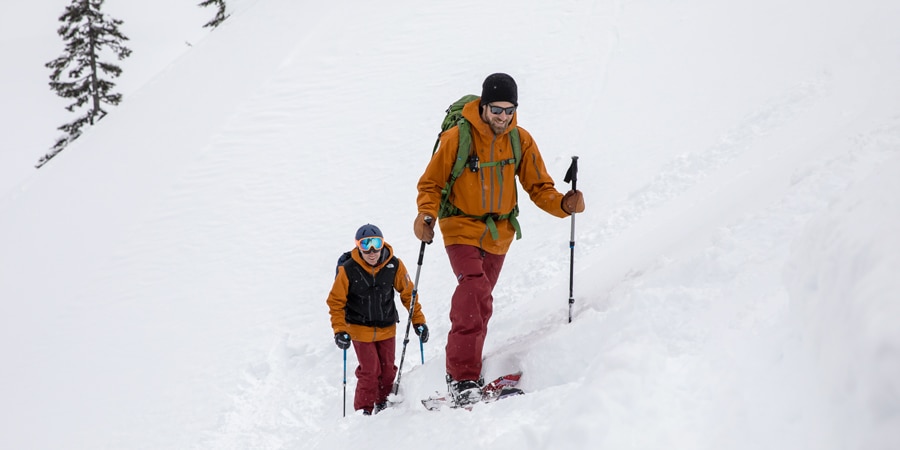
Weight varies among splitboard bindings. Typically, the high-end bindings incorporate lighter, costlier materials. Having a very lightweight setup will make uphill travel easier, which means you can go farther and stay out longer. If you plan to only occasionally use your splitboard or you intend to do quick trips that don't stray far from the car, then perhaps weight doesn't need to be a top priority. When comparing weight, be sure you're getting an apples-to-apples comparison—some bindings include more extras than others.
Flex
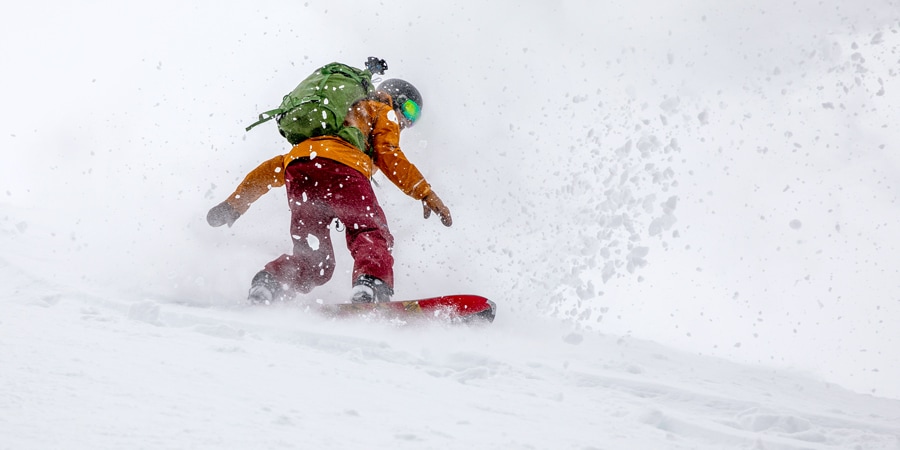
Most splitboard bindings have a relatively stiff flex compared with standard snowboard bindings. This is because a stiff flex generally provides excellent control in steep terrain and deep snow, two things you're likely to encounter in the backcountry. But there are still a range of flexes available within splitboard bindings. If you want more of an all-mountain or freestyle feel in the backcountry, look for bindings that advertise a soft or medium flex. If you're a hard-charging rider and you want a stiffer feel, look for those that call out a stiff flex.
Highback Forward Lean Adjustment
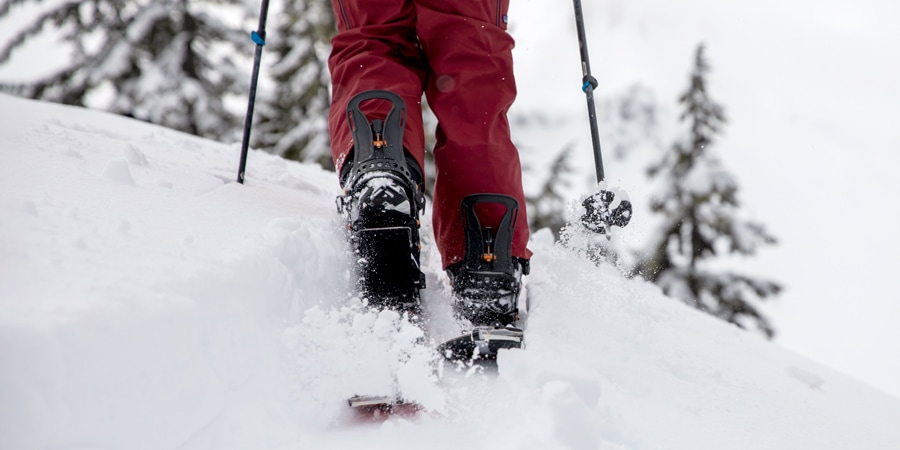
All soft-boot splitboard bindings have a way to switch the bindings from ride mode, where the highbacks are locked into a forward-lean position, to tour mode, where the highbacks are released back to allow more range of motion while you're skinning. (Hard-boot bindings don't have this feature because the bindings don't have highbacks.) Generally, the farther back the highbacks can go in tour mode the better (this is sometimes referred to as the amount of negative lean). Also, some bindings make switching between ride and tour modes easier than others, so pay attention to how you do it.
Another thing to note is that some bindings offer tool-free forward lean adjustment so you can change the amount of forward lean in ride mode without having to break out a wrench.
Binding Straps
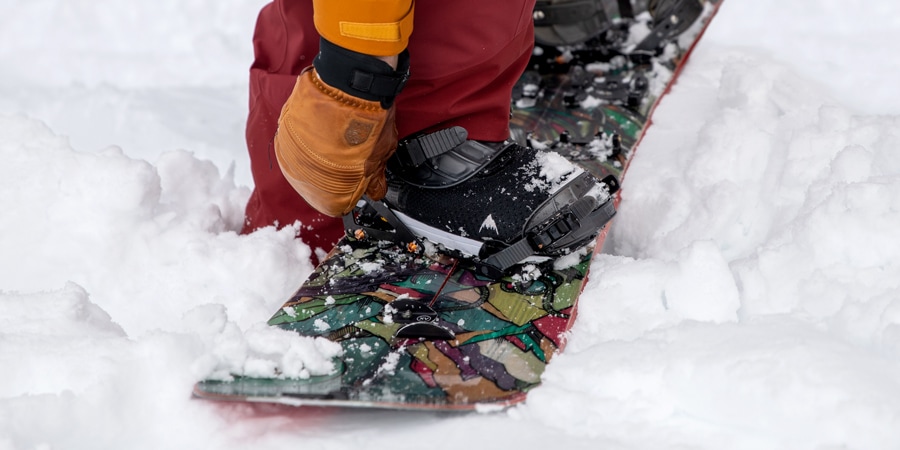
You want the straps on your bindings to be lightweight, comfortable and easy to operate, and to do a good job of holding your feet securely in place. (Note: This only applies to soft-boot bindings—hard-boot bindings don't have straps.) This can be tough to assess until you have a chance to strap in and head out on a tour, but if you're shopping in a store, play around with the ratchets and maybe even put your boots into the bindings to see how they work with the straps. If you're shopping online, read what the manufacturers have to say about their straps and look for reviews by people who have used the bindings.
If you've narrowed your focus to a couple different bindings, check to see if the binding manufacturers sell an accessory strap that attaches near the top of the binding's highback. Some offer this third strap to provide more support when you're touring—it can be particularly helpful for traverses across steep slopes.
Heel Risers
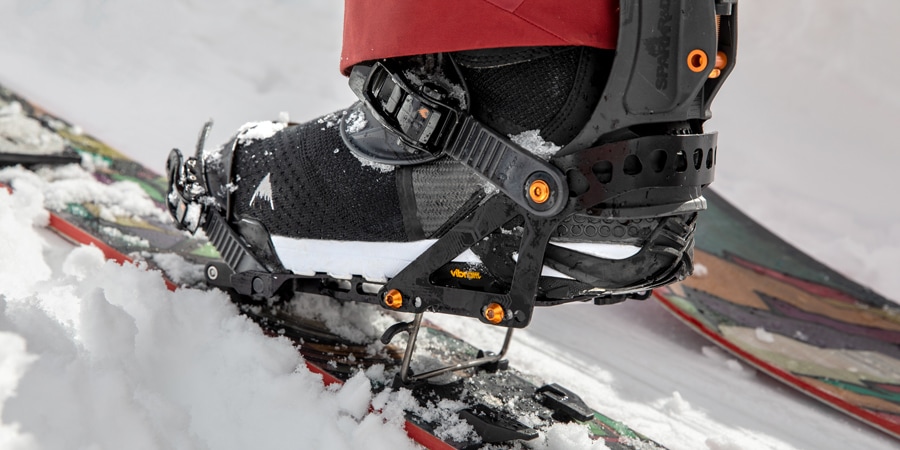
All splitboard bindings have heel risers that are designed to make uphill travel easier by putting less strain on your calves and Achilles tendons when you're skinning up steep hills. When choosing splitboard bindings, look at how many riser heights the bindings provide. Most offer two different heights, which is nice for skinning in variable terrain—you can use the lower riser for low-angle hills and the higher one for high-angle hills. Also, pay attention to how easy it is to deploy the risers. It's nice when you can easily and quickly access the risers with a ski pole so you don't have to bend over and use your hand.
Heel Lockdown
Several splitboard bindings have a heel lockdown feature that enables you to secure the heel of the binding to the board when you're in tour mode. This can be helpful when you need to skate through a flat section, ski down short descents or sidestep up a steep hill. The heel lockdown feature is sometimes included, but others require you to buy the parts separately.
Crampons
When conditions get icy, sometimes the only thing that will get you up the hill is a pair of crampons that attach to your splitboard bindings. Most binding manufacturers make crampons designed specifically for their bindings and have them available as an optional accessory. When deciding which bindings you want to buy, take a look at the crampons and consider how easy they are to attach to the bindings—you don't want them to be a struggle to get on when you're halfway up an icy slope. Also, look at how well the crampons will perform when you have the heel risers up. Some manufacturers specifically address this in their design by making sure the crampon teeth still engage with the snow regardless of how high the risers are.
