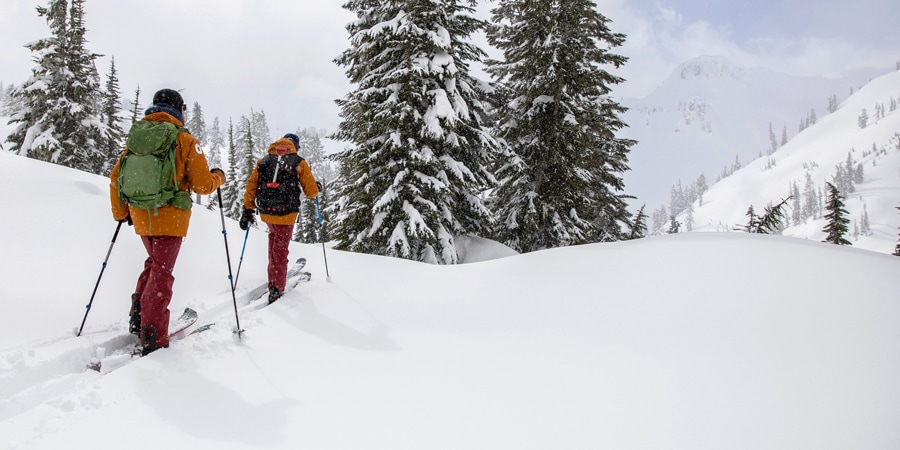
The popularity of traveling uphill on skis or a splitboard, better known as skinning, is booming, and for good reasons: It's a great way to get a workout while enjoying the outdoors and making turns on the way back down.
As interest in skinning grows, more resorts are opening their slopes to uphill travel, taking what was once only a backcountry experience and making it accessible to anyone with telemark skis, alpine touring skis or a splitboard (and a pair of climbing skins to match).
If you're interested in skiing or snowboarding in the backcountry, you can start learning some of the skills at the resort, but keep in mind that backcountry travel is still a very different activity—one that requires you to have training in avalanche safety and to carry a very specific set of gear. To learn more about backcountry skiing and snowboarding, start by reading our article Beginner's Guide to Backcountry Skiing and Snowboarding.
Video: Tips for Skinning Uphill
Technique Tips for Skinning Uphill
Heading uphill with skis or a splitboard on your feet for the first time can be a fun, new way to experience the slopes of your favorite resort. But it can also be frustrating, especially if you're having trouble gripping the snow or you can't seem to catch your breath. The following tips will help you move efficiently uphill.
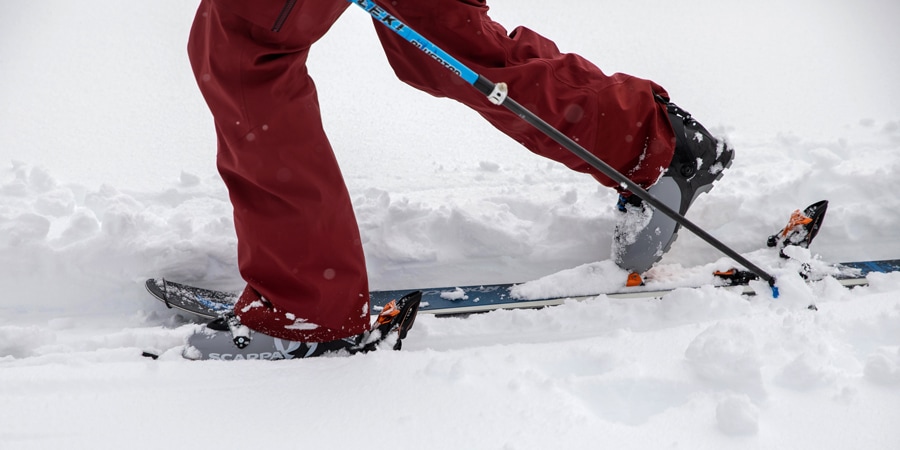
Glide Your Skis, Don't Lift Them: Lifting your skis with each stride, even if only an inch or so off the snow, is wasted energy and a quick way to wear out your legs. A much better technique that will help you travel more efficiently is to glide your skis along the snow. To get it right, avoid marching with your skis as you would while snowshoeing or hiking. Instead, think about pulling your toes across the snow so that you're brushing your skis along the surface of the snow. This technique works especially well on a groomed trail or well-established skin track; if you're headed out into really deep snow, you'll find that you have to lift your skis some as you step up and forward to stay on top of the snow.
Pull Your Skis Uphill, Don't Push Them: For many beginner skinners, the tendency is to push their way up the hill, with their skis trailing behind them. This can work, but it's not the most efficient way and you're more likely to slip when you push your skis against a slick surface like snow. A better method is to pull your way up the hill, letting your skis lead your body. To do this, you'll stride forward with one ski, plant that ski in the snow then use that as an anchor as you pull your other ski forward along the snow from your hip. Pressing your leg into the back of your ski boot or the highback on your splitboard binding on the ski you've planted can help you get the leverage you need to pull your other ski forward.
Press Your Heels to Improve Traction: This is a subtle movement than can make travel more efficient by maximizing the length of your stride and improving traction on the snow. As you pull one ski forward up the hill, think about pressing your heel down onto the ski as it moves in front of your body. Doing so will allow you to glide the ski forward a few extra inches and it will press the skin into the snow for good traction.
Roll Your Ankles to Maximize Skin Contact with the Snow: To limit slipping, you want to move uphill with as much of your skins contacting the snow as possible. This is simple to do when you're going straight up a slope with your bases flat against the snow. But, when you're traversing across a hill, especially a steeper one, the tendency can be to dig your edges in and use those for traction. In some situations, such as when the snow is really firm or icy, using your edges will be essential, but the majority of the time you're going to want to rely on your skins for traction. To do this while crossing a slope, think about rolling your ankles out and down the slope so that the bases of your skis make complete contact with the snow.
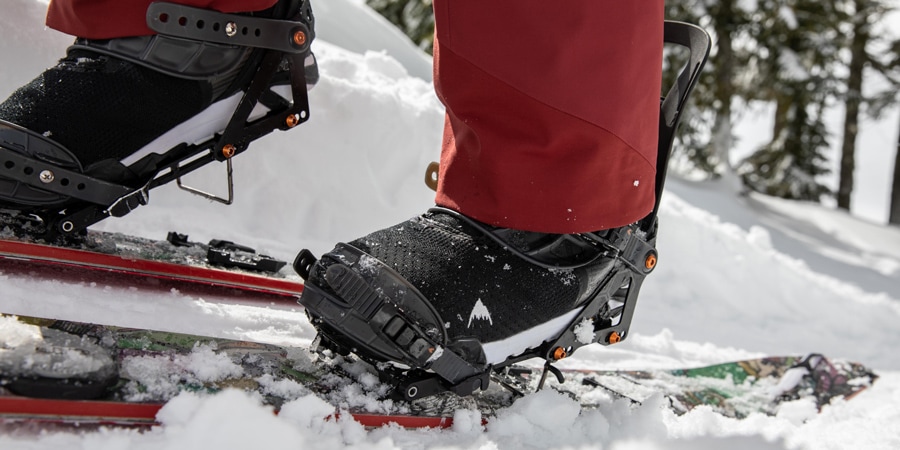
Flip Up Your Heel Risers on Steep Inclines: Most telemark, alpine touring and splitboard bindings have heel risers on them that you can use to elevate the heels of your boots up off your skis. Heel risers are designed to make uphill travel less strenuous—with heel risers up, you don't have to extend your heels all the way down to your skis with every step, which can reduce strain, particularly on your calves and Achilles tendons. But you need to use them wisely because in some situations they can make travel less efficient and more tiring.
Many bindings have a couple different heel riser heights that you can choose from while skinning, plus a position for no lift at all. Deciding which height to use is generally about matching the height of the riser to the steepness of the hill: low risers for low-angle hills and high risers for high-angle hills. But not everyone uses risers exactly the same way. Some people will climb steeply with no risers at all while others are quick to flip them up as soon as they start skinning. You may have to experiment a bit to figure what is comfortable for you—pay attention to the fatigue in your legs and how heavy you are breathing to determine which height is ideal.
If you're just getting started with heel risers, here's more information about different heights and when you'll likely want to use them:
- No lift position: Selecting no lift creates a very stable feel since you're not elevated at all. And it allows you to maximize your stride length for efficient travel. You'll likely want to use this position on slopes with little or no uphill.
- Low riser position: Moving into the low riser setting will slightly reduce your stride length compared with no lift, but being elevated will benefit you while climbing slopes with moderate to steep inclines.
- High riser position: The high riser position should be used very selectively. Being elevated too high off the ski can make your skis feel tippy and unstable. It can also force you into a leaned-forward position that reduces weight on the tails of your skis, which can negatively affect your traction. Save this position for when you're skinning up really steep slopes.
Don't Climb Too Steeply: Skinning straight up a steep slope may seem like the fastest way to the top, but in many cases a more moderate route can get you there nearly as quickly and with considerably less effort. By selecting a path up the mountain that winds gradually rather than climbs steeply, you'll discover that your skins grip the snow with ease and that you can reach the top with more energy in reserve. Exactly how steeply you go depends somewhat on personal factors, like how fit you are and what feels comfortable to you, but if you're just getting into uphill travel, we suggest choosing the lowest angle option available so you can work on your technique without stressing about slipping or getting too tired. Some people find the ideal steepness to be that which they can climb by making rounded turns rather than sharp corners that require kick turns. (However, it's still good to know how to do an uphill kick turn, in case you must go up a steeper slope—you can learn more about kick turns below.)
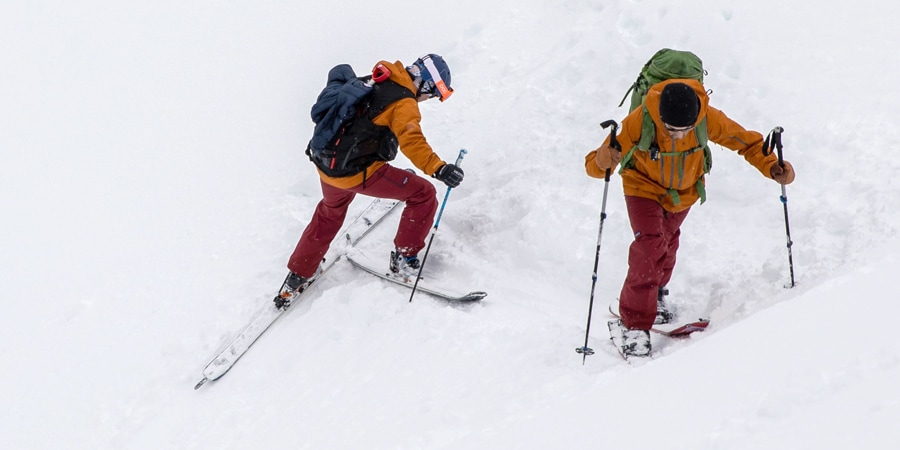
Practice Making Uphill Kick Turns: While you'll rarely need to perform an uphill kick turn on a mellow skin track at a resort, it's a very useful skill to have in your repertoire for those times when you do come upon steeper slopes. If you're a skier, you may be familiar with downhill kick turns that you use to change directions while stopped (if not, you can learn how to do them in our article How to Kick Turn on Skis.) The technique for making uphill kick turns is similar but with a few tweaks, and is used primarily to make switchbacks up steeper slopes. Here's how to make an uphill kick turn:
- Start with your skis angled diagonally across the slope. Make sure you're in a stable and comfortable stance.
- Plant your poles so they are far apart and out to the sides of the tips of your skis.
- Pick up your uphill/inside ski (we'll call it ski 1, and the other ski, ski 2) and rotate the ski so that it swings across the slope. Twist your leg so that ski 1 ski faces across the slope—ideally, it's as close to perpendicular to the fall line as you can get it. Plant the ski in the snow with a few stamps to make sure it is stable.
- Move your poles so they are uphill of you and plant them in the snow, leaving enough room for your second ski to pass between your body and the poles.
- Transfer your weight to ski 1 (the one you already moved).
- Lift up ski 2 (the original downhill/outside ski) and give a small kick with your heel to flick the tip of the ski up and out of the snow.
- Move the ski over and parallel to ski 1.
- Bring your second pole around so that one is on each side of your body.
- Skin onward in the new direction.
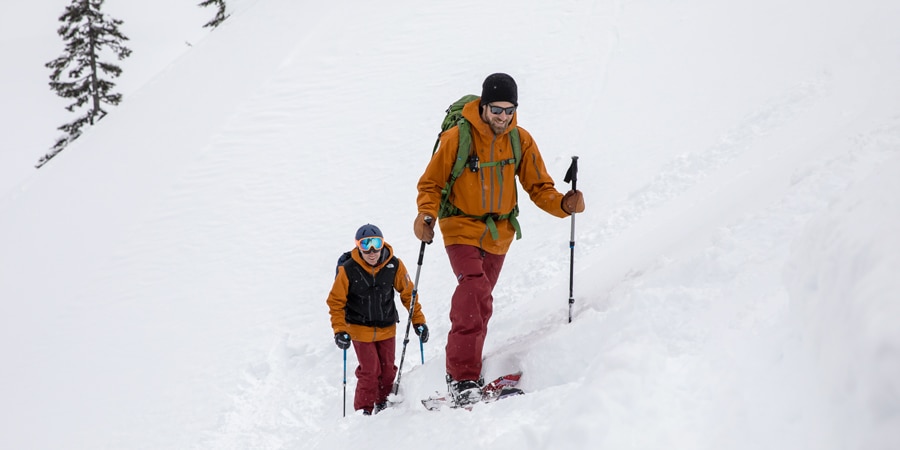
Change Your Pace Depending on Steepness: Many newer skinners make two mistakes: going too fast and trying to maintain the same forward pace regardless of how steep a slope is. This can leave you exhausted at the top of the hill and with too little energy to enjoy the ride back down. A better approach is to allow your pace to adapt to different pitches by going faster on low-angle slopes and slower on high-angle slopes. When you do this right you can actually gain the same amount of vertical feet over time even if your forward pace fluctuates. And remember, it's not a race so pick a pace that works for you.
Additional Tips for Uphill Travel
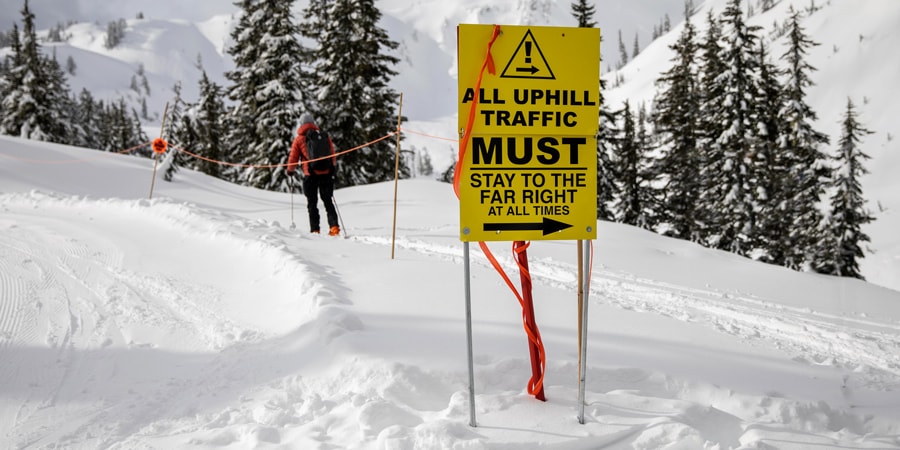
Check the Resort's Policy on Uphill Travel: Before you grab your gear and drive to your local resort, take a minute to check for a policy on uphill travel. More and more resorts are allowing uphill travel, but not all of them do. To find out if it is permitted, check the resort's website for their policy, and if you can't find anything there, give the resort a call. For the resorts that do allow uphill travel, it's still worth looking for guidelines about where you're allowed to go, as many of them have specific uphill routes, and check whether there is a fee.
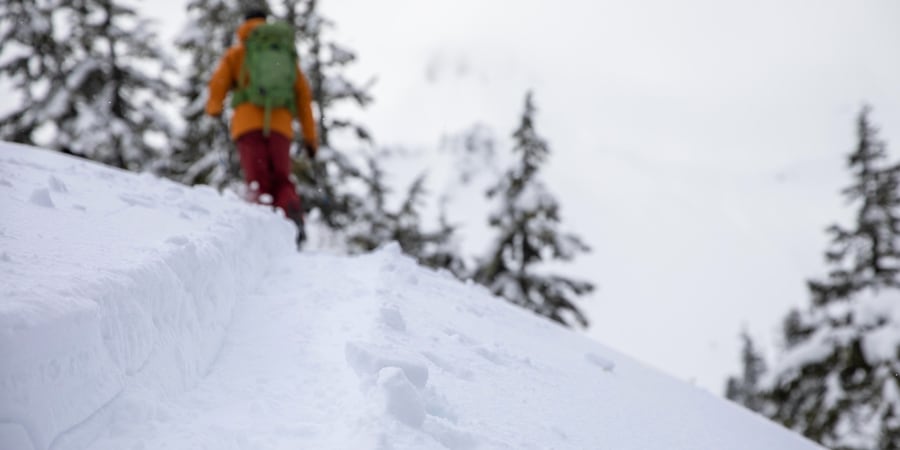
Follow Basic Skinning Etiquette: Knowing just a few rules of etiquette before you head uphill will keep you from committing a serious faux pas.
- Let faster skinners pass: If someone is coming up fast behind you, step out of the skin track so they can keep cruising.
- Never, ever walk in the skin track: If, for whatever reason, you need to hike uphill without skis or a splitboard on your feet, step to the side of the skin track and create your own path. Tromping around in your boots or with snowshoes on will quickly damage the skin track and your reputation.
- Be aware of downhill traffic: Skinning at a resort means you'll be greatly outnumbered by folks who are riding lifts to the top and cruising down the slopes. These skiers and riders may not be expecting to come upon you skinning uphill, so you need to be smart and use caution. First, stick to the designated uphill route if the resort has one (you can typically find this information on a resort's website). Second, stay to the side of any open slope and avoid crossing into the middle. Third, yield to downhill traffic—they have the right of way.
- Don't go into closed terrain: Resorts close off terrain for a reason—to keep people from going where they shouldn't. Respect the rules and stay within the patrolled boundaries of a resort.
- Be visible: You want skiers and riders who are traveling fast down the hill to see you so they won't run into you. Make yourself visible either with the color of your clothing or by wearing a light if you're traveling before sunrise or after sunset.
- Leave your dog at home: Most resorts don't allow dogs on the slopes, so you'll likely have to leave your four-legged friend at home. A handful of places are dog friendly, though, so it is worth checking first.
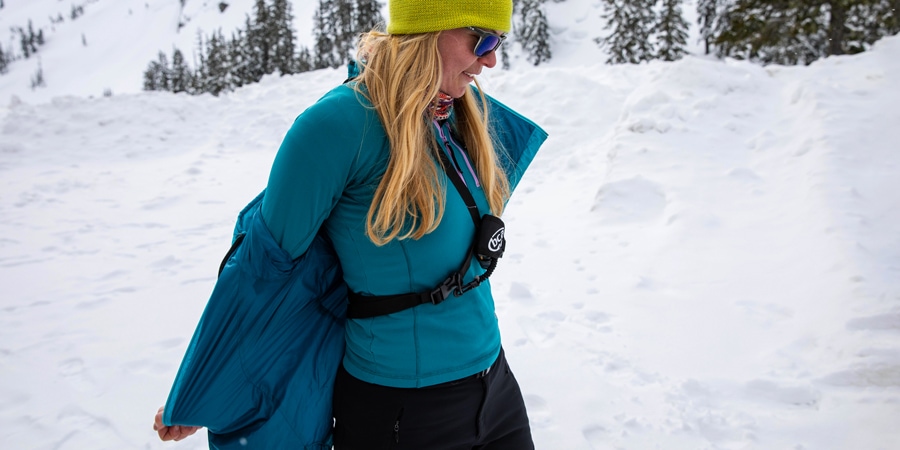
Don't Overdress for Uphill Travel: Wearing too many layers while skinning uphill is a quick way to end up sopping wet with sweat, which, when you stop skinning, can leave you cold and shivering. The key to staying comfortable out there is to find the right balance between not too hot and not too cold while you're moving, and then add warm layers when you stop. Exactly what you need to wear depends on things like the temperature outside and whether you tend to run hot or cold, but many skiers and snowboarders find that wearing these basic items does the trick:
- Long underwear
- Light fleece or wool top
- Ski or snowboard socks
- Ski or snowboard jacket
- Ski or snowboard pants
- Midweight gloves or mittens
- Winter hat
As you climb uphill, you can adjust vents or add or remove layers to stay comfortable and mitigate sweat—for instance, on some days wearing your ski or snowboard jacket will be too much, so you can remove it and put it in your pack. Also, many skiers and snowboarders find that if they start out just a tad on the cold side that they will warm up and be comfortable after a few minutes without having to stop and adjust. With experience, you'll figure out what works well for you. You can learn more about dressing for downhill skiing or snowboarding in our article What to Wear Skiing or Snowboarding.
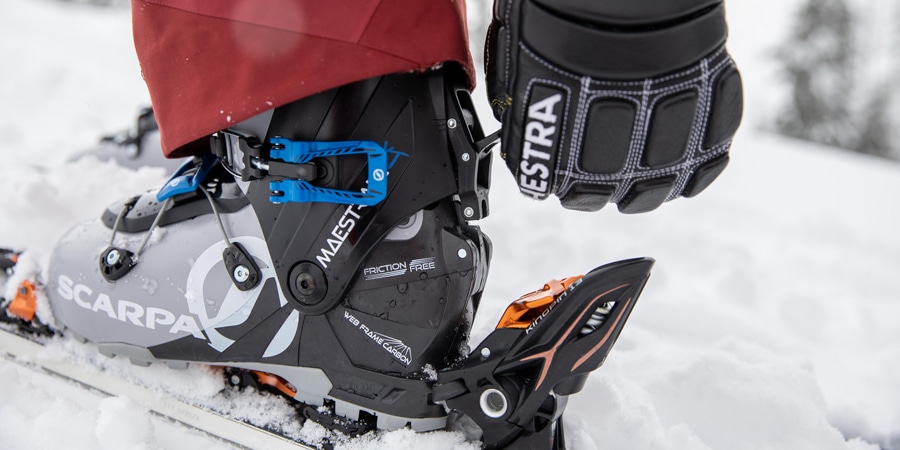
Loosen Your Boots and Put Them in Walk Mode: Most skiers like to buckle their boots nice and tight for descents, but when you're climbing uphill your feet will be much happier if you loosen them up a bit. Doing so gives you room to wiggle your toes and move your feet and lower legs around some as you skin uphill. Snowboarders typically keep their boots snug for downhill riding and don't need to make any adjustments for uphill travel, but you can if you want to. When making adjustments, be careful not to loosen your boots to the point where your feet move so much that they rub and blister—aim for the sweet spot where your feet are secure yet comfortable.
If your boots have a walk mode (all ski boots made for touring do and some snowboard boots have it), make sure to switch into that for your ascent. Walk mode allows the cuffs of the boots to freely move forward and back so you can have a more natural stride.
Snowboarders will also want to adjust the forward lean on the highbacks of their bindings. Before you start skinning, reduce the forward lean to bring the highbacks away from your legs. Doing so allows you to reach out farther with each stride when you're gliding. Remember when you get to the top to put your bindings back into the forward lean position for a fun ride down.
How to Care for Your Climbing Skins
You can have the best technique in the world, but with a pair of skins that aren't installed correctly or are dirty, cold and/or wet, you're bound to have trouble with traction. Here are some tips for keeping your skins performing well:
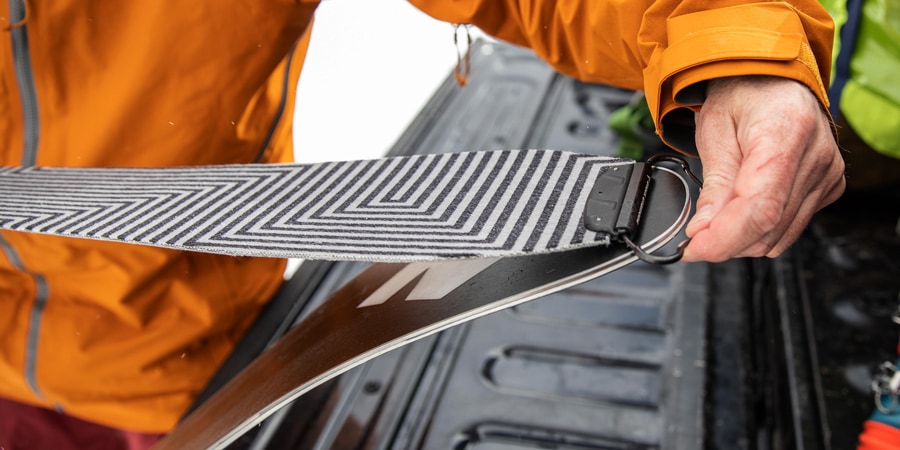
Put them on right: Putting skins on is pretty simple. Generally, you'll start by attaching the tip of the skin to the tip of the ski or splitboard, then pull the skin taught using the tail strap and attach the tail (usually with a clip). The key when doing this is to make sure to center the skin over the base so the skin doesn't cover either of the metal edges. Once you have the skin on and centered, press the skin against the base from tip to tail. To learn more about climbing skins and how to install them, see our articles How to Choose, Trim and Attach Ski Climbing Skins and How to Choose, Trim and Attach Splitboard Climbing Skins.
Keep them clean: If the glue sides of your skins get too dirty, they will stop adhering well to your bases, which will result in poor traction on the way up the hill. It's especially important to take care when handling your skins—keep them away from dirt, pine needles, pet hair and any other debris that can get picked up by the glue. If you get snow on the glue, shake it off and scrape the skin clean by pulling the skin across the edge of a ski that's standing upright in the snow.
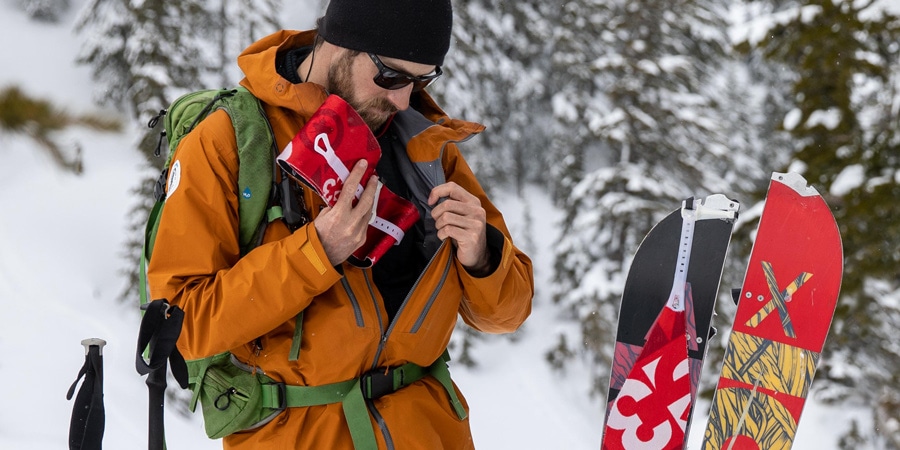
Keep them warm: On really cold days, you may notice that the glue on your skins doesn't seem quite as tacky. To counter this, keep your skins warm whenever you can. On the slopes, you can stow them inside your jacket during your descent (your body heat will help keep the glue warm). When you're on your way to the mountain, keep your skins with you inside the heated vehicle—don't ever keep them in the back of a cold truck or put them on your skis and then put the skis in a cold roof-top cargo box.
Keep them dry: Glue and plush that are sopping wet can cause poor performance, so do your best to keep them dry. You can treat the plush side of your skins beforehand with skin wax to repel moisture. If your skins get really wet and aren't working well, try drying them out by stowing them in your jacket during your descent. At the end of the day, make sure you hang them up so they can dry completely.
If, despite your best efforts, you run into issues with your skins not staying on your skis, you can try using duct tape or a ski strap or two to secure them onto your skis. Many backcountry skiers keep a couple feet of duct tape wrapped around a ski pole or water bottle and some ski straps in their backpacks for reasons just like this.
