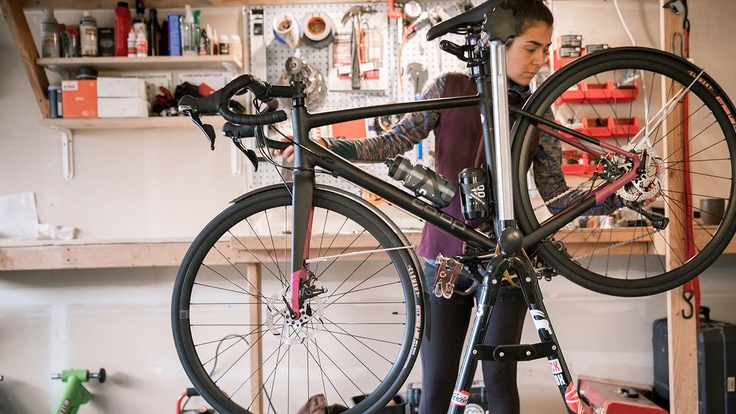
Whether you're a new cyclist or a seasoned rider, it's always a good idea to inspect your bike before a ride to make sure it's in good working order. Some things — like the ABCs (Air, Brakes, Chain) below — should be checked before every ride; others may be checked less frequently.
If you haven't used your bike in a while or you've noticed a specific problem, take it to a bike shop for a tune-up. (Find an REI bike shop near you.) If you want to do the tune-up yourself, read our Bike Maintenance Basics article, take a class or get a book that teaches the basics of bike maintenance.
Video: Pre-Ride Inspection
The ABC Bike Check: Air, Brakes, Chain
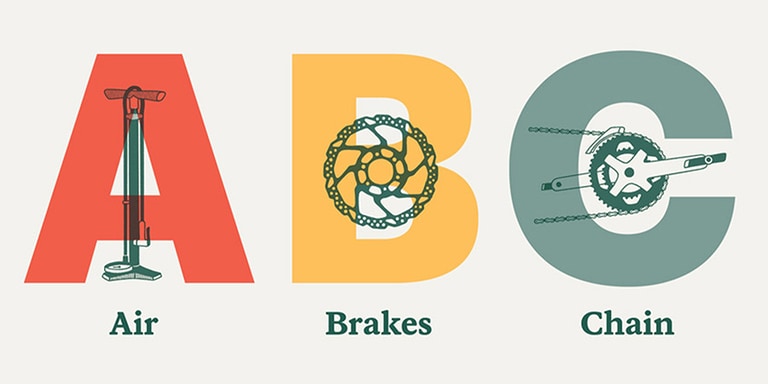
Download a PDF copy of the ABC Quick Check list.
A is for Air: Properly inflated tires helps prevent flats. Check the sidewall of your tire for the recommended tire pressure. While you're checking the air, take a moment to look for cracks or excessive wear on your tires. Also take the opportunity to ensure your quick-release levers and thru axles (if you have them) that attach your wheels to the bike frame are properly tightened. Then, before you ride, make sure you have your patch kit and pump with you.
B is for Brakes: Squeeze your front and rear brake levers to make sure that the brakes engage properly and smoothly. See our Bike Brakes: How to Check and Adjust article for more information on improving the performance of your brakes.
C is for Chain: Look at your chain and all the gears. Keeping your chain lubricated and everything clean will ensure your bike shifts easier and the drivetrain (made up of the front chain rings, rear cassette, rear derailleur and chain) last longer. Read our Bike Chain Cleaning and Maintenance article for more information on caring for your chain.
Check Your Bike Size
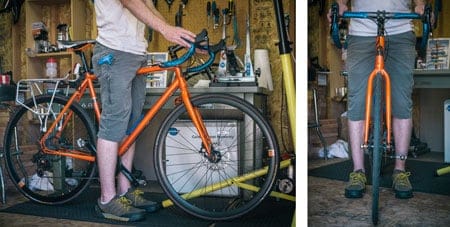
If it has been a while since you've been on your bike, or you're borrowing one from a friend, make sure it fits you. As a general rule, when you're standing over the bike with your feet flat on the ground there should be at least 1- 2 inches of clearance between your crotch and the top tube (bar) on a road bike and at least 2-3 inches on a mountain bike.
To learn more about how to correctly size a bike, read our Bike Fitting Basics article.
Bike Seat Height and Positioning
Check that the saddle (seat) is adjusted at the right height and position for you.
- Having the saddle at the right height for pedaling is important for your knees: When your leg extended in the 6 o'clock position, your knee should be slightly bent.
- The correct fore/aft position is when your knee is directly over the center of your front pedal when your feet are parallel to the ground.
- Personal preference determines whether the saddle should be tipped forward, level or backward.
To learn more about adjusting the height and position of your saddle, read our Bike Fitting Basics article.
Bike Rims
Lift up the bike and spin the wheels. The rims should be straight and not wobble noticeably from side-to-side or up-and-down. If they do, that means your wheel isn't true (straight) and you need to bring your bike in for service.
Bike Gears

Spin the crank and shift through the gears. The chain should transfer smoothly from gear to gear. If the chain wants to jump up or down a gear on your rear cassette, then the shifting needs to be adjusted.
Learn more about bike gearing in our Bike Gears and Shifting Basics article and see our Bike Creaks, Squeaks and Clicks article for more information on how to fine-tune the shifting on your bike.
Bike Cranks
Cranks are the arms that attach the pedals to the bike. Give each one a pull to make sure it is tight. Do not ride a bike with a loose crank.
See our Crankset Care article for information.
Bike Frame and Headset
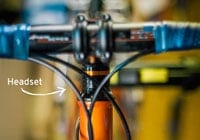
First, check the frame for cracks. Then, hold the front brake and rock the bike back and forth. Excessive play means the headset needs adjusting. Do not ride a bike with a cracked frame or loose headset.
