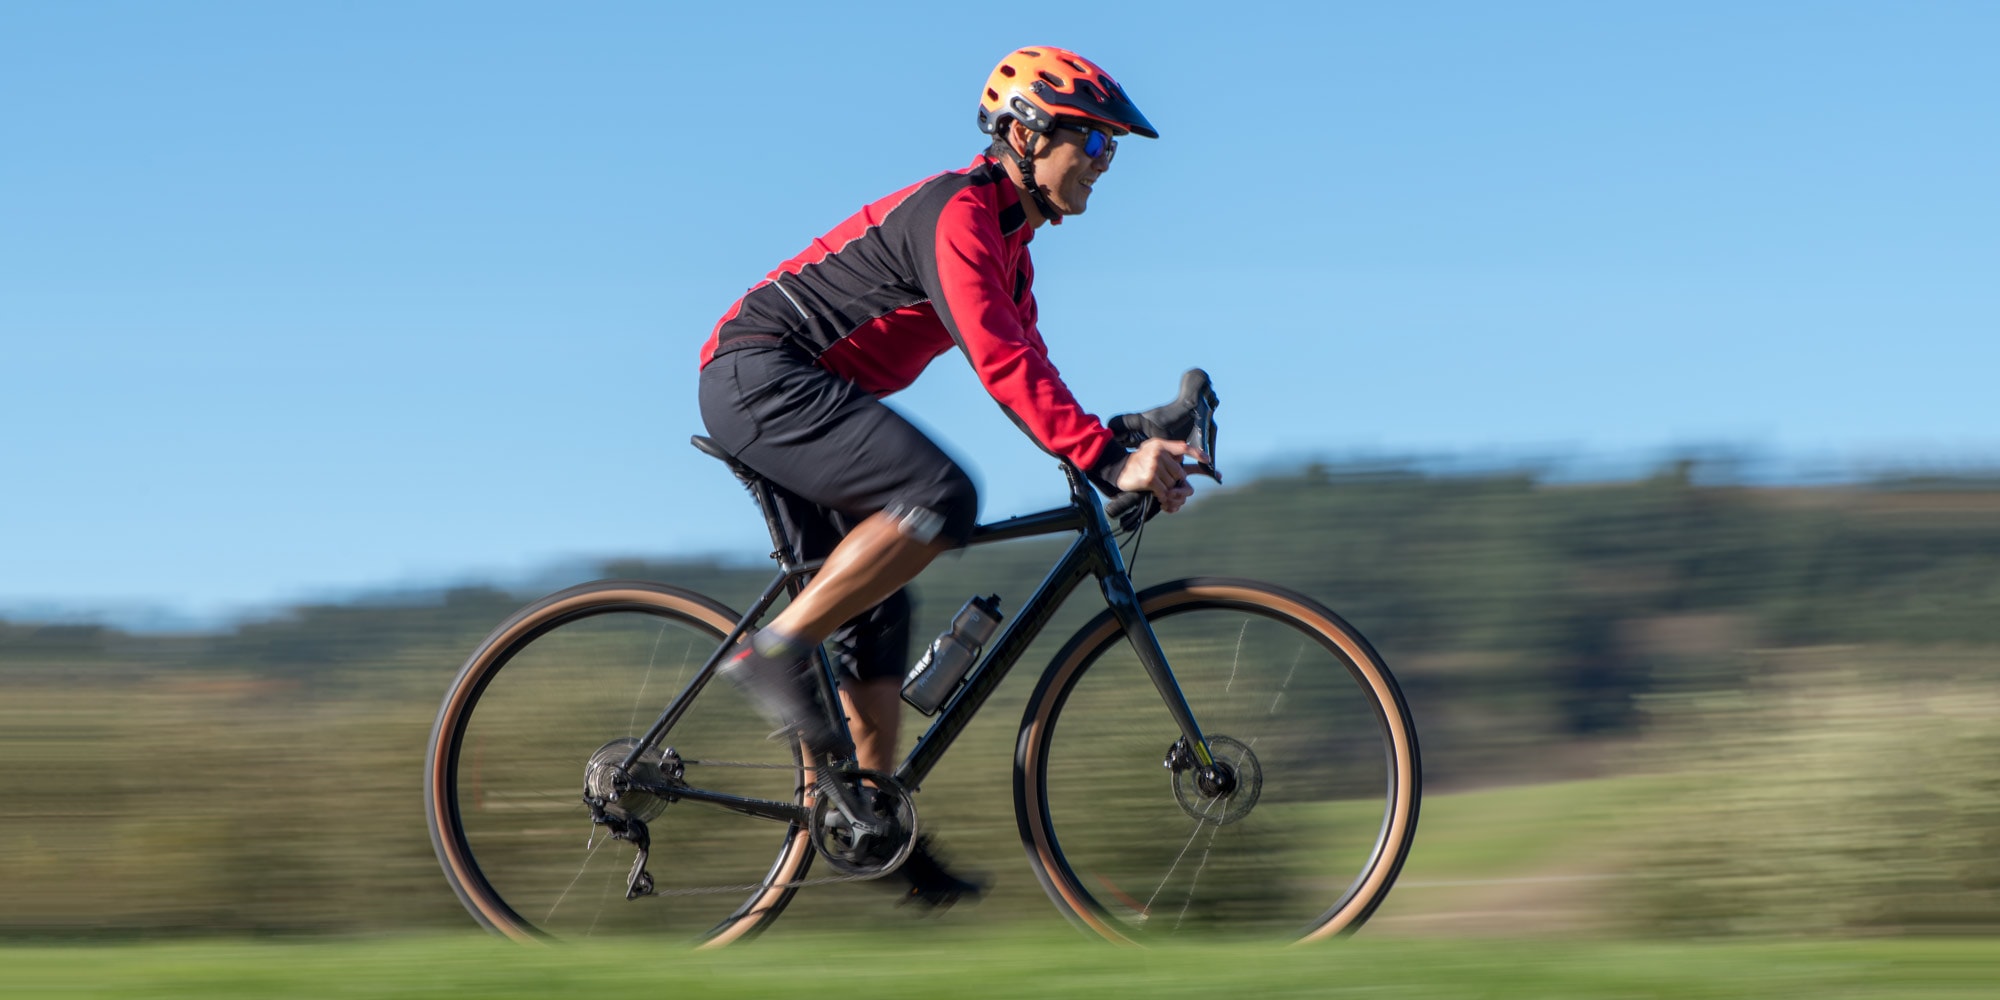
The job of your bike's gearing system is to help you make the most of your muscle power. When you choose a gear, you're really just choosing the effort level required for each pedal stroke. Understanding more about how your bike gears work can help you ride farther and faster—and have a little more fun while you're at it.
Parts of the Bike Drivetrain
On a conventional multi-speed bike, the drivetrain includes the following components:
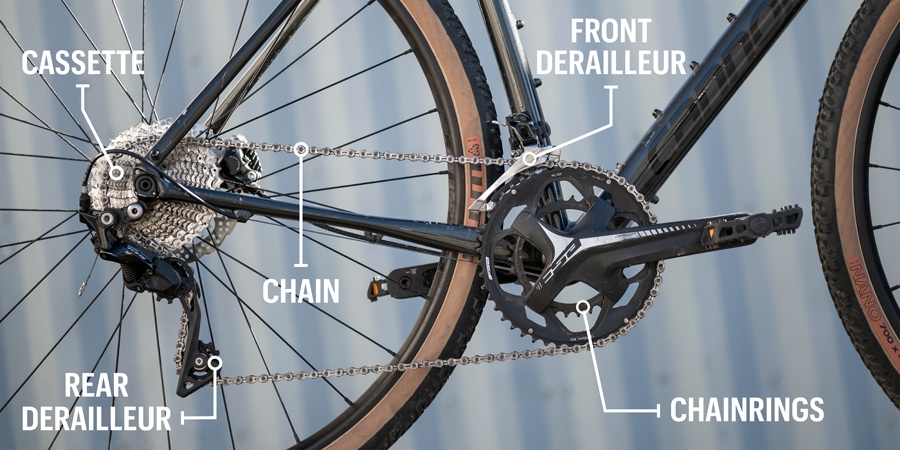
Crankset: The component your pedals are attached to has several parts, with chainrings (sprockets) being a key component in shifting. Bikes have one, two or three front chainrings (gears).
Cassette: Your bike's rear cassette is the stack of cogs (gears) mounted on the right-hand side of your rear wheel.
Chain: The chain connects the front chainrings and the rear cogs, so that when you turn the pedals you also turn the wheels. The number of teeth on the cog and chainring combine to determine how easy or hard it is to pedal.
Derailleur: This is the mechanism that physically guides the chain from cog to cog or chainring to chainring when you shift gears. Most bikes will have a rear derailleur, whereas not all bikes will have a front derailleur.
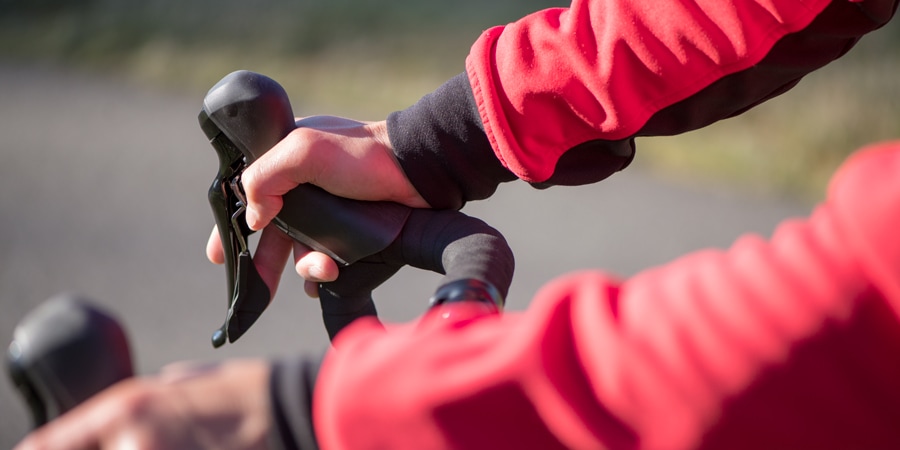
Shifters: These controls, whether levers, twist grips or integrated with brake levers, operate the derailleurs via cables (or circuitry in electronic shifters). On most bikes the right-hand shifter controls the rear derailleur and the left-hand shifter controls the front derailleur.
Drivetrains with Hub Shifters
A growing number of bikes use an internal-gear hub, which typically eliminates the need for derailleurs, cassettes and multiple chainrings. While the range of gears on hubs may be limited, they have the advantage of needing less maintenance, being simpler to use and have the ability to shift gears while coasting or waiting at a stoplight.
Gear Ranges on Bikes
Broadly speaking, mountain bikes have lots of low gears so you can climb steep hills more easily, while road bikes have more higher gears to boost top-end speed. More gears means more choices, but also more complexity for riders (and shop techs). At the other end of the spectrum, a growing number of bikes now have simpler 1X drivetrains, meaning they have only a single front chainring.
How to Shift Gears on a Bike
The steps below apply to a bike with a conventional drivetrain that has more than one front chainring. (If you have only one front chainring, skip to step 2; if you have a hub system, skip to the tips section.)
1. Using the left-hand shifter moves the chain on the front chainrings: This is how you make large gear changes to adjust how easy or hard it is to pedal:
- If you have three chainrings up front, start with your chain on the middle chainring and make large adjustments up or down as needed. (If you have two chainrings, start with your chain on either one.)
- Move your chain to the smallest front chainring if you want to make pedaling significantly easier (for example, if you're climbing hills).
- Move your chain to the largest chainring in front if you want to make pedaling significantly harder (if you're going down hills for example and need to control your speed).
2. Using the right-hand shifter moves the chain on the back cassette: This is how you make small refinements to find the perfect gear choice:
- Move your chain to the larger cogs in back if you want to make your pedaling progressively easier (i.e., while climbing).
- Move your chain to the smaller cogs in back if you want to make your pedaling progressively harder (i.e., while descending).
You might be thinking it's going to be hard to remember all these details. The best thing to do is get out there and experiment until you develop muscle memory for which shifters to use at which times.
Tips for Proper Shifting
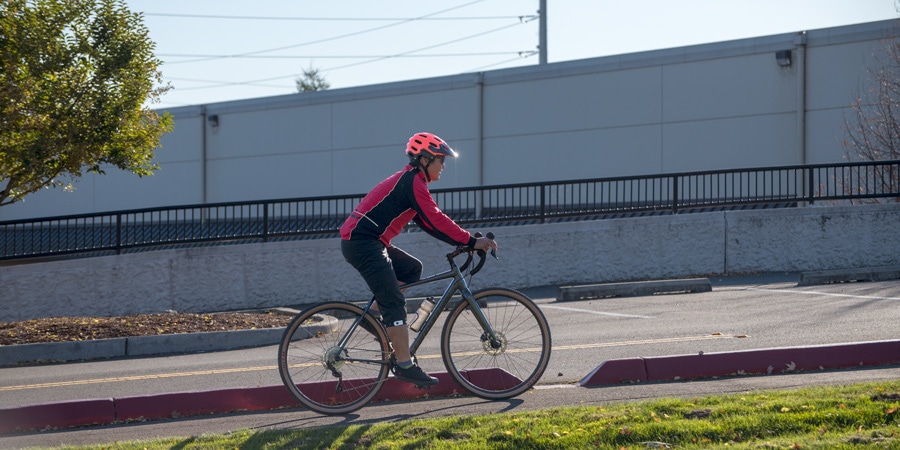
The following tips apply to any bike:
Anticipate the terrain: Shift right before you start climbing, not halfway up when you're slowing rapidly and applying maximum pressure on the pedals. If you do shift on a hill, shift one gear at a time, and momentarily relax pressure on the pedals as you're shifting. If you hear a lot of grinding, that can be a sign that you're shifting while applying too much pressure on the pedals—and excessive grinding will wear out your drivetrain more quickly. On flats or downhill sections, it's OK to shift through more than one gear at a time.
When in doubt, use an easier gear: Being in a hard-to-pedal gear might seem faster, but it saps your strength quickly and can take a toll on your knees. Using an easier gear and pedaling at a higher cadence is more efficient than pedaling slower in a harder gear.
Try to maintain the highest pedaling speed that's comfortable for you to sustain for the duration of your ride. You'll probably get a sense of a good cadence for you after a few rides. You can also be scientific about things by getting a bike computer that lets you precisely monitor cadence as you ride.
The following tips apply to a conventional bike with more than one front chainring:
Use one shifter at a time: To simplify gear shifting and minimize stress on your drivetrain, don't shift both the front and rear shifters at the same time. Remember: shift the chain between the front chainrings for big changes, then use the rear cogs to fine-tune your gear setting.

Avoid cross-chaining: Picking gears that put your chain on opposite extremes of the front cogs and rear cassette at the same time (cross-chaining) is hard on the drivetrain. Instead stick with rear cogs that are relatively close in alignment with the front cog you choose.
Basic Drivetrain Maintenance
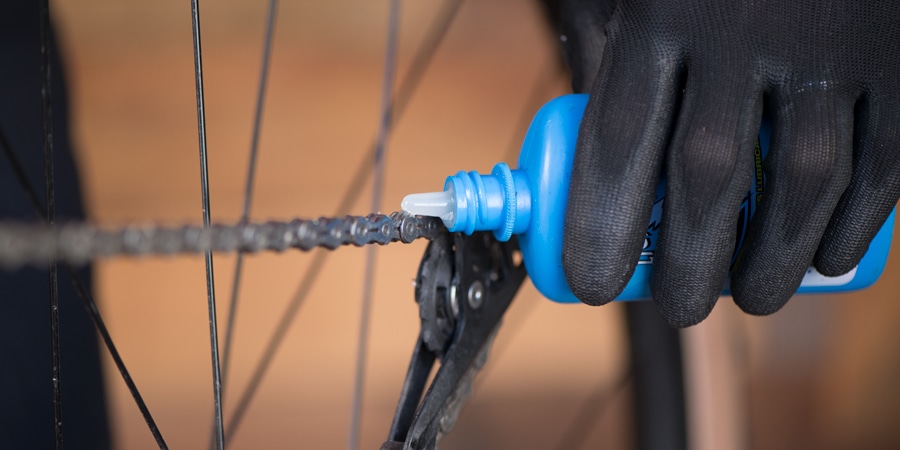
Keep your drivetrain running smoothly by cleaning it after you ride and lubing your chain (sparingly). Whenever you clean your chain, check your cables. If they are frayed or rusty, take them into your shop for replacement. At least once a year, check your chain for wear and have your shop remove your cassette, chain and chainrings to clean them in a parts cleaner.
Read Drivetrain Maintenance series for more details on keeping your drivetrain in tip-top shape.
Shop Bike Tools & Maintenance Products
Fixed versus removable chainrings: Chainrings are subject to a lot of friction and will wear out eventually. Some affordably priced bikes have fixed chainrings, which can't be replaced separately from the crankset components. If you anticipate logging a lot of miles on your bike, getting one with replaceable chainrings will make maintenance cheaper and simpler.
