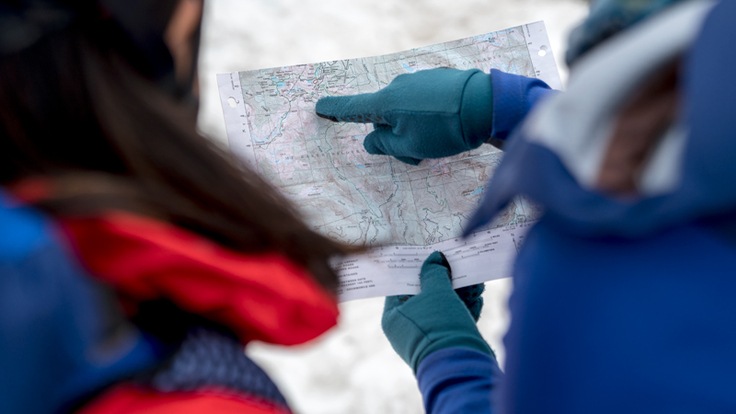
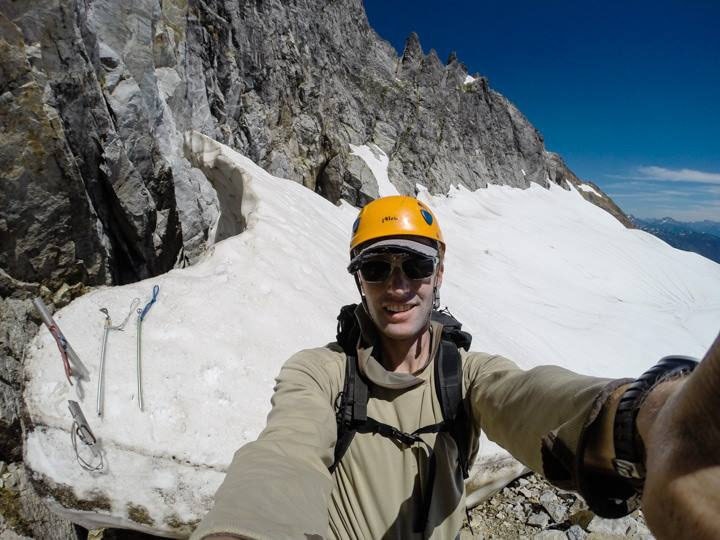
On many mountaineering climbs, you'll leave the well-trodden trail behind to set off for the summit. Doing so is an exciting opportunity to explore new terrain and test your skills as a mountaineer. But to stay on course, travel efficiently and choose a suitable route up the mountain, you and your other group members need to have solid route-finding and navigation skills.
Successful route finding and navigation while mountaineering combines at-home preparation with on-mountain skills. In this article, we'll go over ways you can get ready before leaving home and the things you can do while you're climbing to stay on course.
Before You Leave Home
Good route finding and navigation starts before you set foot on the mountain. In the days and weeks leading up to your trip, spend time brushing up on your navigations skills and pouring over route information so that you can develop a solid mental picture of what the route looks like, including what obstacles, hazards or other challenges you may encounter. Of course, you can't predict everything that will happen during a trip, but with thorough planning you can eliminate some of the unknowns and increase your odds of having a successful journey. Here are some things we recommend doing:
Review Your Map and Compass Skills
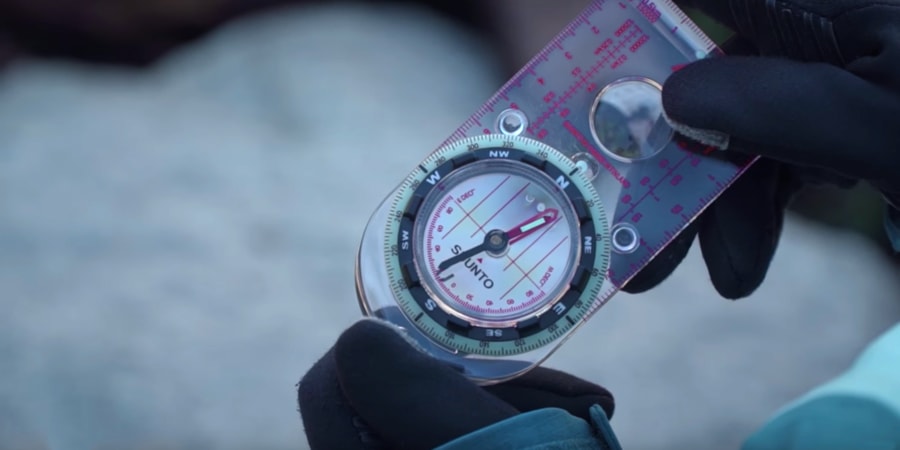
Every person on your climbing team should be comfortable using a map and compass to navigate in the backcountry. These two tools can help you stay on route, identify terrain features and figure out where you are when you don't know. Modern tools like GPS devices and smartphones can be helpful for navigation, but they do not replace a map and compass. If you need to brush up on your map and compass skills, see our Intro to Navigation series and consider taking one of our navigation classes.
Gather as Much Information as You Can About the Route
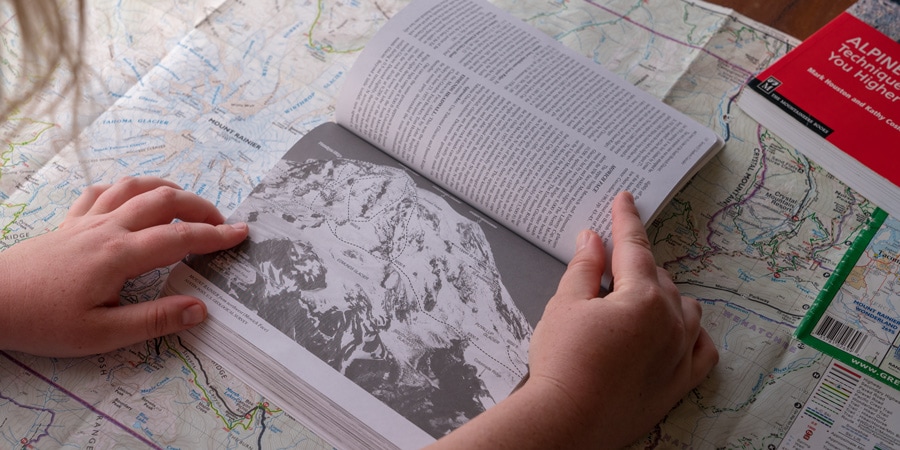
The more you know about the route and the surrounding region before setting foot on the trail, the better equipped you'll be to navigate in the area.
Read guidebooks and explore websites: Even if you spent time looking in guidebooks and browsing websites while picking your route and planning the climb, it's a good idea to do so again with the intention of learning everything you can about the route you've chosen.
Guidebooks are a wonderful resource for detailed descriptions of climbing routes, and they typically include information such as elevation gain, mileage, route ratings and camping locations. Many also include pictures and maps that show where the route goes and give you a sense for what to expect.
To find up-to-date route information, websites are a good place to go. You can generally find information about current conditions, road closures and trail closures. For popular routes, you can often find trip reports posted by people who have recently climbed the mountain. Websites such as SummitPost.org are good places to go for descriptions of peaks and routes. Online forums dedicated to climbing are a great place for finding recent trip reports and posting questions you have about the route. Land agency websites can be helpful for getting information about road and trail closures and may offer detailed route information.
Study maps: Gain familiarity with the area before setting foot on the mountain. As you look at a map, picture what terrain features will look like and try to recognize any obstacles, hazards or other challenges that you may encounter, like glaciers or cliffs. You can make marks on the map to indicate any helpful information you gleaned from guidebooks and websites, such as campsite locations or potential hazards, and you may want to draw your route on the map if it's not already marked. Learn more about maps in our article, How to Read a Topo Map.
Talk to other mountaineers: If they've been on the route recently, they'll be able to tell you about things to look out for or areas that are difficult to navigate through. Calling local ranger stations in the area where you want to climb is another good way to get this type of info. Rangers will likely have up-to-date information about route conditions and anything else that may affect your climb.
Create a Route Plan
This involves breaking your trip up into segments (approach hike, climb, descent, etc.) and jotting down important information like how many miles you'll hike, how many feet of elevation you'll gain/lose, where you will camp, elapsed time and any other data you want to record. It can be helpful to include GPS coordinates for key locations, like the trailhead, camps, rest spots and the summit.
To learn more about route plans, and to see an example of one, read our article, How to Plan a Mountaineering Trip.
Route Finding While on the Mountain
While you're on the mountain, successful route finding and navigation depend on your ability to keep track of where you are, recognize terrain features and potential hazards, plan for your descent, and travel in challenging conditions, like a whiteout. Here are things you can do to stay on course and pick an appropriate route up and down the mountain:
Stay Present and Pay Close Attention to Your Surroundings
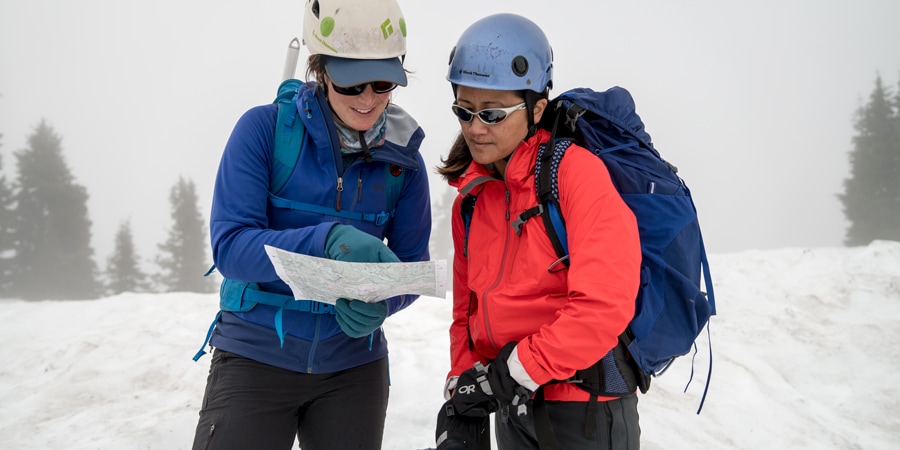
Putting one foot in front of the other, mile after mile, can sometimes lull a climber into a daze, but to keep track of where you are, it's important to pay attention to your surroundings.
When you stop to grab a drink of water or you come to a noteworthy spot on the route, pull out your map and look around. Locating nearby peaks and figuring out where you are on the map will keep you present and in tune with your location. If you're carrying a GPS or a smartphone with a mapping app on it, you can occasionally turn your device on and check your location that way.
It's a good idea for everyone in your climbing party to do this so the group isn't reliant on a single member to know where they are. If you're carrying the map, keep it handy and make sure others have an opportunity to look at it.
Identify Terrain Features and Potential Hazards

On a mountaineering climb, you'll likely encounter a handful of terrain features or potential hazards that can make route finding and navigation more challenging. Being able to identify these features and hazards is the first step in deciding how to proceed.
Note: This section of the article defines common terrain features and potential hazards, but it is not meant to replace expert instruction or time spent practicing skills. It's essential that you seek out proper instruction before attempting a mountaineering climb.
Here are some likely features/potential hazards you'll encounter on a climb:
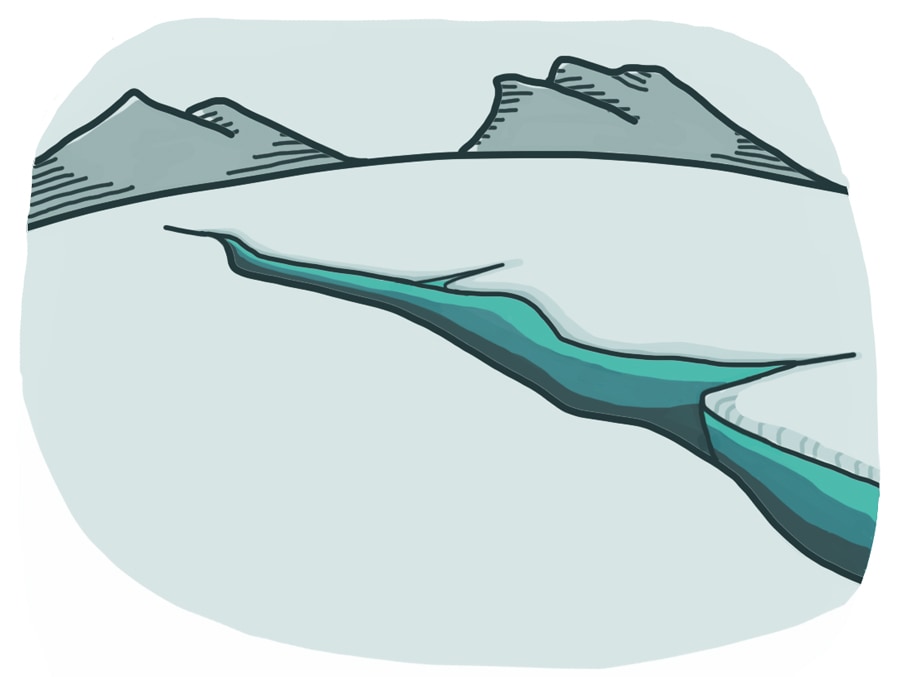
Crevasses: Crevasses are cracks in a glacier that form because of the movement of the glacier. Navigating around, and sometimes over, crevasses is a requirement of many mountaineering climbs. Knowing where crevasses tend to form is key to safe travel. Crevasses often appear in places where there is tension on the snow and ice, such as in steeper sections or where a glacier makes a turn. Some crevasses are obvious, like a giant, gaping crack that can't be missed. But, others require some detecting. Keep your eyes out for small cracks that may extend out to become larger crevasses. Sagging snow is a good indicator of a crevasse hiding underneath. If you suspect a crevasse is nearby, you can use your ice axe or a ski pole to probe an area, feeling for a change in the resistance of the snow. Techniques for navigating crevasses include walking around them, jumping over them or crossing them on snow bridges or ladders. Locating and navigating around or over crevasses requires proper training and the use of technical equipment, like ropes, ice axes and anchors, so it's essential to seek out expert instruction before setting foot on a glacier.
Bergschrunds: A bergschrund is like a crevasse, only it forms at the very top of the glacier where the glacier meets the permanent snow near the top of a mountain. Bergschrunds can sometimes present a significant route-finding challenge. You may have to alter your route significantly to find a way around the bergschrund if it's not possible to climb over it.
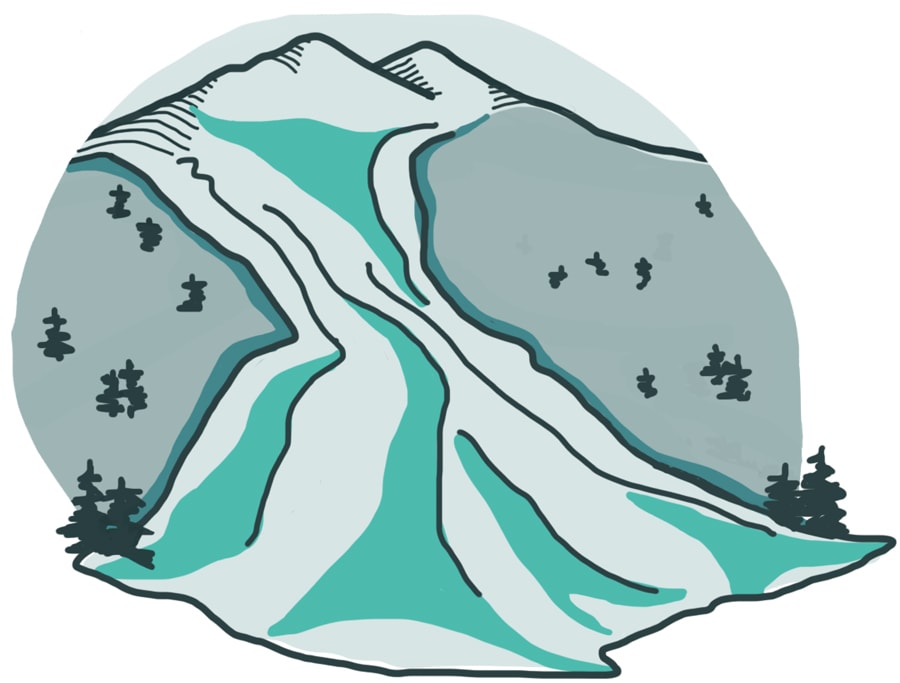
Avalanches: Climbing mountains often means traveling on steep slopes that, under certain conditions, may be prone to avalanching. Before setting out to climb a peak that involves snow and/or glacier travel, it's mandatory to have proper avalanche training. Learn more in our article, Avalanches, Part 1: The Basics, and sign up for an avalanche awareness class.
Rockfall: Whether you're traveling on snow or rock, rockfall from above can be a serious hazard. If possible, avoid traveling underneath cliffs or ridges where rockfall is likely (broken rock at the ground is a good indicator of rockfall.) If you must travel through a rockfall area, wear a helmet, move quickly and travel at the right times. Climbing a route prone to rockfall in early season, when snow holds rocks in place, is a good idea. It's also wise to climb early in the day, before the sun has a chance to warm up the slope and melt snow, which can set rocks free.
Icefalls: Sections of jumbled ice on glaciers are known as icefalls. Traveling through them and underneath them can be very dangerous, as ice can break off at any time. If possible, avoid travel through an icefall or directly underneath one; if that's unavoidable, move quickly.
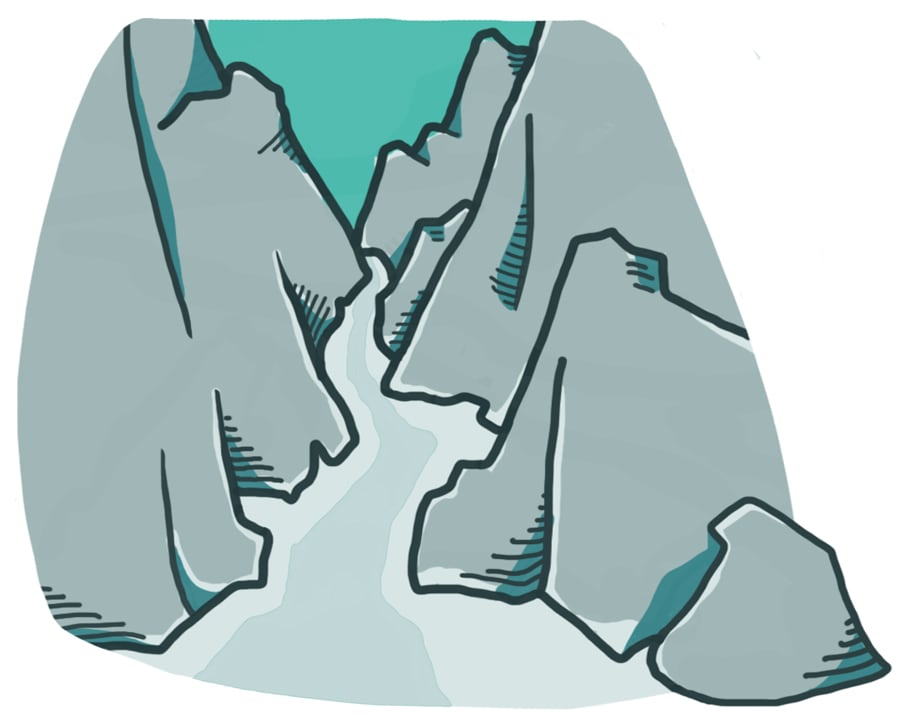
Couloirs: These steep, narrow gullies can offer a route up or down an otherwise cliffy section. But, they are not without hazards. Rocks, ice chunks and avalanches can all be funneled down couloirs.
Moats: A moat is an area on snow or a glacier where the snow or ice melts away from rocks and trees, creating a large gap. Crossing moats can be challenging. If you can't find an obvious way around a moat, you may have to climb down in and up the other side, while on belay.
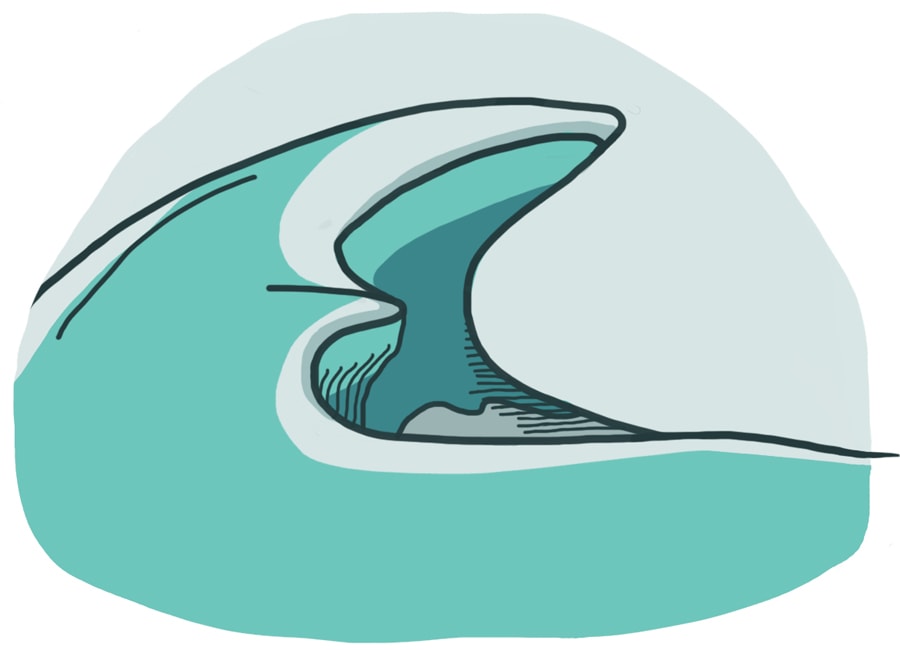
Cornices: Cornices are areas of overhanging snow that often form on ridge crests. They are created by the wind and can be particularly hazardous because if you step out onto a cornice it could collapse. Give cornices a wide berth when traveling on ridges.
Plan for Your Descent
The top of the mountain is only the halfway point, so it's wise during the climb up to spend a little time thinking about and planning for the way down. This can be as simple as looking back every so often to take a mental picture of what the route down looks like. You can also jot down notes of key features or changes in direction along the way that you won't want to miss when you're descending.
Be Prepared to Navigate in a Whiteout
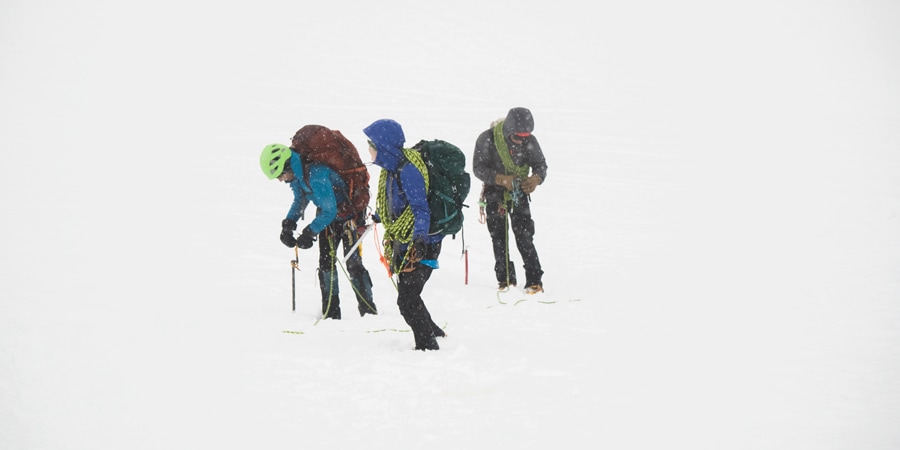
If clouds roll in when you're high on a mountain, the complete whiteness can be so disorienting that you can't even tell up from down as you inch your way forward. Being able to navigate in a whiteout is a very important skill to have. Here are some ways it's done:
- Place wands: Typically made from bamboo sticks and colorful flagging, wands are a low-tech navigation solution. If you suspect poor weather may be moving in, you'll stick wands into the snow at regular intervals, so you can follow them back if you lose visibility. Wands can also be used to mark hazards, like a sagging snow bridge. It's best practice to pick up your wands on the way out to avoid littering the mountain.
- Create waypoints with a GPS: In a sense, this is the high-tech version of placing wands. A waypoint is simply a location on a map that you save using your GPS. When you use a GPS to create waypoints for important locations, like the trailhead, campsites or major points along the climbing route, you can later use the device to navigate back to these points by either telling the GPS to take you there or by getting a compass bearing from the GPS and using your compass to follow the bearing. With many GPS devices, you can choose to use the GPS to record your track as you go and then have the option of following the track back in a whiteout. This may seem ideal, but recording a track can drain battery power quickly, potentially leaving you without the ability to use the GPS at all. (Be sure to start every trip with fully charged batteries and have spares in your pack.) Learn more about using a GPS, in our article, How to Choose and Use a GPS.
- Take compass bearings: In good weather, you can take compass bearings along your route and jot them down so that if you lose visibility, you'll be able to retrace your steps. Learn how to take bearings in our article, How to Use a Compass.
- Record altimeter readings: Like you did with your compass, jotting down the altitude at specific points along the route can be helpful later when you're trying to locate that spot in a whiteout.
- Stop moving: Sometimes the best option will be to stop moving and wait out the weather. If you don't feel you can safely continue, either up or down the mountain, then you may be better off hunkering down until there's better visibility.
Climbing safety is your responsibility. No article or video can replace qualified instruction and experience.
