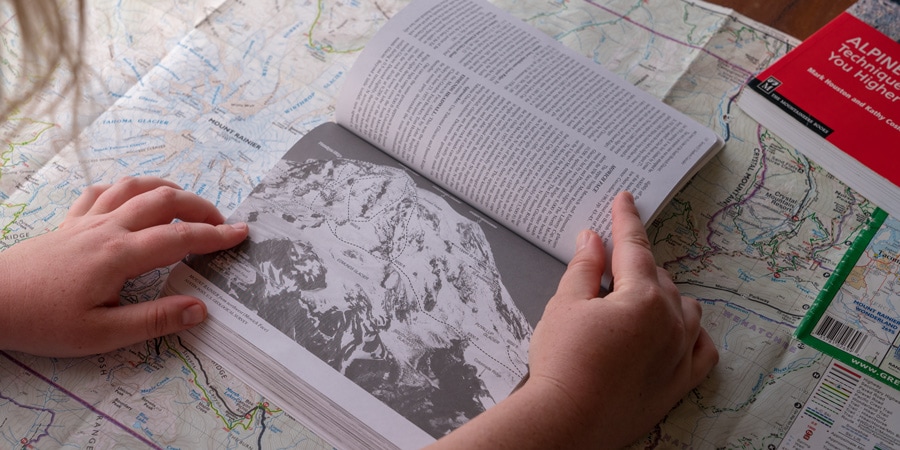
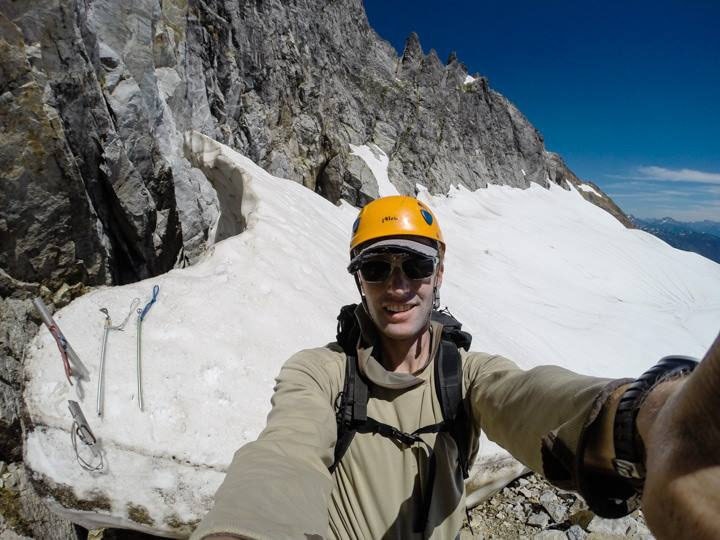
Before you pack your bags and head out the door to climb a big mountain, it's well worth the time and effort to put a solid plan together. By thinking through details big and small, like how many days you have to climb, what skills you have and what gear is required, you'll be able to pick an appropriate objective and increase your odds of summiting and having an enjoyable time in the mountains.
If you're just getting into mountaineering, see our Getting Started Mountaineering article to learn the basics about what skills and gear you need to climb mountains.
Here's how to plan a mountaineering trip:
- Narrow your trip choices: Things like how many days you have, how many people you're going with, what skills you have and the time of year can narrow down your options.
- Research routes: Use guidebooks and online resources to select an objective. Or work with a guide service to pick the peak you want to climb. While doing your research, consider and investigate the skills needed for the route, the ideal group size for the type of climb and if permits are required.
- Create a route plan: Make a day-by-day plan that includes information like how many miles you'll hike and how many feet of elevation you plan to gain or lose each day. You can also include details like where you will camp, how you will get water and what the terrain will be like.
- Gather your gear and supplies: Grab your ice axe, boots, crampons and other personal climbing gear. Things like tents, ropes and stoves can be shared among the group. If you don't own certain items, you may be able to rent them rather than buying.
- Do some final prep: Before you head out, pack your bag, check the weather, review the Leave No Trace principles and share your itinerary with a friend.
Note: This article is intended primarily for people planning their own climbs, however, if you're going on a guided trip, you'll likely find some of the information helpful, too.
Narrow Your Mountaineering Trip Choices
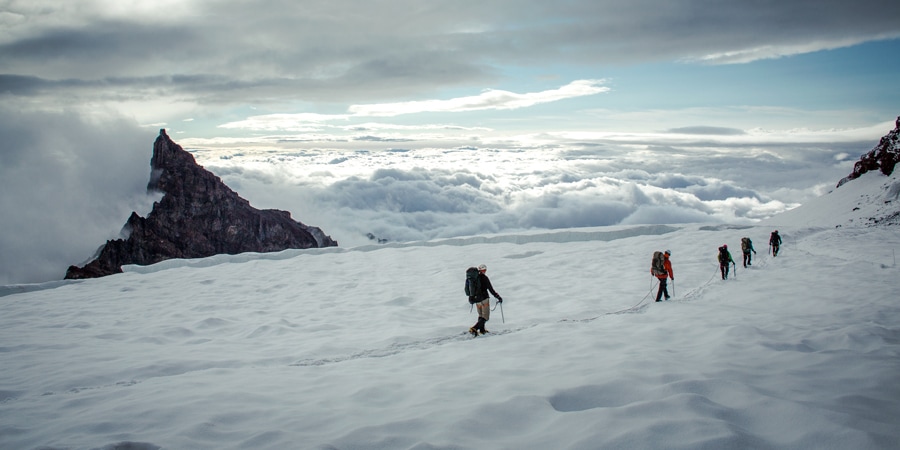
There are lots of peaks in the world to climb. To narrow down your options, it's helpful to think through some trip parameters:
How much time you have: Do you have a free weekend or are you off for the whole summer? There are mountaineering trips that can be done in a day and others that may take several weeks or more to complete, so knowing how much time you have will help narrow your focus. If you're limited by time, be sure to think about how many miles you want to hike and how many feet of elevation you want to gain each day and look at objectives that fit within that.
Where you want to go: Depending on where you live and what your goals are, there might be a peak to climb that's just a short drive away. But if you live in the Midwest, you'll need to hop on a plane or road trip it to the mountains. Some climbers set their sights on international peaks; Europe, Asia, Africa and South America are all popular places to travel to for big mountains. With a general idea of where you want to go, you can start planning your means of travel and accommodations.
Time of year: Summer brings warmer temps and more stable weather, making it the traditional season for mountaineering. Naturally, this can vary some depending on the destination and specific peak. In most places, winter mountaineering presents additional challenges and therefore is only recommended for very skilled climbers.
Group size: Are you going with only a couple other climbers or a big group? If you already know the numbers, this can help you plan things like where to camp, what group gear to bring and how much food to pack. Also keep in mind that some permits limit the number of people you can go with.
Preparation time: Are you wanting to head out this weekend or are you planning a few months out? Your choice of destination may be affected by what kind of shape you're in now and whether you need time to train to take on a big mountain with lots of elevation gain. (Learn how to get fit for a big climb in our article, Training for Mountaineering.)
Research Mountaineering Routes
Having already thought about some trip parameters, you probably have a general sense for where you want to go. Now it's time to dig into the details and pick a peak and route to climb. If you've decided to hire a guide service, they will likely have preplanned options you can choose from, but it's still worthwhile to research climbs to make sure you go on a trip that excites you and has the right amount of challenge.
Here are several ways to go about researching peaks and routes, and some other things to think about as you do:
Use Guidebooks and Websites
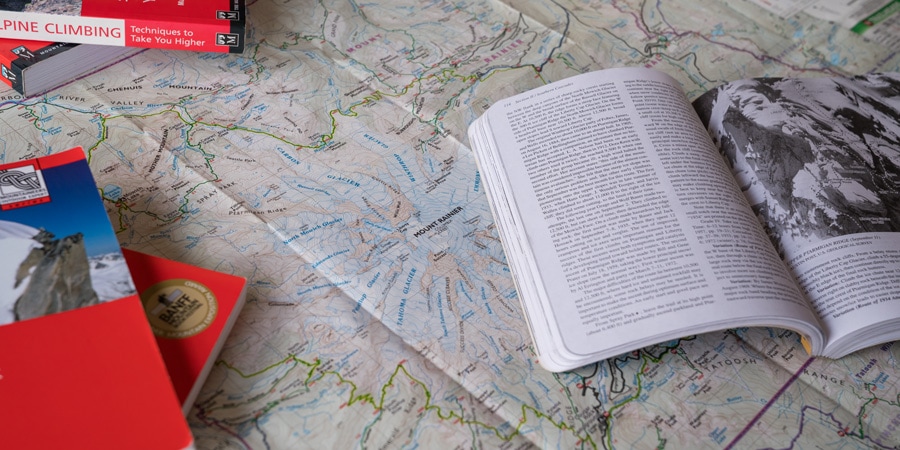
Guidebooks and websites are both great resources because they'll generally provide all the info you'll need, such as route ratings, distance, elevation gain, trail features, camping locations, water sources and permit requirements. Websites may also provide recent trip reports, so you can get a sense for what the current conditions are like. Here are some resource recommendations:
- SummitPost.org: This is a good place to go to read more in-depth descriptions of peaks and routes. You may be able to find recent pictures and trips reports.
- The American Alpine Club Library: Available to American Alpine Club members, the library has more than 50,000 books and all the information you could ever want to plan a climb. This is an especially helpful resource if you're planning a trip to an obscure peak that's not discussed in mainstream guidebooks.
- Climbing forums: Most regions that are popular among climbers will have an online forum that covers the area. These are great for reading recent trip reports, sharing beta, finding partners and selling gear. If you're having trouble finding information about a certain mountain or route, you can try posting a question on the forum; other climbers are usually willing to share what they know. CascadeClimbers.com is one such resource dedicated to climbing in the Pacific Northwest.
Talk to Locals and Other Mountaineers
Talking to people who know the area and other mountaineers are two good ways to get route suggestions as well as updates on current conditions. It's also a good idea to contact local ranger districts in the area where you want to go. Rangers will likely have the most up-to-date information about route conditions, road closures and anything else that may affect your climb.
Determine if Permits are Required
Some mountains require permits to climb them and/or camp nearby. The more popular destinations may even require you to enter a lottery to obtain a permit. It can sometimes seem like a hassle to have to get (and pay for) a permit, but as the mountains become more crowded, requiring permits is one way to limit traffic and the ensuing human impact. To figure out if you need a permit, do research online and in guidebooks, or give the appropriate agency or land manager a call.
Consider the Size of the Group
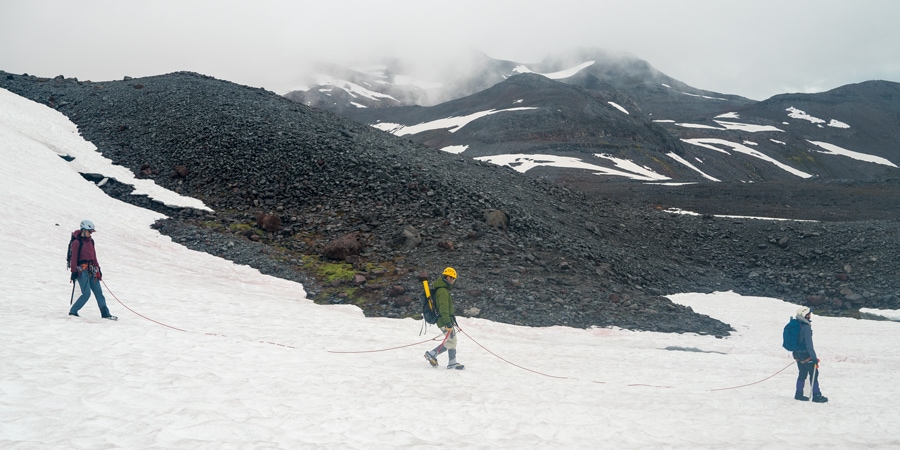
Whether you've already formed a climbing team or you're going to do that after selecting a route, it's good to think about the right number of people for an objective. Here are some things to consider (keep in mind the appropriate number of people for a climb can vary greatly depending on the route and skill level):
- The standard minimum number for a glaciated mountaineering climb is three. In the case that one climber is injured, this leaves two climbers to assist with a rescue.
- Two separate rope teams make crevasse rescue easier. If a climber on one team falls into a crevasse, the second team is there to haul the climber out.
- The specific nature of the route can dictate what the correct group size is. For instance, on technical rock, two climbers per rope allows for the most efficient travel.
- Smaller groups travel faster than larger groups.
- Larger groups can carry more gear and supplies.
- Group size is sometimes controlled by land-use regulations and permits.
Examine Your Skills and Those of the Group
To have a fun and successful trip, it's necessary to think about the skills you and the rest of your climbing group have. If you've already formed a group to go climbing with, it's important to pick a route that's right for everyone; doing so will increase your chances of success. When you're researching peaks and routes, look for information about how challenging the approach and climb are and what technical skills are required. Then examine the technical skills you and other group members have. Your skills should match the requirements of the route.
If you have not yet formed a group to climb with but are selecting your route now, you'll need to later find people who have the right skills and fitness for the climb.
Either way, a pre-trip get-together is a great way to make sure you and your partners are on the same page. You can meet to practice skills, do research or check gear. In-person meetings can be very valuable in bonding a group before committing to tying into a rope together.
Check the Weather and Route Conditions
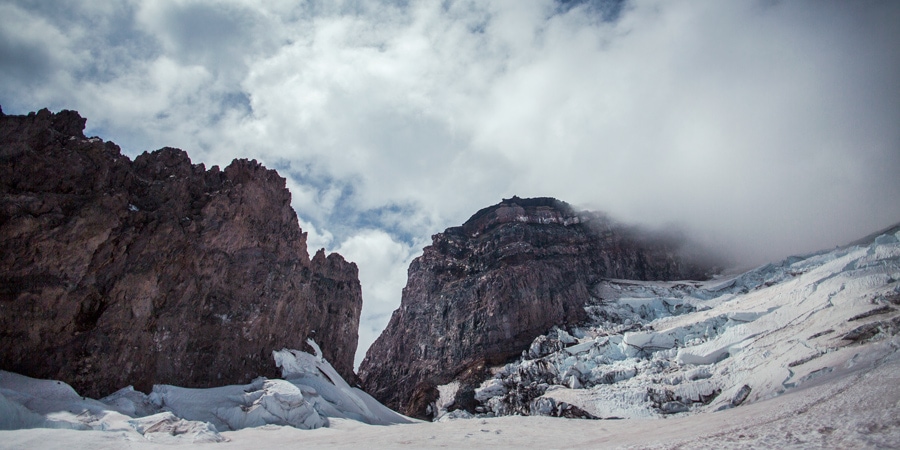
As the date of your climb approaches, start checking the weather and conditions on the route.
The National Weather Service is a good option for detailed forecasts or you can use whichever website or app you're accustomed to. It's also worth looking at websites for the land management agency that oversees the land you'll be on, such as National Park Service and national forest websites. You can often find weather forecasts and information about road and trail conditions there. Regional avalanche centers are also good resources for detailed mountain weather forecasts and avalanche forecasts.
Nothing beats a firsthand account of route conditions, though, so if you know someone who has climbed the route recently, see what they have to say. You may also be able to find recent condition reports on climbing forums, blogs or land management agency websites. A phone call to a local ranger station is also a good option.
Create a Contingency Plan
It's a good idea to have a backup plan in place in case the weather is crummy when the time comes for your climb, especially if people are flying in for the trip. This could be another climb in a different location or something else entirely. Perhaps a rainy weekend is a good opportunity to explore town or visit a park.
Create a Route Plan for Your Mountaineering Climb
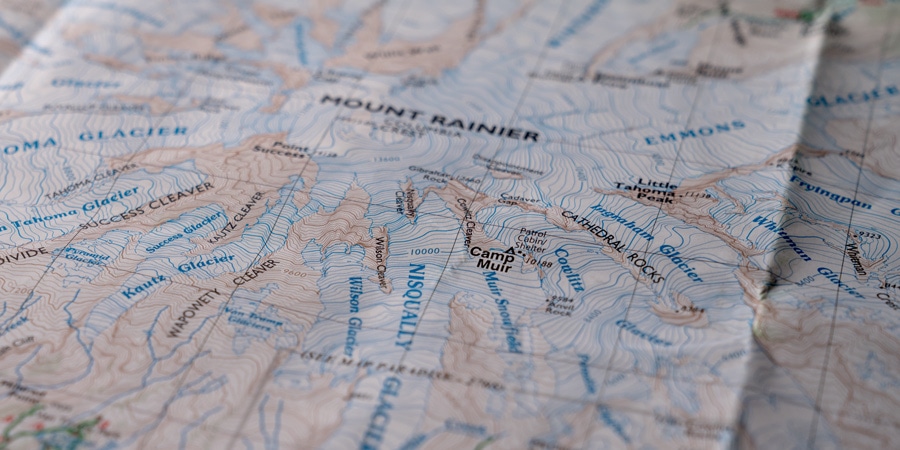
Before you pack up and head out, it's smart to make a detailed route plan. Doing so will force you to think through and plan details like how many miles you'll hike, how many feet of elevation you intend to gain and lose each day, what the terrain will be like and what time you must start your trip in order to make it out before dark. Guidebooks, websites and topographic maps are good resources to help you figure out things like miles, elevation gain/loss and time required.
How to estimate the time it will take to climb: A good guideline for hiking speed is 2 mph on an easy trail with a light pack. Another guideline is a gain of 1,000 vertical feet per hour on nontechnical terrain with a light pack. With experience, you'll understand how quickly you can travel on different types of terrain and with different amounts of weight on your back.
You can choose exactly how to format your route plan, but a simple chart that lists the different segments and includes columns for things like miles, camp location, elevation of camp, highest elevation reached, elevation gain/loss, estimated time and any other data you want to include (such as GPS coordinates of important locations) should suffice.
Here's an example for a three-day climb:
Sample Mountaineering Route Plan
| Day | Date | Trip Segment | Miles | Starting/Ending Elevation (ft.) | Elevation of Camp (ft.) | Highest Elevation Reached (ft.) | Elevation Gain/Loss (ft.) | Estimated Time (hrs.) |
|---|---|---|---|---|---|---|---|---|
| Day 1 | 7/24 | Hike to Camp Muir | 4.5 | 5,420/10,100 | 10,100 | 10,100 | +4,680 | 5 |
| Day Totals | 4.5 | +4,680 | 5 | |||||
| Day 2 | 7/25 | The climb | 3 | 10,100/14,410 | 10,100 | 14,410 | +4,310 | 6 |
| Time on summit | 1 | |||||||
| Descent to Camp Muir | 3 | 14,410/10,100 | 10,100 | -4,310 | 4 | |||
| Day Totals | 6 | +4,310/-4,310 | 11 | |||||
| Day 3 | 7/26 | Hike out | 4.5 | 10,100/5,420 | 10,100 | 10,100 | -4,680 | 2.5 |
| Day Totals | 4.5 | -4,680 | 2.5 | |||||
| Trip Totals | 15 | +8,990/-8,990 | 18.5 |
Gather Your Mountaineering Gear and Supplies
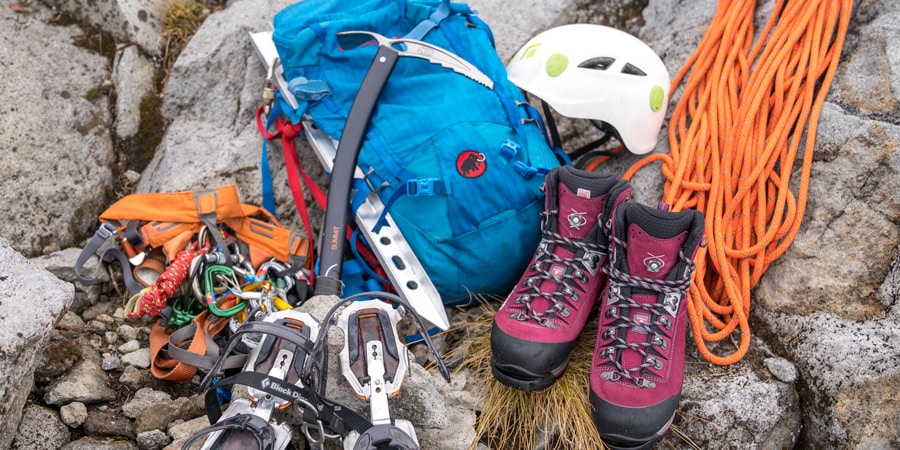
Now that you've nailed down where you're going and created your route plan, it's time to start thinking about what gear and supplies you need.
Our articles, Mountaineering Gear Essentials and What to Wear Mountaineering, go over what gear and clothing you'll need on most mountaineering trips, but keep in mind that exactly what's required will vary based on things like season, route selection and personal preference. With every trip you go on, you'll gain insight into what you need and what you don't, and you can make changes before heading out again. It's common for mountaineers to continually refine their gear choices in pursuit of the perfect kit.
As you gather your things, here are some points to keep in mind:
There's individual gear: Things like a backpack, clothing, mountaineering boots, ice axes and crampons are very individual, so you should plan on acquiring and bringing those things.
And, there's group gear: Items like tents, ropes, stoves, fuel, water filters and climbing hardware can be shared among the group. Talk to your partners ahead of time to see what they have and make a group decision about what to use. Be clear about who is bringing what, so nothing gets left behind.
You can rent gear: Many outdoor shops, including REI, rent mountaineering gear. So if you don't want to purchase things like mountaineering boots, ice axes and crampons, see what's available to rent. Another option to consider is purchasing used clothing and gear, though it's best to avoid used technical gear like ropes, harnesses, carabiners and cams, because you don't know their history. If you're going on a guided trip, things like ropes and tents are often provided, so check with them before buying or renting.
Bring tasty, easy-to-make meals: Meals that are easy to prepare are a good idea for mountaineering climbs, especially on your summit day when you don't want to waste precious time making an elaborate breakfast. That said, bring things you know you enjoy eating; if something doesn't sound good at home, then you probably won't want to eat it when you're high on a mountain. Also, bring lots of snacks for eating on-the-go, since it's common to not stop for lunch during a big climb. You can learn more about food in our article, Meal Planning for Backpacking, and find recipe ideas.
Remember the permits and passes: Make sure you have all the necessary permits and passes. To figure out what's required, check guidebooks and websites or contact the land management agency that oversees the area you're heading to.
Using our mountaineering checklist will help you remember to bring everything you need. Remember to customize it for your specific trip.
Final Preparations for Your Mountaineering Trip
Before you head out the door, there are a few last things to do.
Check the weather and route conditions (again): You may have done this while researching routes, but it never hurts to have another look at the weather and route conditions.
Review the Leave No Trace principles: To protect our natural places, it's important to know how to limit our impact. There are seven Leave No Trace principles that all backcountry travelers should learn and live by. Part of that is having a plan for how to deal with human waste. (Some high-impacted mountaineering areas require you to pack it out.) Learn more in our articles, Leave No Trace Principles and How to Go to The Bathroom in the Woods.
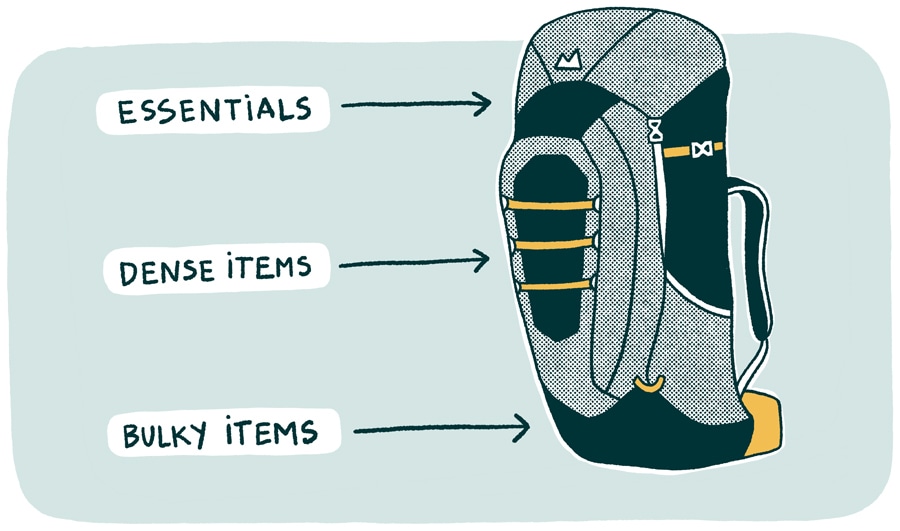
Pack your bag: Pack your bag like you would for backpacking, with bulky items toward the bottom, dense things in the middle and essentials you want access to near the top. Any gear you put on the outside of your pack needs to be secured in place so it won't be a nuisance as it swings and bangs around, and more importantly, so it won't fall off along the way. Carabiners are handy for clipping items to pack straps. See our article on How to Pack a Backpack for more tips.
- How to lash your ice axe to your pack: Your ice axe should go on the outside of your pack; most packs have a webbing loop toward the bottom that you will thread your ice axe shaft through, spike first and with the pick of axe facing in. When the head of the axe is at the loop, flip the shaft up and secure it to your pack (look for a hook-and-loop strap or a bungee on your pack for doing this.)
- How to carry crampons: To pack crampons, consider getting a crampon bag to protect yourself and your gear from the sharp points if your pack doesn't have a dedicated spot for them. You can lash the crampon bag to the outside of your pack or put it inside.
Share your itinerary: Always leave a copy of your trip itinerary with someone back at home. The itinerary should include details about what mountain and route you're climbing, where your car will be parked, where you'll be camping and what time you expect to return home. (If the route plan you previously created has this info, then you can share that.) It's important to discuss with the person who has the itinerary how long you're comfortable with them waiting before contacting authorities if you're overdue. When you're creating your route plan, be as accurate as possible with your time estimates, and maybe even build in a little buffer to account for delays.
Climbing safety is your responsibility. No article or video can replace qualified instruction and experience.
