Being able to remove your two-piece crankset is handy if you want to clean off your frame or work on your chainrings, or if one of your crank arms needs to be replaced. This article and video show you how.
Video: Bike Maintenance: How to Replace a 2-Piece Crankset
Tools you'll need:
- #5 hex key
- Torque wrench
- Bottom bracket tool
First, lift the chain off the chainring and rest the chain gently on the bearing cap. You can push the tensioning arm forward to loosen the chain. Then, loosen the pinch bolts on the non-drive-side crank arm, but don't fully remove them.

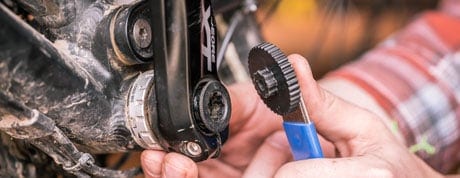
Now, you can use the bottom bracket tool to remove the plastic pre-load cap, and set the cap aside. (The type of tool required to remove the pre-load cap varies with the brand of the crankset, and some brands don't have a cap at all. Check with the crankset manufacturer to be sure you have the correct tools for removing your crankset.)

With the cap off, pull the left crank off the spindle. Then, tap the end of the spindle with your hand to loosen it. If it needs some encouragement, gently use a rubber mallet. Once the spindle is loose, pull the crank and chainrings out the other side.
Replacing the Crankset
When you're done with your work, and it's time to replace the crank, slide the spindle through the bottom-bracket shell and tap it into place with the heel of your hand.
Replace the left crank arm, followed by the plastic preload cap. Gently tighten the cap with your bottom bracket tool.
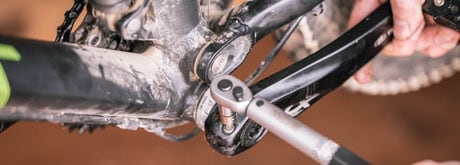
Next, tighten the pinch bolts on the crank arm, but don't fully tighten one bolt before the other. Go back and forth on each bolt until they're hand tight, and then use your torque wrench to reach the specified torque.

Finish the job by moving the chain back onto the chainring and shifting through the gears to make sure everything works properly.
