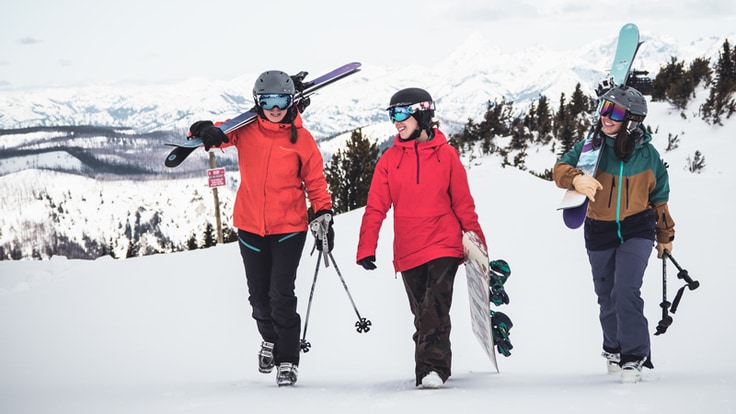
Maybe a friend told you about the rush they get while gliding downhill, or you saw footage of professionals racing down the mountain. Whatever it was that has drawn you to skiing or snowboarding, you're about to experience winter in a new and exciting way. But before you jump in the car and head for the hills, here's what you need to do to plan your first time skiing or snowboarding:
- Choose a ski resort: For your first time on the slopes, pick a resort that has what you want. Look into the quality of lessons, cost, distance from home and resort amenities.
- Sign up for a lesson: Choose between group lessons with other beginners or a private lesson for one-on-one instruction.
- Buy a lift ticket: Before you can hop on a chairlift and ski or snowboard down the mountain, you need a lift ticket. Buy one online in advance or in person at the resort. Many lesson programs for beginners include lift tickets.
- Rent equipment: Rather than buying new gear or borrowing from a friend for your first time, rent gear from a ski resort or an outdoor shop that will fit right and perform well.
- Plan your travel day: Check the weather and road conditions, make sure your car is ready for winter travel and investigate parking options at the resort before you leave home. Or if you're staying at a resort, look into free shuttles so you don't have to drive.
- Dress for the weather: Check the forecast before leaving home so you have an idea how cold it will be. Then dress in a base layer, middle layer and outer layer so you can add or remove clothing based on your activity level and the weather.
- Understand the trail ratings: Ski resorts mark their trails with a color-shape rating system. You'll likely spend your entire first day on green circle (easiest) trails.
Choose a Ski Resort
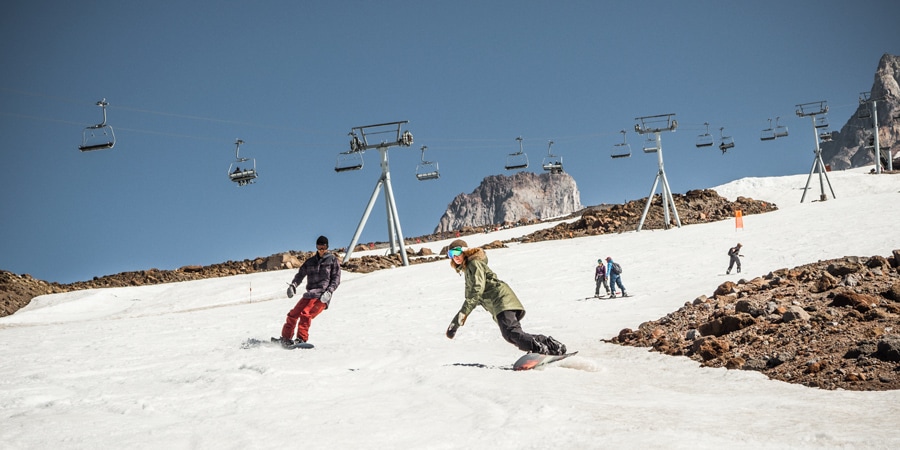
Now that you've decided to give skiing or snowboarding a try, one of the first things you need to do is figure out where to go.
To choose the right resort for you, spend time researching options online and thinking about what you want out of your experience. Do you want to ski all day or spend a couple hours on the slopes? Are you committed to learning to ski or snowboard or are you heading out for a one-off day on the snow? As you noodle on these types of questions, here are some other things to consider that will help you choose a resort:
Timing and duration of lessons: Ski or snowboard lessons are a great way for beginners to learn basic skills (we talk more about this in the "Sign Up for Lessons" section of this article) and most resorts offer them, but you need to pick a lesson program that works for you. Does a full day of instruction sound like fun or do you want to spend a couple hours in a lesson and then head off to get lunch or hang with friends? Do you think you can get up and out of the house in time to make it to a 10am lesson or would the afternoon be better? Do some research online to see what different resorts offer for the duration and timing of lessons and pick something that works for you.
Lesson quality: Most resorts offer quality lessons, but some are renowned for their ski and snowboard schools and beginner-friendly atmospheres. If you want the best, research resorts that have top reputations.
Cost: There's no doubt about it, skiing and snowboarding can be expensive. To save money, compare prices online and look for deals for beginners. Many resorts have very affordable beginner packages that bundle lift tickets, equipment rentals and lessons all together for less than the cost of a regular lift ticket alone. You can also potentially save money by going to a smaller, lesser-known resort rather than the biggest mountain around.
Travel time: A long drive to a ski resort means an early start and a lot of time behind the wheel. If you have several resorts to choose from, perhaps pick one that's closer to home for a more relaxed start to your day. Of course, if you're planning a weeklong ski vacation, then the time it takes to get there is less of a concern.
Terrain: As a novice you're going to spend your entire first day on gentle slopes working on basic skills. So, when you're looking up resorts, don't get distracted by impressive-sounding things like the amount of vertical gain or percentage of black-diamond trails that some places tout. Instead, base your decision on other criteria, like the cost and quality of lessons.
Resort amenities: Most resorts are much more than just a snowy slope and a chairlift. No matter where you go, you'll find standard things like bathrooms, first-aid stations and a ski patrol office. But many resorts also have equipment rentals, locker rooms, restaurants/cafeterias, bars, and a secure, monitored place to keep your skis or snowboard when you're not on the slopes (often called ski or snowboard check). Some places even offer child care, live music, movies and other activities, like ice skating, sledding, tubing, swimming and games. If you're interested in doing more than skiing or snowboarding, go to resort websites and see what else they offer.
Sign Up for Lessons
It's very generous of your friends to offer to teach you to ski or snowboard, but if you want to stay friends after a day on the slopes, sign up for group or private lessons taught by a trained instructor. Certified ski and snowboard instructors know how to gently introduce beginners to the sports, and they are skilled at explaining and demonstrating techniques in ways that are easy to understand and tailored to your specific needs—things that your friends might not be so good at.
You have a couple options for taking lessons:
- Group lessons: Group lessons are generally the best deal and the way that many people are introduced to skiing or snowboarding. During a group lesson, you and a handful of other beginners will spend anywhere from a couple of hours to a full day learning how to put your gear on, get up the hill and slide back down while controlling your speed and direction. For the cheapest options, look for package deals offered by the resort that bundle the lesson with rental gear and a lift ticket. Sometimes you can save even more by signing up for multiple lessons.
- Private lessons: If you want more individual attention than a group lesson provides, consider a private lesson. Private lessons are typically more expensive than group lessons, but the one-on-one setting gives the instructor more control over the pace of the class, which can make them the right choice for people who either pick up new skills quickly or those who need a little more time to learn.
Tips for Getting the Most Out of Lessons
- Communicate your expectations ahead of time: Not everyone who signs up for a ski or snowboard lesson will have the same enthusiasm as you. If you're serious about learning how to ski or snowboard, let the staff and instructors know what your expectations are when you're signing up for group lessons or checking in day-of. This information can help them figure out how to group participants and assign instructors to maximize learning and fun.
- Arrive early: Resorts get busy, especially on weekend days, so give yourself plenty of time to park your car, figure out where you need to be for your lessons and to pick up rental equipment. Arriving at least one hour before the start of your lesson is a good rule of thumb.
- Talk with your instructor throughout: Ski and snowboard instructors are skilled at reading people but they're not telepathic. If you have apprehensions or ambitions about skiing or snowboarding, let your instructor know. Or if you feel like you need to move faster and be more challenged or move slower and spend more time on the basics, speak up. Communicating with your instructor will help them figure out what you need to keep you engaged and learning.
- Use your instructor as a resort guide: Your instructor's primary job is to teach you to ski or snowboard, but don't be afraid to use them for more. Instructors spend a lot of time at ski resorts and know all kinds of useful tips, like where to get lunch, when is the best time to eat to avoid crowds, where the best beginner terrain is and how to score a good parking spot. Consider your instructor a concierge of sorts, who can help you plan your day at the resort.
- Find out where to go and what to work on: All too often, once a lesson is over, people hop on a lift and head to terrain that is too challenging for them. When your lesson is wrapping up, be sure you have an idea of what terrain on the mountain is right for you and what skills to work on. A good instructor will initiate this conversation, but if it's not clear, ask for more information.
Buy a Lift Ticket
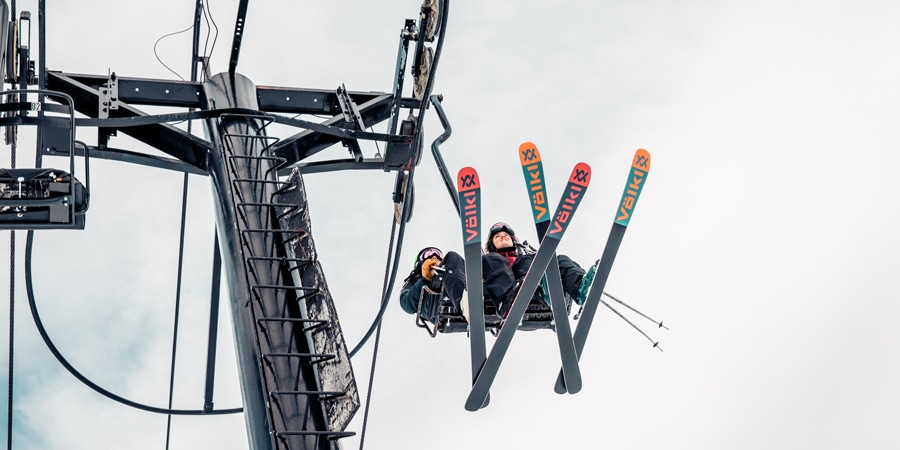
To gain access to the snowy slopes and the motorized chairlifts that take you up them, you need to buy a lift ticket. To purchase a lift ticket, you have two main options:
- Buy a lift ticket at the resort: Lift tickets can generally be purchased at outdoor lift ticket windows near the main lodge or inside the lodge at a guest services desk.
- Buy a lift ticket online: Many resorts allow you to purchase lift tickets ahead of time online. Doing so lets you skip the line at the resort, and it can sometimes save you money.
The traditional lift ticket is basically a sticker that you put on a piece of wire that you loop through a zipper pull on your jacket or pants (fun fact: the metal wire thingy is called a ticket wicket.) When you go to board a chairlift, a resort employee will visually check your ticket or scan it to give you access to the lift.
Nowadays, you'll find many resorts that have moved from ticket wickets to digital cards with radio-frequency identification (RFID) technology. This allows you to stash the ticket in a pocket and, when you pass through a set of scanners, the digital card relays the appropriate info and a gate will open to let you board the lift.
If you have any questions about how to use a lift ticket or where to put it, ask a resort employee for help.
Tips for Saving Money on Lift Tickets
- Buy online: Some resorts offer discounts for buying online in advance.
- Buy multiple days: If you're willing to buy two, three or more lift tickets at one time, resorts will often discount the rate. You can usually find multiday packs for sale on resort websites.
- Avoid weekends: If you're able to get to the resort on a weekday, you can likely ski or snowboard for less. Many resorts also offer discounts for night or half-day tickets.
- Look for discounts: Resorts sometimes partner with supermarkets, gas stations and outdoor shops to offer discounted lift tickets.
- Call the resort: Sometimes simply picking up the phone and calling the resort to ask about discounts or promotions is the easiest way to find out how to save money.
- Check if kids ski or ride free. Many ski destinations allow younger kids to ski for free. Others offer free school-age programs for students in certain grades. Check local resorts to find out what ski or riding passport programs they offer.
Rent Ski or Snowboard Equipment
Rather than skiing or snowboarding on borrowed gear that doesn't quite fit you right or dropping a bunch of money on a brand new setup, rent equipment for your first time on the slopes. Renting skiing or snowboarding gear lets you try out modern equipment from top brands without a large up-front cost. If after a few outings you've decided you really enjoy skiing or snowboarding, you might consider purchasing your own gear.
The essential gear for skiers includes downhill skis, ski boots and poles (to keep things simpler for young kids, they typically aren't given poles as beginners). For snowboarders, it's a snowboard and snowboard boots. Most resorts also rent helmets to protect your head if you take a tumble. There are a few ways to approach rentals:
- Rent from the resort: Most resorts have large rental fleets of skis, snowboards, boots, poles and helmets, making it easy and convenient to get outfitted for a day on the slopes. Renting from the resort has a couple of obvious perks: you won't have to transport bulky skis or a snowboard on or in your car and—if you have issues with the fit or function of any of the equipment—you can simply head back to the rental counter at the resort to sort it out. On busy weekends days, the rental department can get busy, so give yourself plenty of time to get through the line.
- Rent from an outdoor store: Many outdoor shops, including some REI locations, rent skis and snowboards. You can sometimes save money by renting gear from a shop rather than the resort and, when you arrive at the mountain, you'll already have your gear in hand, allowing you to skip the line at the rental counter. However, you will have to plan ahead and go to the shop the day before your trip to the slopes or allow enough time to stop on the way. And, you'll need a secure way to transport the skis or snowboard, such as on a roof rack or inside your vehicle.
- Rent for the season: If you're planning on skiing or boarding multiple times, it might make sense to rent your gear for the entire season. If that's your plan, inquire early (August isn't too soon) about availability so you get the best choice of gear.
Whichever option you choose, call ahead or make an online reservation. On a busy weekend day, resorts and shops can run out of popular sizes of skis, boards and boots.
Plan Your Travel Day to the Ski Resort
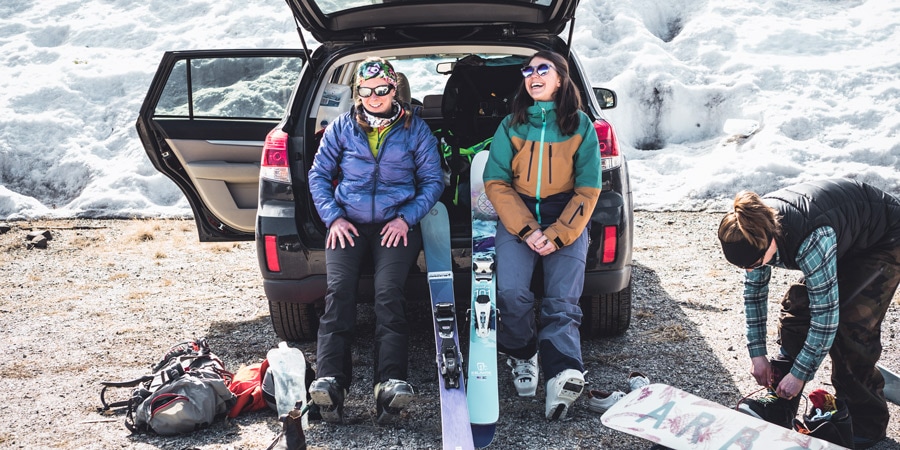
If this will be your first trip to a ski resort, you can do several things to set yourself up for a successful journey:
Check the weather forecast and road conditions: Always check the weather before you head out. A major winter storm is good for skiing and snowboarding, but it can create treacherous travel conditions and even shut down roads. Knowing what the weather has in store will help you decide how much time to allow to drive to the resort. Many resorts provide weather forecasts on their websites, or you can look up the forecast on another site, such as weather.gov. If the forecast looks stormy, find an up-to-date report on the road conditions to see if there are closures or major traffic delays. To do so, try searching for a department of transportation website for the area you'll be traveling through.
Makes sure your car is ready: In fair weather, most vehicles will be fine for a trip to the resort. But, if the forecast calls for messy winter conditions, it's important to make sure your car is up to the challenge. Keep up with regular maintenance, consider putting a set of winter tires on for better traction and leave home with a full tank of gas. In some regions, you're required to keep tire chains in your vehicle to put on in slick conditions (look for information on a department of transportation website or call the ski resort to find out if you need them). If you are required to carry chains, learn how to put them on before leaving home.
Prepare for road emergencies. Make sure you have an emergency road kit for winter weather in your car. The kit should include tire chains, snow shovel, ice scraper, snow brush, jumper cables, a bag of sand or cat litter for traction, first-aid kit, flashlight and extra batteries, and extra food, clothes, water and blankets.
Allow plenty of time: Even if the forecast looks good and the roads are clear, it's smart to allow extra time to get to the resort, especially on busy weekend days. You won't be the only one making the trek to the mountains, which means roads can be crowded and it can take time to find parking.
Research shuttles and parking: The more you know about what to expect when you arrive at a resort, the smoother things will go. At home, spend a little time on the resort website looking up specifics about travel, like where to park and whether there are shuttles to help you get around. Some resorts offer priority parking for an extra fee, which might be worth it if you don't want to stress about having to park far away. If you must park in a distant lot and you're traveling with a friend, pull up to a convenient drop-off spot close to the main lodge so one person can get out with the gear while the other person parks the car. That way you won't have to lug all that stuff a long distance.
Manage your expectations: Ski resorts get busy, especially when a bunch of new snow arrives in time for the weekend. Going into your trip with the right mindset (and expecting that things will likely take a bit longer than you want, and that there will be lines) will help you get through it.
What to Wear Skiing or Snowboarding
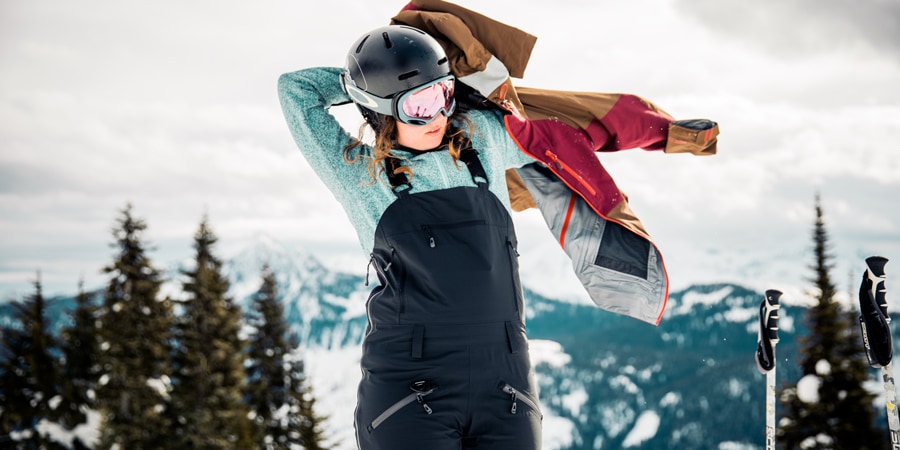
Don't rush out and buy a whole new wardrobe to try out skiing or snowboarding for the first time. Chances are you have some things in your closet that will work, or you can borrow clothes from a friend. But before you start grabbing garb and pulling it on, look up the weather forecast so you know what to expect. Dressing for sun and temps in the 40s is a lot different than dressing for snow and temps in the teens. With that said, it's not a bad idea to bring a bunch of options with you to the resort because weather can change quickly in the mountains. It's better to have extra layers with you and not need them than to be cold and wish you had brought more clothing.
Dressing in layers is the easiest way to regulate your comfort because you can add and remove clothing as your activity level or the weather changes. Here are the basics that you'll need:
- Base layer: Ideally a pair of synthetic or wool long-underwear bottoms and a top that you wear next to skin. This layer wicks sweat off your skin and keeps you warm.
- Middle layer: A midweight fleece top is a nice addition to keep your upper body warm. If you don't have a fleece top, try a wool sweater. On really cold days, consider adding midweight fleece pants on top of your long-underwear bottoms.
- Outer layer: If you expect snow to fall while you're on the slopes, you'll want a waterproof jacket and pants to keep you dry. There are lots of skiing-specific jackets and pants, but for your first time out you can get by with all-purpose pieces, like a rain jacket and rain pants. If the forecast calls for clear skies, you don't need waterproof pieces, but if you have them you may still want to wear them to help block wind.
- Gloves or mittens: A warm pair of insulated gloves or mittens will keep your fingers comfortable throughout the day. You don't need ski- or snowboard-specific gloves or mittens, but they do have some nice features, like waterproof membranes to keep your hands dry and long cuffs that go up to mid-forearm to keep snow out.
- Socks: Ski and snowboard boots are plenty warm, so you won't need to wear a pair of bulky, thick socks or two pairs of socks; a single pair of medium-weight socks are generally enough. Ski- and snowboard-specific socks are nice because they come up to just below the knee for comfort while wearing tall boots, but if all you have are hiking socks, you can get by with those. Avoid wearing socks with lots of ribbing that can cut off circulation inside ski boots, and don't use cotton socks because if they get wet from snow or sweat, they will take forever to dry out.
- Helmet: Most ski resorts rent these, so you don't have to buy one.
- Goggles: Ski and snowboard goggles protect your eyes from bright sun and falling snow, making them an important item to have. If you don't own a pair, see if you can borrow some from a friend for a day. If it's not actively snowing, sunglasses are a fine substitute.
- Neck warmer: While not a necessity, a neck warmer (also called a gaiter) is a versatile item that you can pull up over your mouth and nose to keep your face warm while you're riding the chair lifts.
Understanding Trail Ratings
If you've signed up for a lesson, your instructor will determine where you go on the mountain. But, before or after your lesson, or if you're not taking one, you can explore the resort on your own or with friends. To keep you having fun and from accidentally heading down a trail that's way too difficult for you, it's important to understand ski and snowboard trail ratings.
Ski resorts in North America use a color-shape rating system to indicate the level of difficulty. You'll see these colors and shapes on trail maps and signage around the resort.
Ski and Snowboard Trail Ratings
| Trail Rating | Symbol | Level of Difficulty |
|---|---|---|
| Green Circle | Easiest | |
| Blue Square | Intermediate/More Difficult | |
| Black Diamond | Advanced/Most Difficult | |
| Double Black Diamond | Expert Only |
As a beginner skier or snowboarder, you're going to spend most of your time on the easiest terrain while you're learning new skills. If you're taking a lesson, talk to your instructor about what type of terrain is appropriate for you to explore on your own. Be aware that ratings can vary from resort to resort, meaning a green circle trail at one resort could feel like a blue square trail at another, and vice versa.
Remember: Safety is your responsibility. No internet article or video can replace proper instruction and experience—this article is intended solely as supplemental information. Be sure you're practiced in proper techniques and safety requirements before you engage in any outdoors activity.
