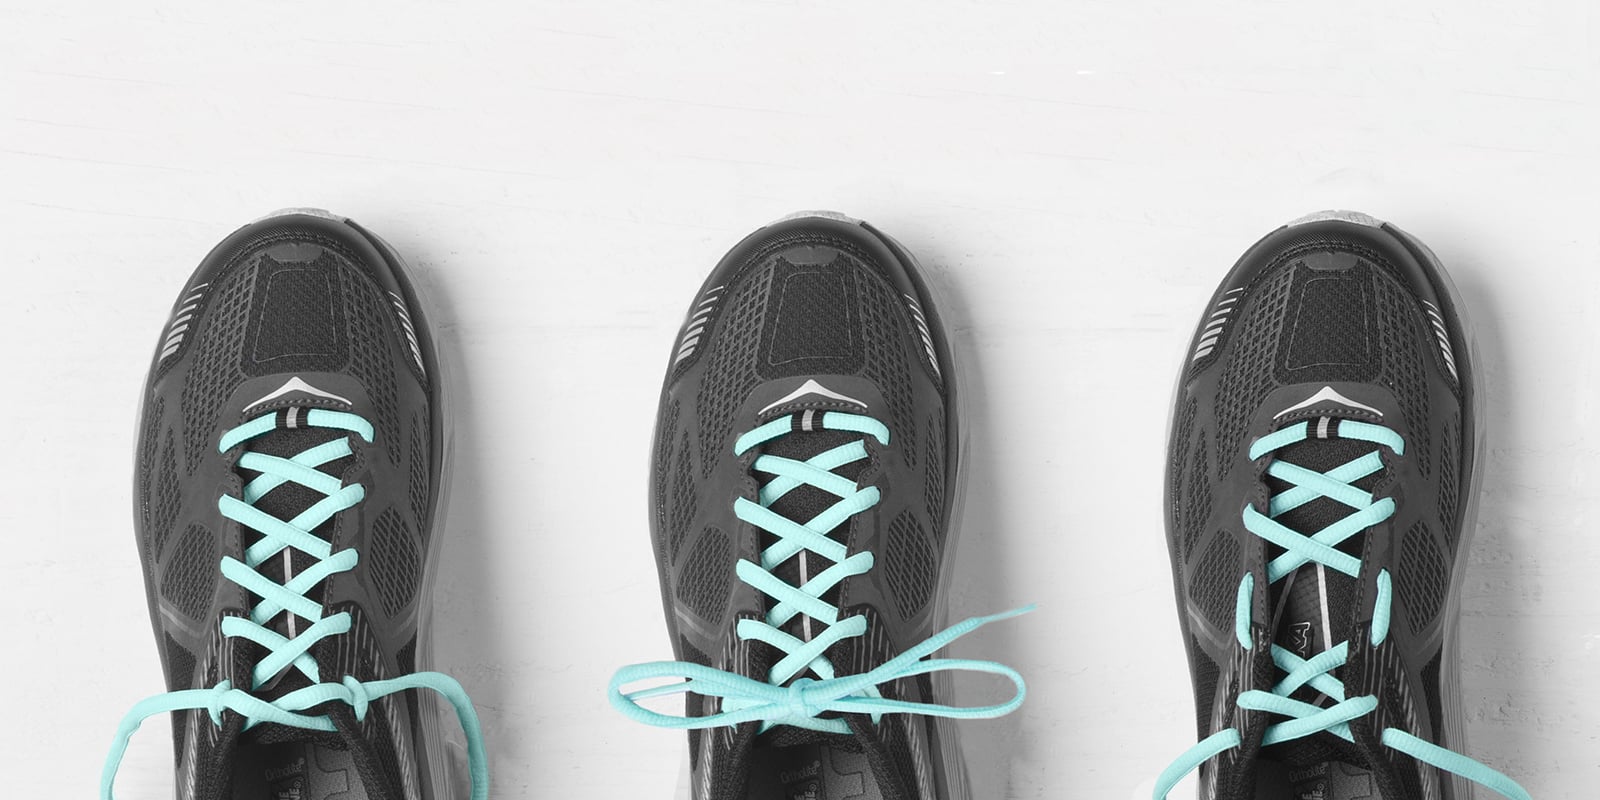
Unless your running shoes have Velcro® closures or a speed lacing system, you probably tie 'em on like you've always done it. It's worth learning a few tricks, though, to handle some common pain points.
In this article, we cover three lacing techniques every runner should know:
- Runner's Loop: Secures the heel and prevents toes from sliding forward.
- Window Lacing: Alleviates pressure points on the top of your foot.
- A More Secure Knot: This technique tweak holds laces more securely.
Lacing prowess isn't a substitute for getting the right fit initially. For that you need to see a footwear expert at a specialty store like REI.
Video: Lacing Tips for Running
Runner's Loop
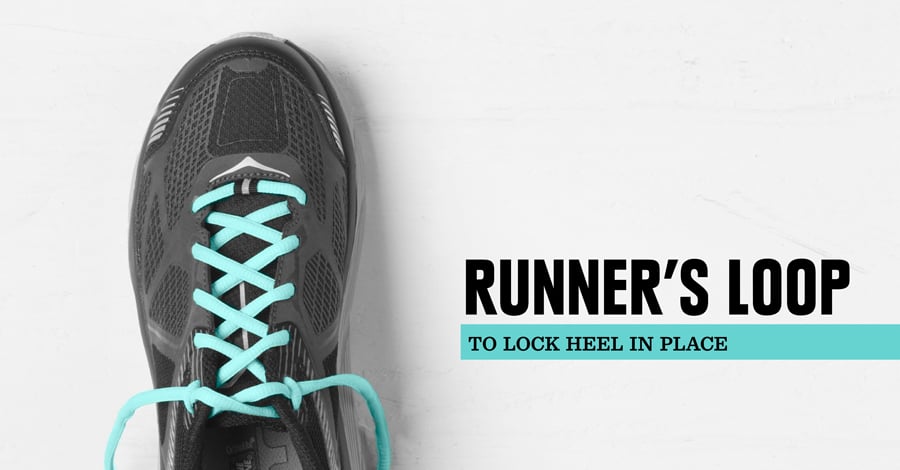
When your heel isn't held firmly, your foot can slip forward and bump your toes against the front of your shoes. Your fix is the runner's loop:
- Lace your shoes normally, crisscrossing them until you reach the second eyelet below the top on each side.
- Instead of crossing over again, pull each lace end up on the same side, inserting it into the top eyelet on that side; you'll form a loop.
- Pull each lace end across and through the loop formed on the opposite side of the shoe.
- Pull the lace ends up and out a few times in order to shrink down the loops so that they hold the lace securely on each side.
- Finish by tying your shoelaces in the usual way.
Many shoe designs are built specifically to allow for the runner's loop: They provide extra length in the laces and specific alignment of the last eyelets to give you the option of tying it.
Window Lacing
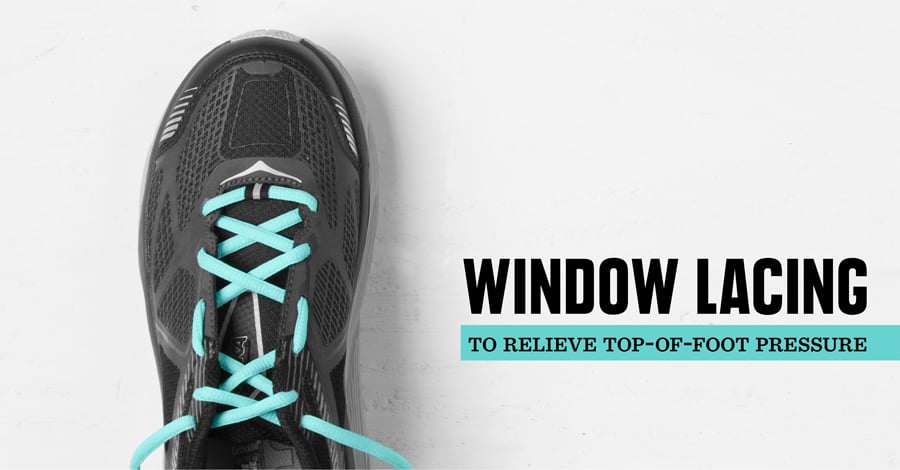
If your running shoes are causing an uncomfortable pressure point on the top of your foot, window lacing (aka "box lacing") can help alleviate the problem:
- Unlace the shoe down to the eyelet that is just below the pressure point.
- Re-lace by going straight up to the next eyelet and then crossing the laces over.
- Finish lacing the rest of your shoe in your usual way.
Reef Knot
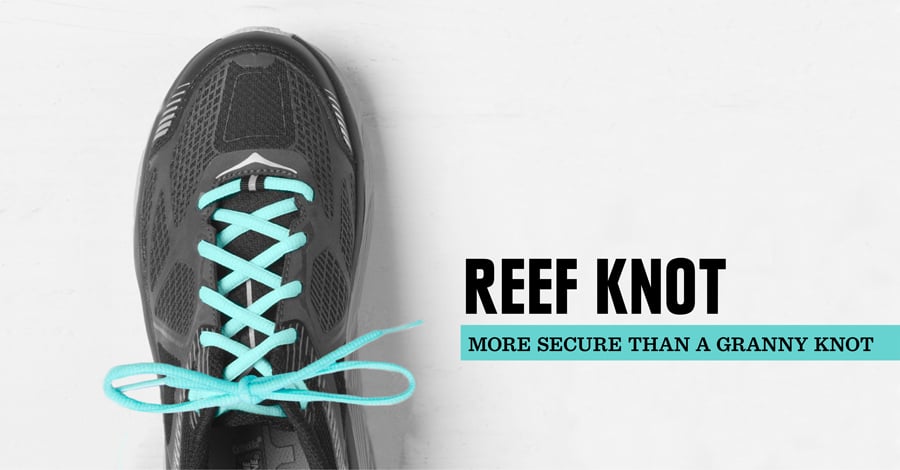
The simple shoelace knot we all learned as kids is quick and easy—and holds securely much of the time. Except when it doesn't.
The knot you were taught as a kid is either a "granny" knot or the more secure "reef" knot. Lace movement (as your foot moves) in a reef knot pulls the knot tighter, whereas lace movement in a granny pulls the knot looser. At first glance both look the same, though, so here's a test:
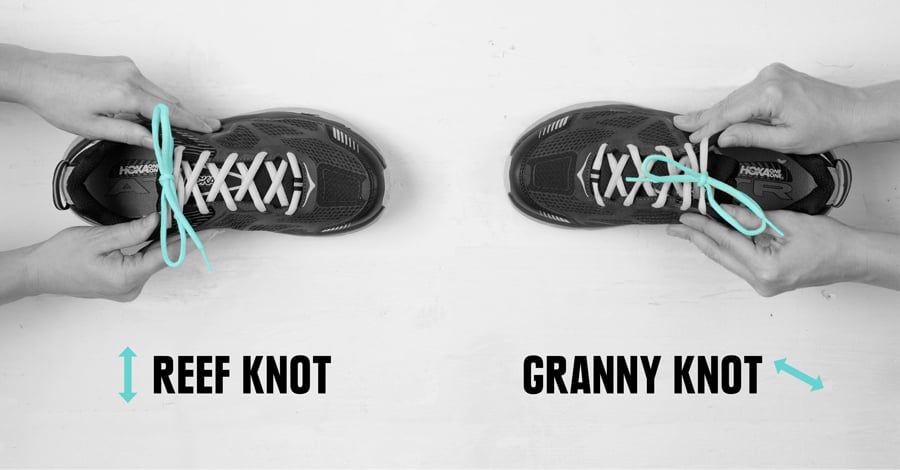
With your foot out of the shoe, tie your knot the usual way. Now grasp your tied shoe by the top eyelets and pull sideways. If the loop ends skew slightly so that at least one loop is down rather than directly sideways, you tied a not-so-dependable granny knot.
If your pull test leaves the final bows lying perpendicular to the sides of the shoe, then you have yourself a reef knot and you're good to go.
To transform your granny into a reef knot requires one or two quick fixes:
- Do all steps the same: Cross and snug the laces, then form your first loop the same way.
- Now, reverse the path of the lace as you form your second loop: If you always pass the lace on top of the first loop, then pass it under the second loop this time (or vice versa). This is the step that fixes the knot.
- Finish the knot and do the pull test.
- If you still have what looks to you like a granny knot, then try finishing the knot by pulling the final loop to the opposite side of the shoe. If you've been pulling it to the left, then pull it to the right. If you've been pulling it to the right, then pull it to the left. (This will also involve switching the hand that pulls each loop.)
Note: If this fix isn't working, then experiment instead. Reverse what you do at a single step, then finish and do the pull test. When the loops lie perpendicular, you have your new way to tie your shoes.
Shoe Laces
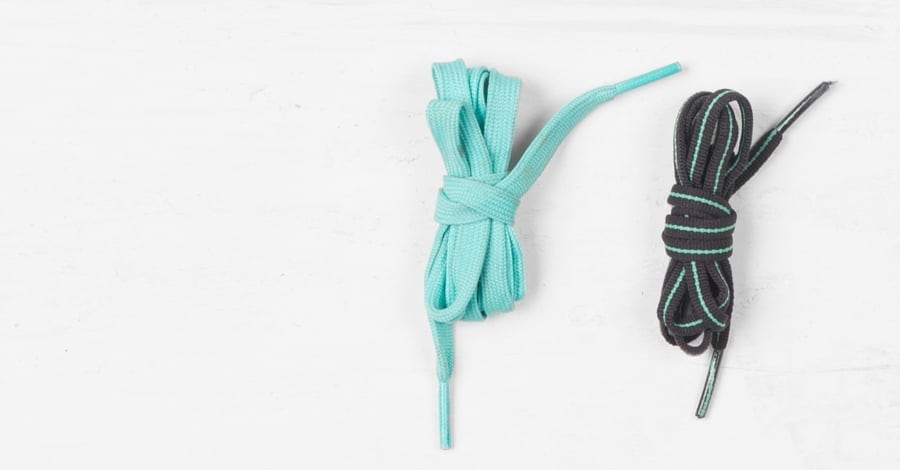
Most shoes come with long laces to allow for the runner's loop, so you should be able to do any of these lacing tricks using your current laces.
If your laces are worn out, replace them with ones that match both the shape (round, oval or flat) and length of your previous pair. If you're having a problem with loosening knots, you can switch from round to flat laces. You might also switch from a synthetic material like nylon to a natural fiber like cotton.
Note: Most shoes come with laces that have a similar lifespan to the shoes. If you're on your third or fourth set of laces, consider whether your shoes need replacing instead. For details, read When to Replace Your Running Shoes.
