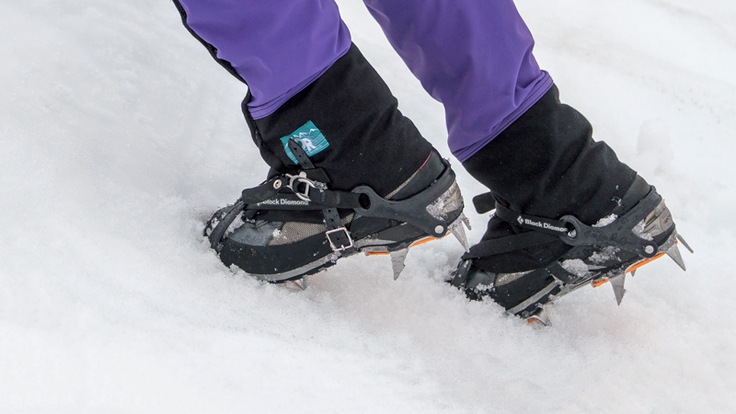
Whether you're summitting a big mountain or crossing a snowfield while hiking at higher elevations, knowing how to use crampons allows you to more confidently travel across hardpacked snow or steep, icy terrain. In mountaineering, crampons are a key traction device that provide added security to prevent falls and other accidents. Along with knowing proper footwork techniques and ice axe skills, knowing how to use crampons is a skill you'll need to safely travel on snow and glaciers when mountaineering.
In this article, you'll learn:
- Tips for putting on crampons
- When to use crampons
- Three techniques for using crampons
- Tips for descending in crampons
Before you head out to the hills, make sure your crampons properly fit your mountaineering boots. There should be solid contact between the bottom of your boots and the frame of the crampons. You can read more about the different materials and bindings and how to match the right crampon to your activity in our article on How to Choose Crampons.
Climbing safety is your responsibility. No article or video can replace qualified instruction and experience.
Tips for Putting on Crampons
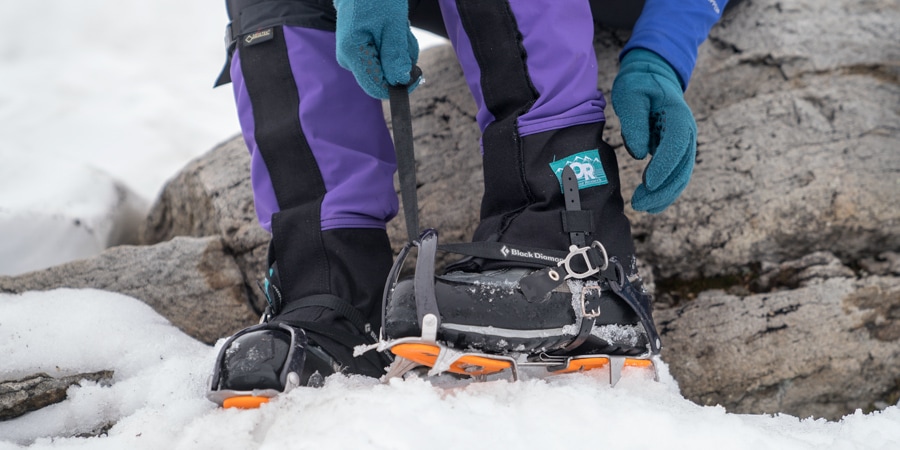
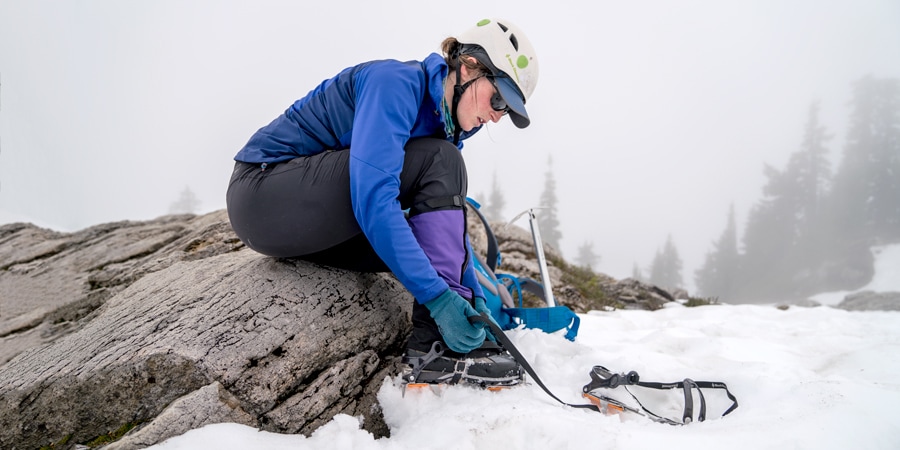
Practice putting on your crampons at home and while wearing gloves. When you put them on, minimize the number of items that can get snagged by the sharp points.
Here are some tips:
- Avoid loose fabric or things hanging around your ankles or near your feet.
- Make sure all crampon straps and your shoelaces are tucked in and tidy.
- If you're wearing gaiters, the buckles should be on the outsides of your legs to avoid snagging.
- Tighten the straps so there's solid contact between the bottoms of your boots and the crampon frames.
- Make sure they're secure; continually check them when you take breaks.
When to Use Crampons
When your footwork no longer feels secure with just your boots and ice axe, or when you find yourself working too hard to kick steps in the snow, it's time to think about putting crampons on your feet. Here are some scenarios where you would need crampons:
- When the snow becomes much firmer
- The slope angle increases
- You want to travel more efficiently without having to kick as many steps
- If you're traveling on a glacier
But don't wait too long to put them on. You should be scanning the terrain to see what's up ahead and put crampons on before you start slipping. Find a safe, flat spot along your route to do it and make sure there are no overhead or fall hazards.
Three Techniques for Using Crampons
There are three techniques for walking in crampons, though most beginners will likely stick with just the first two:
- Flat foot, also called French technique
- Frontpointing, also called German technique
- Hybrid, also called American technique
Whichever technique you use, you'll want to maintain a slightly wider stance than normal, keeping your feet a couple more inches apart. Maintain an athletic stance (especially when descending), keeping your knees loose and bent.
Flat Foot (French Technique)
When the slope steepens, your goal is to get as many sharp crampon tines in contact with the snow as possible. Each foot lands flat on the snow. With each step, set your crampons deliberately into the snow and articulate your foot at the ankle so all of the tines engage in the snow or ice. If you only have your uphill tines in contact with snow, you're essentially balancing on an edge and could slip. The angle of your sole should match the angle of the slope. Keep your feet flat whether you're duck walking or using a crossover step to ascend.
Frontpointing (German Technique)
Frontpointing is a more advanced technique commonly used when ice climbing or on slopes that are steeper than 45 degrees. In this method, you kick so that the two front points (and most of your toe plate) are engaged in the slope.
Hybrid (American Technique)
As you enter steeper terrain, flatfooting may not be as secure or easy, while frontpointing can tire you out quickly. You may want to employ a hybrid technique, which is a combination of the two.
- With one foot, kick straight into the slope, engaging the front four tines.
- Meanwhile, splay the other foot (in a duck walk), making sure to keep that foot flat and all tines engaged in the snow.
- Using this technique, you can only rest-step every other step. You'll want to rest and pause when you have most of your weight on the foot that is turned out.
Managing Snow on Your Crampons
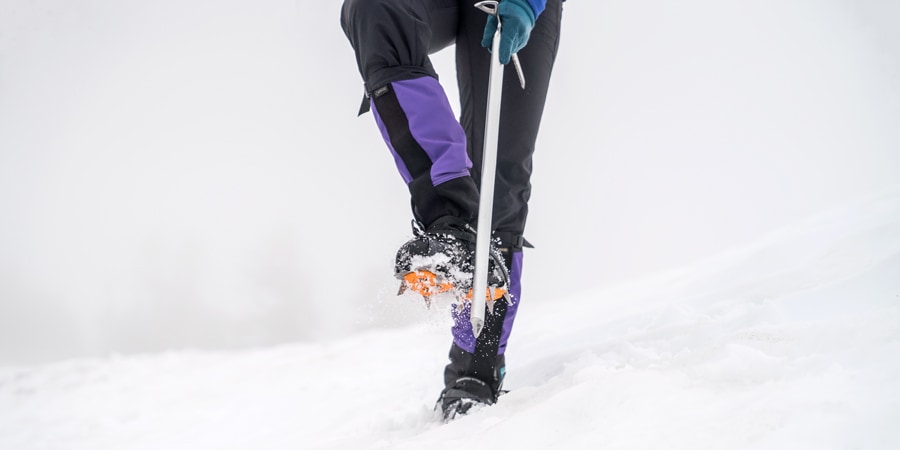
All crampons now come with anti-balling plates to prevent lumps or balls of snow from sticking to the bottoms of the crampons. Still, snow may ball up under foot and you'll notice that the points aren't biting into the snow.
There are two ways to clear crampons:
- Scuff your feet on the surface of the snow and the friction will clear it out of there.
- Take the shaft of your ice axe and bang it hard against your feet.
Tips for Descending in Crampons
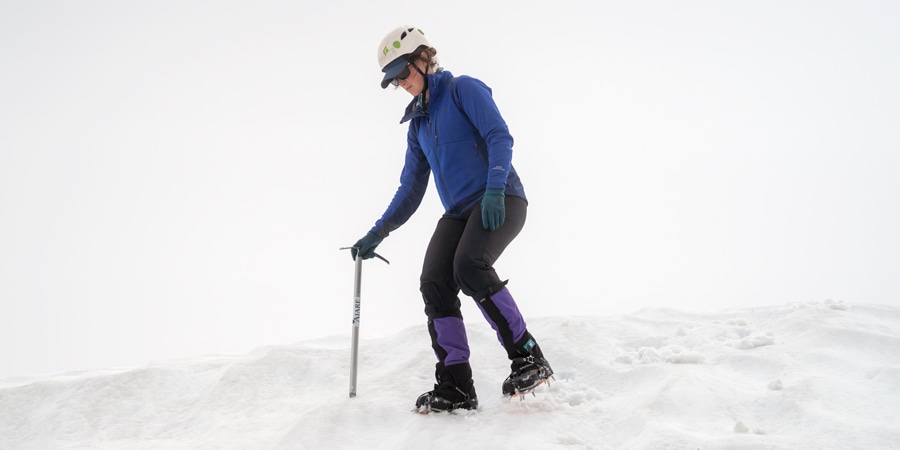
Mountaineering accidents often happen on the descent. This may be because climbers are tired, gravity is pulling you down or the snow has warmed up, making it more likely that snow will collect at the bottoms of your crampons.
Here are some tips for how to descend in crampons:
- Maintain an athletic stance with knees wider than shoulder width, knees loose and bent
- Always point your toes in the direction that you're moving. If you're walking downhill on switchbacks, crampons should be pointed across the slope if you're moving across the slope.
When to Take off Crampons
Once you've reached an area that is flatter or the snow softens up enough that you don't need crampons, find a flat safe spot to take them off. Don't take them off until you're in terrain where the consequences of falling are low or where it would be more dangerous to wear them, such as sloppy wet snow or snow that's shin-deep.
Related articles
Getting Started Mountaineering
Snow Travel Techniques for Mountaineering
How to Use an Ice Axe for Mountaineering
