Your ankle joints allow your feet to move this way and that so you can run along rocky trails, cruise down snowy slopes and jam your feet into splitter cracks. Unfortunately, they're also prone to twisting; sprained ankles are a particularly common injury among outdoor adventurers and they can happen with nearly any activity, including hiking, biking, skiing, snowshoeing, climbing or running. Given just how frequently sprained ankles can occur, knowing how to treat one is a valuable skill to have.
How to Treat a Sprained Ankle
- Assess the injury: Determine whether the ankle is usable or not by considering how it was injured, looking at signs and symptoms and performing a usability test.
- Manage the pain: Using ice, elevating the ankle and taking pain medication are options for relieving pain.
- Support the ankle: If the ankle is usable, you can apply tape, a wrap or an ankle brace to provide support.
The information in this article is taken from NOLS Wilderness Medicine, 6th edition, which is the basis for the curriculum taught by instructors from NOLS. You can take a NOLS Wilderness Medicine course at many REI stores:
Remember: Safety is your responsibility. No article or video can replace the advice of a physician, nor professional instruction and experience. Make sure you're practiced in proper techniques and safety requirements before you render first aid.
Step 1: Assess the Injury
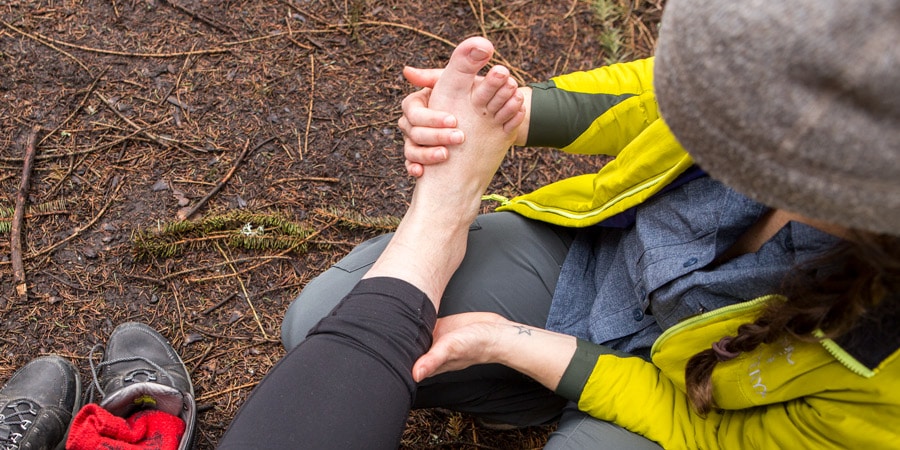
When you sprain an ankle, ligaments (the tissue that connects two bones) stretch and sometimes tear, which is painful and possibly debilitating. When this happens in the outdoors, miles away from modern medicine, it's typically not possible to diagnose the exact injury (such as the specific grade of the sprain or severity of a fracture). Instead, you focus on assessing whether the ankle is usable or not. Here's how:
- Determine the mechanism of injury: Understanding how the patient hurt themselves can help you decide how to proceed with treatment. Questions to ponder include, how did the injury occur? Did the pain come on suddenly, perhaps from a fall? Or, did it come on slowly and get progressively worse? In many cases, the answers will be obvious, such as when the patient tells you they stumbled and rolled an ankle. Other times, though, things may not be so clear, like when the pain isn't linked to a sudden incident (such as a fall) or if the patient bonked their head and can't remember all the details.
- Evaluate signs and symptoms: Remove the patient's boot and sock so you can examine the injury by looking, asking and feeling. Look for swelling and discoloration and ask the patient if they're in pain. Pain when pressing on a specific spot or an obvious deformity can indicate a fracture. Severe pain, the sound of a pop at the time of the injury and immediate large areas of swelling are signs of a serious sprain or fracture and call for immobilizing the injured ankle and evacuating the patient. While evaluating, it can be helpful to remove the boot and sock on the uninjured foot so you can compare the shape of the two ankles. This allows you to more easily spot subtle swelling or deformity.
- Perform a usability test: If you think the ankle may be usable, have the patient try to move the ankle through its full range of motion. If there's no pain during this that's a good sign. Now, have them try to bear weight on the ankle. If they can do this without significant pain and the swelling is not severe, then you may be able to address the injury in the field and possibly continue on your way. If the patient is unable to use the ankle, then you should immobilize the injury and evacuate the patient.
Step 2: Manage the Pain
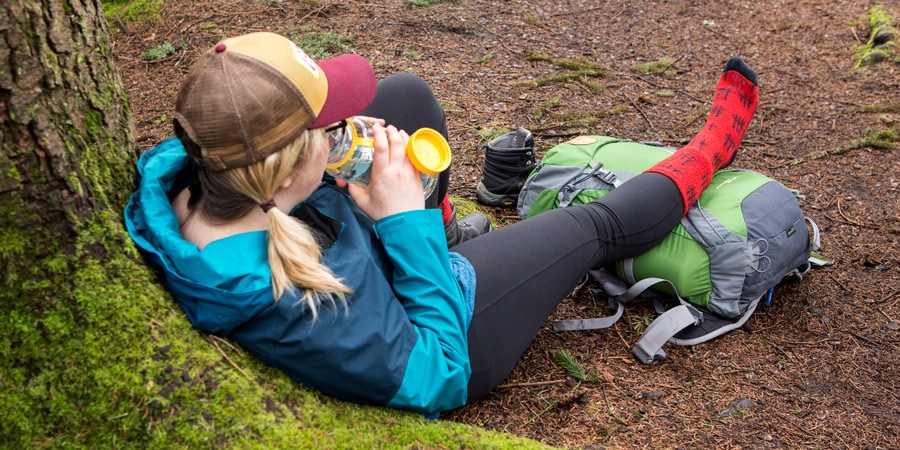
A sprained ankle, even one that you've determined is usable, can hurt a lot. You can help comfort the patient by managing the pain in these ways:
- Rest: Have the patient eat some food, hydrate and relax for a while. This could be an hour or two if the injury isn't so bad, or an entire day if the pain is more bothersome and you have the time (such as on a multiday trip).
- Use ice: Applying ice, if you have it, can help reduce the pain brought on by spraining an ankle. If you don't have ice, a cold stream or lake could provide relief. Aim to cool the ankle for 20-40 minutes at a time. You can do this every 2-4 hours or after using the ankle. The goal here is to apply ice occasionally to reduce pain, not to suppress swelling.
- Elevate: Raising the ankle above heart level may help reduce swelling and manage pain. This can be useful while resting during the day or sleeping at night.
- Consider pain medication: For pain that prevents the patient from getting rest, consider over-the-counter pain medications, like ibuprofen.
Step 3: Support the Ankle
Once you've determined that the ankle is usable, adding support with tape, a wrap, a brace or even a hiking boot can make walking easier and more stable. This is especially true if you're traveling over uneven terrain or carrying weight on your back.
How to Tape a Sprained Ankle
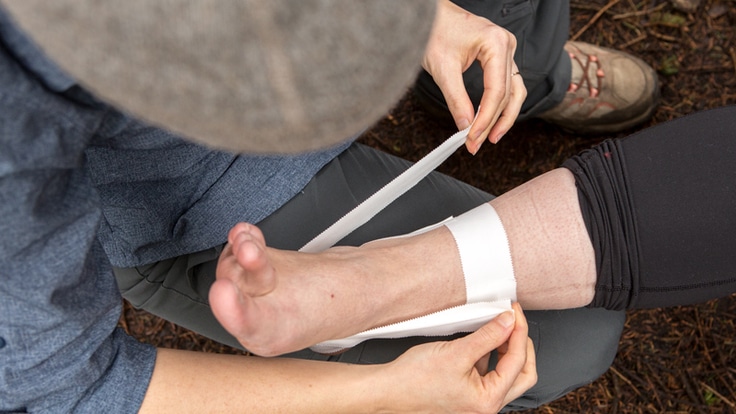
To tape a sprained ankle, start with one full roll of standard athletic tape, then:
1. Position the foot at a 90-degree angle to the leg
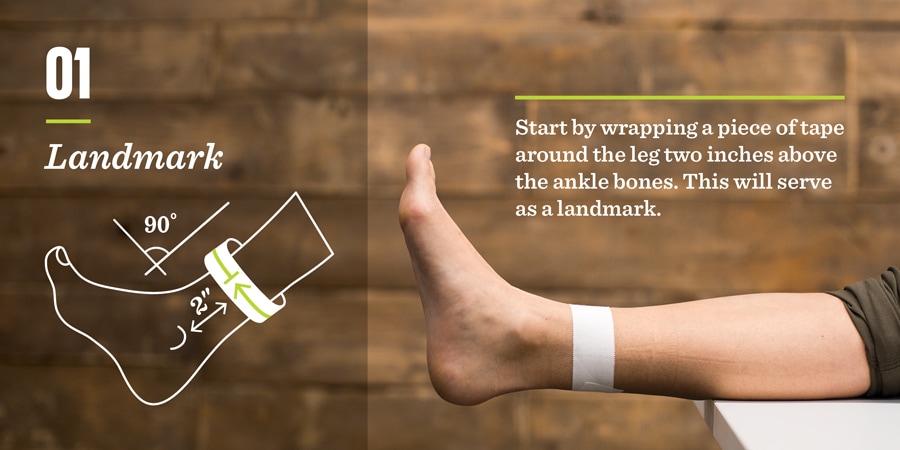
Wrap a piece of tape around the leg 2 inches above the outer ankle bone. This will serve as a landmark.
2. Add stirrups
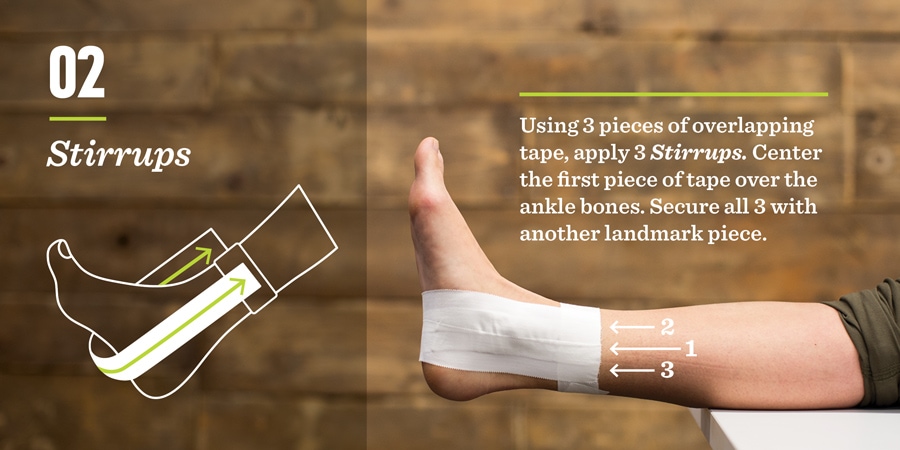
From under the arch of the foot, apply a piece of tape that runs up to the landmark tape, crossing directly on top of the inside and outside ankle bones like a stirrup. Then apply two more equal-length pieces that will slightly overlap either side of the initial stirrup. Apply another piece of tape as you did in step 1 to secure the three stirrups in place. Tip: You can measure the appropriate length of tape for the stirrups by placing the non-sticky side of the tape against the skin and unrolling tape from the landmark on the outside of the ankle, down under the arch of the foot, and back up to the landmark on the other side.
3. Add J's (AKA teardrops)
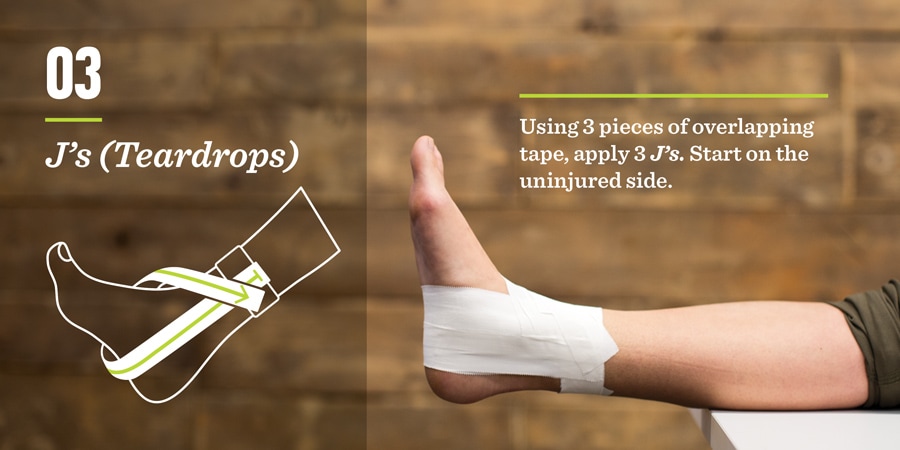
Apply three overlapping pieces of tape that start at the landmark tape on the uninjured side of the foot and run underneath the arch of the foot, across the top of the foot and end where it started.
4. Add Figure 8s
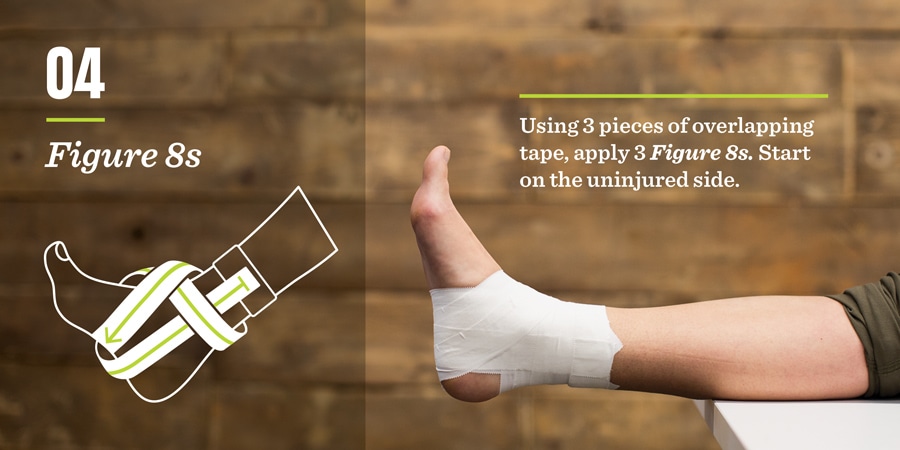
Starting in the same place as you did with the J's (on the uninjured side of the ankle), apply three overlapping pieces of tape that run under the arch of the foot, across the top of the foot, over the inside ankle bone, behind the Achilles tendon, over the outside ankle bone, across the top of the foot and back underneath the foot. End the pieces of tape underneath the foot. The figure 8 is formed by having a loop behind the Achilles and a loop under the arch of the foot that cross each other on top of the foot.
5. Evaluate the tape job
Look for any gaps in the tape or spots that may cause discomfort. You can fill gaps with little pieces of tape.
6. Assess CSMs
Check the patient's circulation, sensation and movement by asking if they can tell you which toe you're touching and if they can wiggle their toes. Have the patient walk around for a bit and tell you how the ankle feels. If the tape is too tight or is pinching skin or pulling hair, make adjustments.
If you're on a multiday trip and have lots of tape, you can remove the tape at night (use a pair of medical shears for easiest and quickest removal) and replace it with an elastic wrap wrapped in figure 8s. If you're short on tape, you can leave the tape on at night so long as the patient has good CSMs. Tape tends to stretch out and become less supportive over time, so it's a good idea to add a few more figure 8s in order to tighten up the tape job.
Tips for Preventing a Sprained Ankle
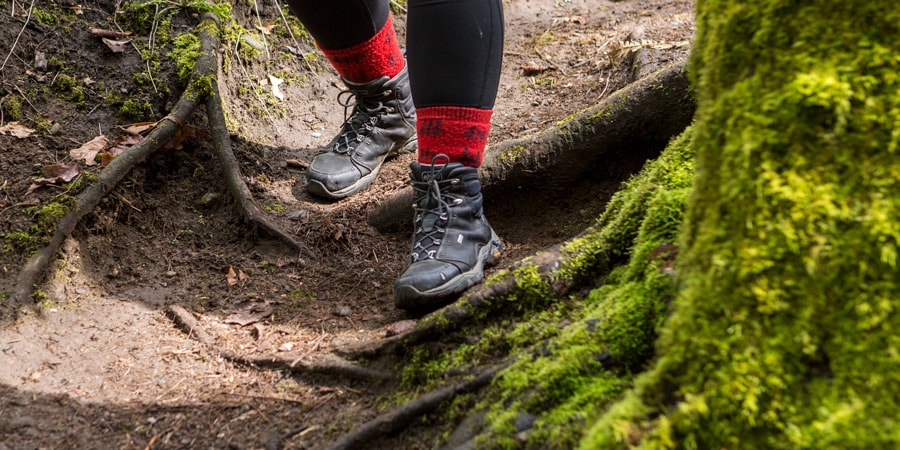
A sprained ankle can take weeks, if not months, to heal, which can seriously curtail your outdoor fun. Here are some ways you can help prevent an ankle injury:
- Wear appropriate footwear: The choice is yours on what to wear on your outdoor adventure, but before you head out, spend a minute thinking about how well your footwear can handle the terrain you'll encounter. Consider things like traction, ankle support and cushion relative to the surfaces you'll be traveling on.
- Warm up: Rather than hitting the trail cold or rushing up a rock climb, spend 15 minutes or so warming up muscles and tendons by doing dynamic stretches that mimic the movements you will be doing during your activity. Things like high knees, skipping, leg swings and arm circles are all good ideas.
- Use caution: A trail full of roots, rocks and loose dirt is just waiting to trip you up. Be careful while traveling, especially if the trail is wet and/or steep.
- Combat clumsiness: Injuries happen more frequently in the late morning and late afternoon when dehydration and fatigue set in, resulting in reduced awareness and increased clumsiness. They are also more likely to occur when you're tired, cold, dehydrated, rushed or feeling ill. To combat this, dress for the weather, drink plenty of fluids and stay energized by eating breakfast, dinner and three or four light snacks throughout the day rather than the traditional three-meal-a-day routine.
- Slow down: Moving too quickly can often lead to injuries. Plan realistic timetables for your outing so you don't feel rushed and take plenty of breaks, especially before difficult sections of trail.
- Get fit: It can take a lot of effort to hike, backpack, ski and climb. In the months leading up to a big trip or a season full of outdoor adventures, focus on endurance, flexibility and strength training to get your body ready. Being physically fit for your outings can help prevent injuries and increase your enjoyment.
