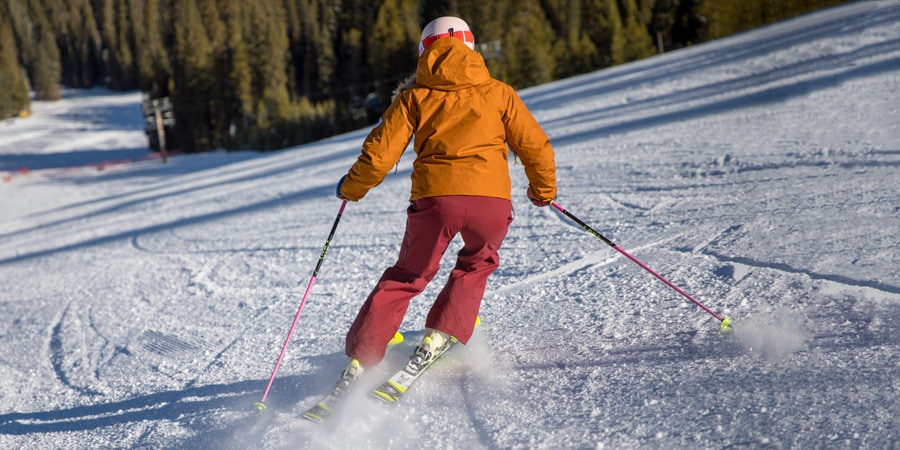
No doubt you've seen confident skiers gracefully carving turns down the hill with their skis perfectly parallel to one another. Making parallel turns like this is what most skiers aspire to do, not only because parallel turns look cool, but also because they allow you to navigate bigger, steeper terrain and expend less energy than you do while making wedge turns.
The good news is that making basic, low-speed parallel turns is something many skiers can get the hang of after just a couple of days on the snow. This article provides six simple steps that will help you on your way.
How to Make Parallel Turns
For many skiers, making parallel turns comes after they already know how to make wedge turns and can link them together to get down a slope—the steps in this article assume you're at that point. If you need help with making wedge turns, see our article How to Ski for tips.
Step 1: Find an Easy Slope
Before you try making parallel turns, it's important to find an appropriate place to practice. For some skiers this may be the easiest, lowest-angle slope on the mountain. For people with a little more experience or those who have naturally taken to gliding on skis, an intermediate blue run may be right. What really matters is that you find a slope where you feel completely comfortable trying a new and different movement. You don't want to be attempting to make a parallel turn for the first time on terrain that will test your limits.
Step 2: Get into a Balanced Stance

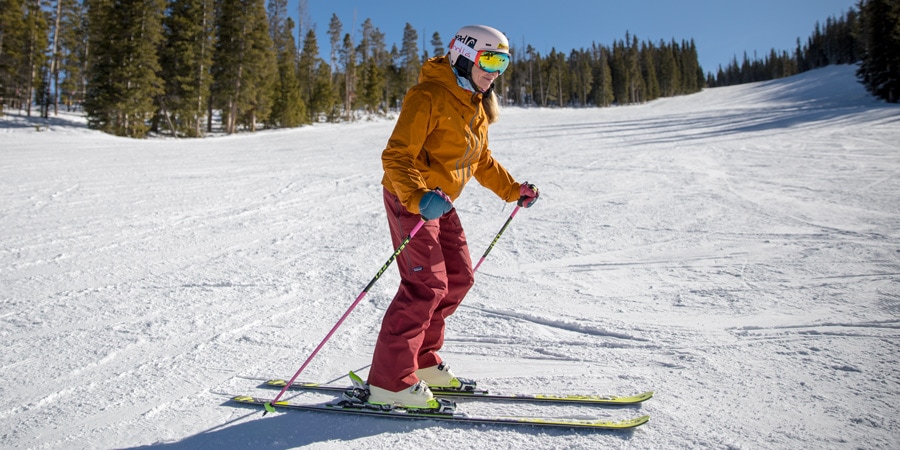
Getting into a balanced, athletic stance will help you feel stable and ready to make parallel turns. To find the right stance, imagine you're on the receiving end of a tennis serve—the proper athletic stance for skiing is very similar. It looks like this: a slight bend in the knees, shins tilted forward, skis about hip-width-distance apart and your hands held about waist high and out in front of you so that your hands are outside your elbows. You also want to tip your torso slightly forward so that your shoulders are in front of your hips—standing upright or leaning back will make the skis very difficult to control.
Step 3: Work on Shrinking Your Wedge Turns and Making Your Skis Parallel
You can work toward making parallel turns by shrinking the size of the wedge that your skis form—doing so will make it easier to bring your skis parallel to one another.
To practice shrinking the wedge, simply take a few runs down any easy slope and focus on reducing how flared out the tails of your skis are. This will make your wedge smaller. A smaller wedge will provide less speed control, though, so you will need to emphasize making round turns to control your speed instead.
Once you're able to ski down with your skis in a smaller wedge, it's a good time to practice bringing your skis more parallel to one another. To do so, focus on flattening out the inside/uphill ski and skidding it next to the outside/downhill ski. When you're first trying this, do it toward the end of the turn. When you're comfortable with that, try doing it earlier in the turn—about halfway through.
Here's a drill you can do to help you learn to make your skis parallel at the end of the turns:
- While making a wedge turn across a slope, lift the tail of the inside/uphill ski and gently tap it on the snow a few times.
- As you turn the other direction, lift and tap the tail of what is now the inside/uphill ski.
- Lifting and tapping will lighten up the amount of weight you're putting on the inside/uphill ski so that you can bring it in line with the outside/downhill ski.
- As you get comfortable with lifting and tapping, begin focusing on steering the inside/uphill ski to match the outside/downhill ski.
Step 4: Practice Releasing Your Edges
Now that you're making turns with a small wedge and have practiced matching your skis so they are parallel at the end of the turn, it's time to work on releasing your edges so you can make your skis parallel at the beginning of a turn. Releasing your edges is how you initiate a parallel turn and is key to being able to steer both of your skis down the slope together.
To get a picture of what releasing your edges looks like, imagine you're gliding across the slope to your right. With your skis on their edges, you'll feel your left big toe (on the outside/downhill ski) and your right pinky toe (on the inside/uphill ski) on the snow. To start turning to the left, you must first release these edges and go toward the bases of your skis. You do this by using your feet and shins to flatten your skis out onto the snow surface. With your skis no longer on their edges, you'll be able to turn your skis downhill and then across the slope in the other direction.
Here's a simple drill for practicing releasing your edges without turning:
- Find a wide, moderate slope that's well within your comfort zone.
- Begin by standing with your skis across the fall line and with your skis slightly on their uphill edges—pressure will be on your big toe of the downhill ski and your pinky toe of the uphill ski.
- Use your feet and shins to release both of the edges and you will feel the skis begin to slip.
- Without turning, get comfortable with sliding with relatively flat skis for a short distance down the hill. Try to go straight down the fall line, even though your skis will be pointed across it.
- Use your feet and shins to roll your skis back onto their edges. You'll feel that your skis start to slow down because the edges create a bit of friction against the snow.
- Repeat.
Step 5: Use Your Legs to Steer Your Skis

Once you've gotten the hang of releasing your edges, it's time to turn your skis downhill and complete the turn. You do this by actively using your legs to steer your skis—you don't just sit back and let this happen. Just like you steer a car through a turn, steer your skis through a turn. Be active with twisting both of your legs to twist both of your skis at the same time. While steering your skis, think about keeping your upper body still and your lower body loose so that your legs can twist while your upper body remains facing mostly downhill.
During this step, some people find it difficult to commit to turning their skis downhill for fear of picking up too much speed. To ease your mind and give you the confidence to go on, make sure you're on an appropriate slope for your ability (as mentioned in step 1) and be willing to let your skis skid through the turn—even advanced skiers often make skid turns to reduce their speed and stay in control. (You can learn more about skid turns in our article How to Ski Steeps.) At this point, the more actively you steer your skis with your legs, the more comfortably you will come through the turn and end up heading across the slope in the other direction.
Step 6: Visualize Making Smooth, Arcing Turns

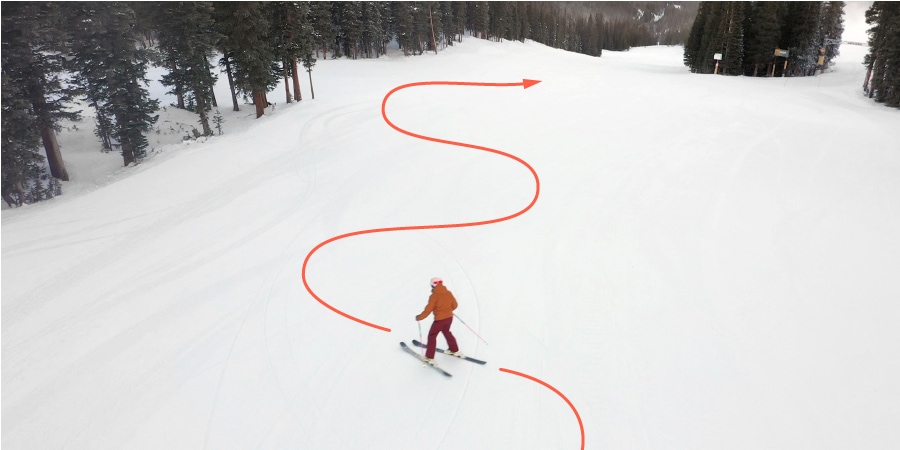
Many skiers don't recognize that parallel turns on skis are similar to those that you make while driving a car or riding a bike. Proper turns will form smooth arcs like the shape of the letter S as you link one turn to the next.
Knowing what good parallel turns look like and keeping that image in your mind will help you actually form the turns and work toward linking them together. When you hit the slopes, set out with the intention to make smooth, arcing turns that flow from one turn into the next. If linking turns seems like too much at this point, practice making one good turn at a time, as if you're carving the letter C on the slopes. Making arcing turns will help keep you in control better than if you were to make turns that resemble the letter Z, with sharp, fast corners.
Remember: Safety is your responsibility. No internet article or video can replace proper instruction and experience—this article is intended solely as supplemental information. Be sure you're practiced in proper techniques and safety requirements before you engage in any outdoors activity.

