The sport of skinny skis—aka cross-country skiing—is enjoying a renaissance for all sorts of reasons, one of which is how accessible it is to beginners. Your gear needs are modest, as are trail fees, and you can be up and scooting across a pristine winter landscape in no time.
This article will cover the basics for those who try cross-country skiing for the first time. Here are the main questions we'll answer:
- What are the different types of cross-country skiing? Classic cross-country (skis move straight) and skate skiing (skis move laterally like ice skates) are your main choices. Most beginners start out by learning classic skiing.
- Where can you learn to cross-country ski? Take lessons from a pro or a friend or try it on your own. Cross-country resorts and groomed trail systems on public lands are ideal; any flat and open snow-covered terrain can work.
- What gear do you need for cross-country skiing? Bring cross-country skis, boots and poles, plus the Ten Essentials.
- What do you wear for cross-country skiing? Dress in noncotton layers that move easily and wick sweat.
- What are some precautions to take when you cross-country ski? Be vigilant about staying warm, avoid overheating and make sure you're skiing in a safe location.
- What's proper etiquette on cross-country ski trails? Start out on green (novice) trails and follow all posted rules.
- What are the basic techniques for cross-country skiing? If you learn the balanced stance, how to shift weight properly, and how to coordinate arm and leg movements, you'll have the fundamentals to get started.
Looking for a quick overview instead? Read Cross-Country Skiing Tips.
Types of Cross-Country Skiing
A common source of confusion is, "What's the difference between cross-country, XC and Nordic skiing?" These are different ways of describing the same sport. "XC" is shorthand for "cross-country." "Nordic skiing," which derives from the region where it originated, is simply another word for cross-country skiing.
There are two styles of cross-country skiing:
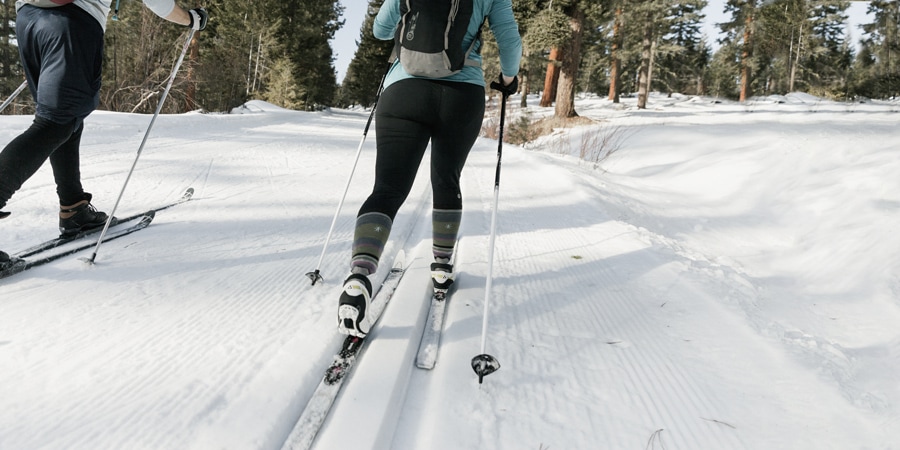
Classic skiing: The original version of the sport, this involves a straight-line stride. The stride itself is called either a "diagonal stride" or "kick and glide." Someone who talks about "going cross-country skiing" usually means they are going classic cross-country skiing.

Skate skiing: A few decades old now, this technique's ski movements look like a speed skater on ice. Not surprisingly, skate skiers move faster than classic cross-country skiers.
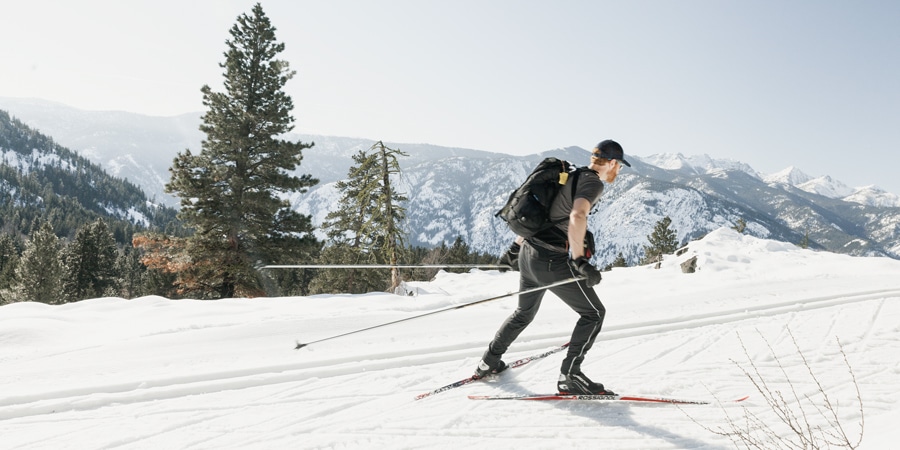
A note about backcountry skiing: This article covers cross-country skiing in groomed terrain and front-country places that are best for beginners. To learn about options beyond developed areas, read Beginner's Guide to Backcountry Skiing and Snowboarding.
Where to Learn Cross-Country Skiing
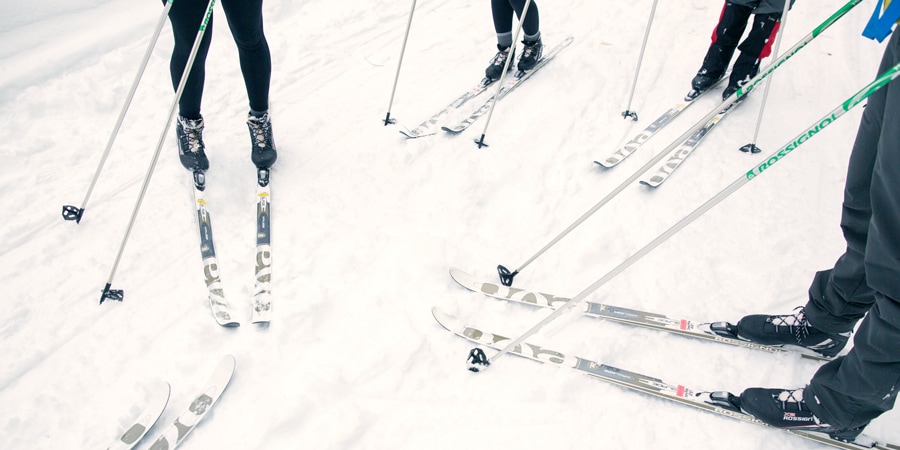
While it is possible to go on your own and get the hang of the basic movement (How to Cross-Country Ski can help), you'll learn faster and progress more quickly if someone teaches you.
Sign up for lessons: You can find professionally trained instructors at cross-country ski resorts. You can also sign up for lessons through Nordic ski clubs, parks departments and gear outfitters (Many REI Co-op stores offer cross-country ski lessons.)
Learn from a friend: An experienced friend can teach you at any snow-covered open space (city parks and golf courses can work), but a recreation area that has groomed trails (with smoothed-out snow and ski tracks) is best. You also want flat terrain—and areas that don't present an avalanche risk.
Gear for Cross-Country Skiing
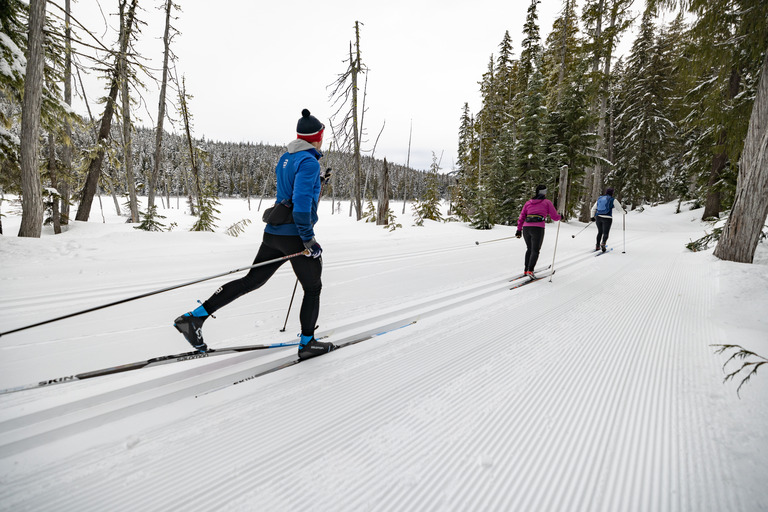
For a thorough look at equipment needs, as well as how to get the right sizes, read How to Choose Cross-Country Ski Gear. If you take a lesson, gear should be provided. Otherwise, renting skis, boots and poles is wise for your first few times. (Many REI Co-op stores rent cross-country ski packages.) You can also borrow gear from a friend, though the likelihood that it will fit you is small.
Skis: The correct ski length depends on your weight, info that should be listed in ski size charts.
Cross-country ski boots and cross-country ski bindings: Your main concerns as a new cross-country skier are that you have a compatible boot/binding system (NNN is a common one) and that you're familiar with how your system works. Boots, regardless of system, should be comfortable and flexible.
Cross-country ski poles: With tips in the snow, the top of correctly sized poles is about even with your armpits. You can use trekking poles with snow baskets in a pinch, though cross-country ski poles work better.
Other essentials: As with any activity where you'll be traveling outdoors for a few hours, you should bring the Ten Essentials. For a guide that's more tailored to cross-country skiing, check out our Cross-Country Skiing Checklist.
What to Wear Cross-Country Skiing
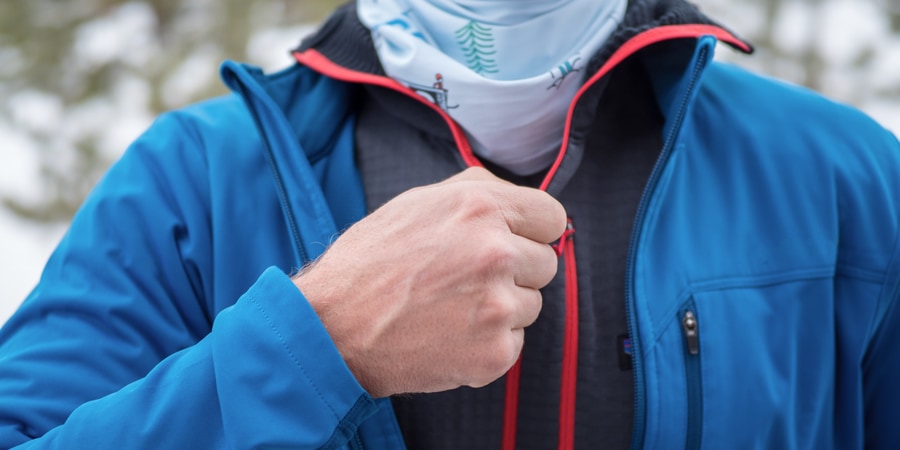
For a full rundown on clothing needs, read What to Wear Cross-Country Skiing.
Layer up: As with any outdoor activity, you should dress in layers, keeping in mind that you will generate warmth as you move. You need apparel that moves freely and can handle sweat (synthetics and wool, not cotton). Make sure you also have layers that work well for cold, snowy and windy conditions.
Repurpose other clothing: No need to buy special Nordic apparel when you're first getting started, because your layers for other outdoor activities, like hiking, can do the job.
Bring a hat and gloves: Having numbness in your ears or fingers is no fun.
Precautions for Cross-Country Skiers
Be proactive about staying warm: Don't wait to adjust layers if you're getting cold, especially in your extremities. Also adjust layers if you're sweating a lot because excess moisture can chill you. It's wise to bring hand warmers, foot warmers and a vacuum bottle filled with a warm beverage.
Avoid high-risk avalanche areas: Going to a resort minimizes this concern, as will skiing in flat, lowland ski areas with no history of avalanches. If you plan to ski other terrain someday, then learn the basics of avalanche preparedness.
Know how to navigate: If you go where there is no developed cross-country trail system, bring a topographic map, a compass and possibly a GPS, and make sure you have basic navigation skills before you go.
Fall softly: Even expert skiers take the occasional tumble. If possible, though, avoid sticking out your poles or wrists when you fall because that increases the chances of injury or damage to gear. Rolling sideways is generally a good tactic, though that assumes you have enough control to do so, and that you don't roll into a tree or other hazard.
Etiquette for Cross-Country Skiers
Developed trail systems usually list rules on trail maps or signs, or both. For a general overview of how to share the trail, read Your Guide to Winter Trail Etiquette.
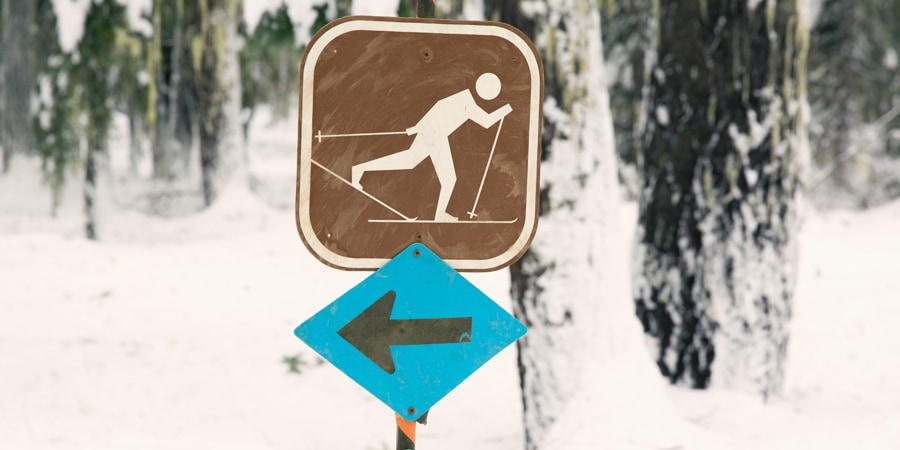
Start on green trails: Most cross-country ski trail systems follow standard rating designations: green for beginner, blue for intermediate and black for expert. Avoid blue or black trails at first, because you'll be more likely to fall on them, which isn't a great outcome for you, nor for the faster, more experienced skiers who use those trails and who will have to ski around you.
Yield the right of way: Go the correct direction on any trail marked as a one-way route. On two-way trails, uphill skiers yield to downhill skiers (who have less control). If you're slow, keep an eye out for faster skiers overtaking you and move to the side if that simplifies their skiing past. If you're fast, alert slower skiers as you approach and, if possible, try to ski around so they don't have to move aside.
Preserve the tracks: User fees help pay for the infrastructure it takes to smooth out trail surfaces and lay down ski tracks. So don't tromp on or across the ski tracks. If you have to walk (or snowshoe), do so on the far outside edge of the trail: classic skiers rely on those tracks and skate skiers rely on having a smooth surface next to those tracks. If you fall, take a moment to fill in your divot before you move on.
Basic Cross-Country Ski Techniques
For an in-depth explanation of how to do classic cross-country skiing (the style most beginners try), check out our video and article on How to Cross-Country Ski. If you learn the cross-country ski skills below, though, you'll be able to do a basic stride on flat terrain:
The Balanced Stance
Get into a Basic Athletic Body Position
- Stand with feet at shoulder width.
- Bend slightly at the hips, knees and ankles; hands should be held comfortably out in front of you.
- Bounce lightly up on down, focusing on being balanced and having your weight concentrated on the balls of your feet.
Practice Transferring Your Weight
- Shift weight to one foot, keeping your head, hip, knees and toes aligned above that foot.
- Shift your weight atop the other foot, maintaining the same body alignment.
- Practice going back and forth like this until you feel steady on each leg.
Moving with Skis On
Do the Cross-Country Shuffle
This gives you a feel for moving forward with long, skinny skis on your feet:
- Put your skis on. You won't use poles yet, so either leave them next to the trail, or hold them comfortably at your sides.
- Get into the ski tracks.
- Begin a slow shuffle down the tracks (like a slow walk).
Shuffle and Glide
Gliding is where the fun begins. This drill adds a gliding motion to the shuffle:
- Start by doing an easy shuffle.
- After two shuffles, shift and center your weight on the front ski, gliding for a short distance.
- Continue ahead, using a shuffle, shuffle, glide cadence. This is the basic kick-and-glide motion of cross-country skiing.
Using Your Poles
Not using poles at the start improves your balance, which is key to good technique. Adding poles, though, adds some zip to your stride and makes the sport a total body workout.
How to hold your poles when cross-country skiing:
- Slide each hand through the bottom of the pole loop and grasp the pole grip.
- Grasp the top of the strap and pole grip together and hold the strap against the grip.
- If you're able to grasp the pole well below the top of the pole, then you need to tighten the strap. When the strap is sized correctly, the top of your hand is even with where the strap comes out of the pole.
Basic Pole Movement
Now it's time to add a poling motion, which adds a little speed and power as you ski:
- Starting out in your balanced stance, hold your hands, with poles dangling straight down, at shoulder width out in front of you. The tops of your hands should be roughly level with your mouth, and your elbows should be bent at about 90 degrees.
- Activate your core muscles as you move your pole tips straight down into the snow.
- Lift your poles back up to the original position and repeat. This is the basic poling motion of cross-country skiing.
Moving on Flat Ground
How to do the diagonal stride (combining poling with the shuffle-and-glide):
Basic pole movement:
- Get in your balanced stance, holding the tops of your hands roughly level with your mouth.
- Check that your poles dangle straight down and your elbows are bent at about 90°.
- To practice the pole movement: Activate your core muscles as you move your pole tip down toward the snow; sweep your arm back until your hand is next to your leg.
- Try this a few times with each pole.
Putting it all together:
- Begin doing the shuffle and glide, but add a push with the pole opposite the ski on which your weight is centered.
- Do the same thing with the opposite ski and pole.
- Repeat these steps and you're doing the basic diagonal stride of cross-country skiing.
Tip: The motion of the basic diagonal stride is always opposite arm/opposite leg.
Poles aren't for braking: Never stick your poles out ahead of you to slow down because that can cause injury or break your poles. To slow down when skiing on flat terrain (where you should start out as a beginner), simply coast to a stop.
Expand Your Skills
If you also want to learn how to go up and down hills, how to turn and how to get up after a fall, check out our article on How to Cross-Country Ski.
Snowsport safety is your responsibility. Be sure to use proper technique and take steps to minimize risk whenever you go.
Editors' Note: This article has been updated with new links since it first published on October 2019.


