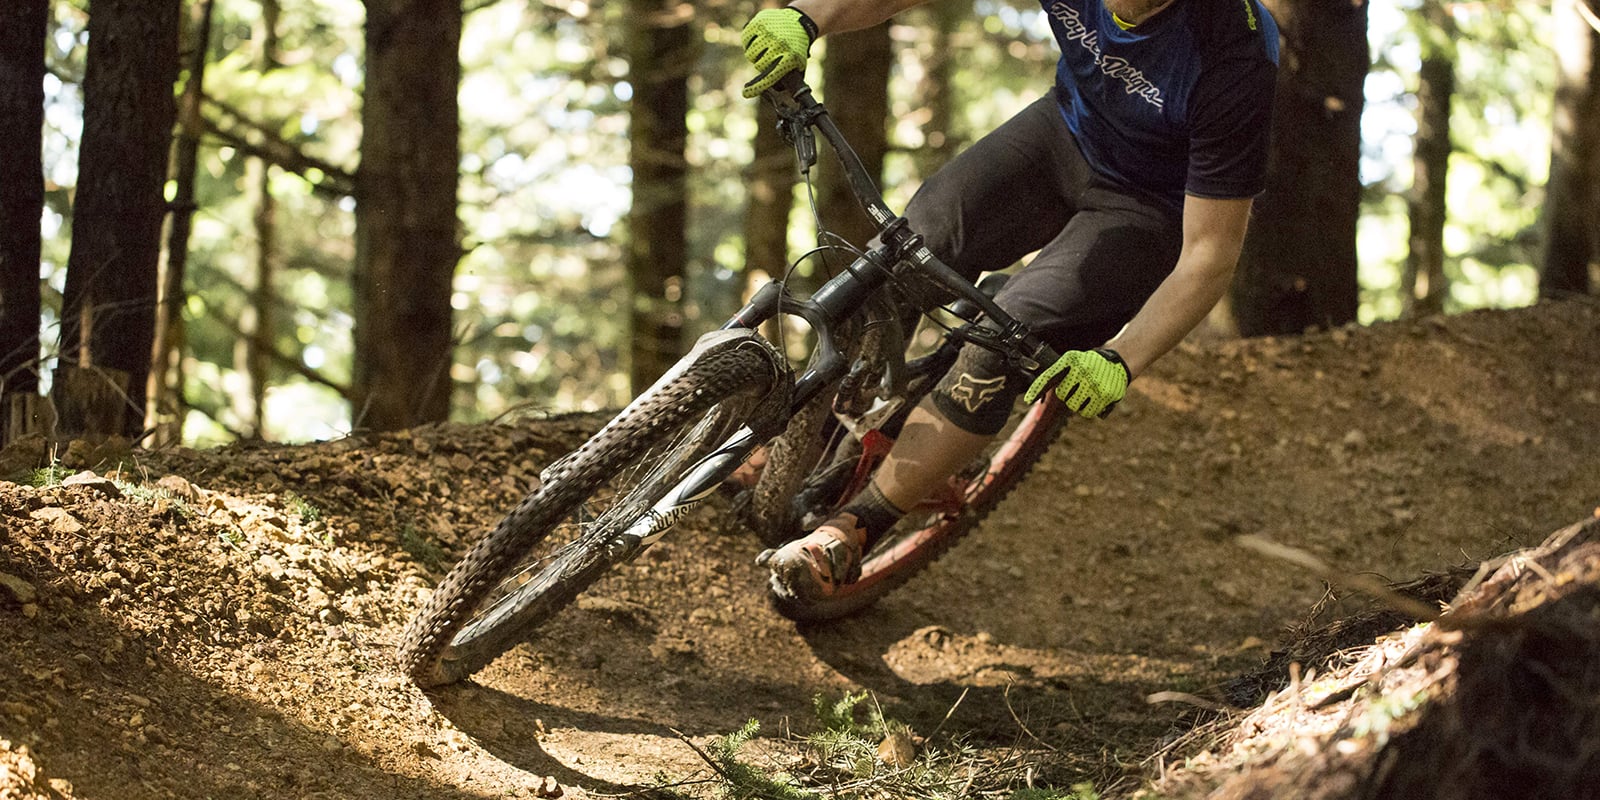
Unless you find some mythical mountain bike trail that's perfectly straight and level (and what would be the fun of riding that?), twists and turns are your destiny. If you work a little on techniques for switchbacks, bermed turns and off-camber corners, you'll be able to ride more challenging trails and have more fun while you're at it.
Cornering Essentials
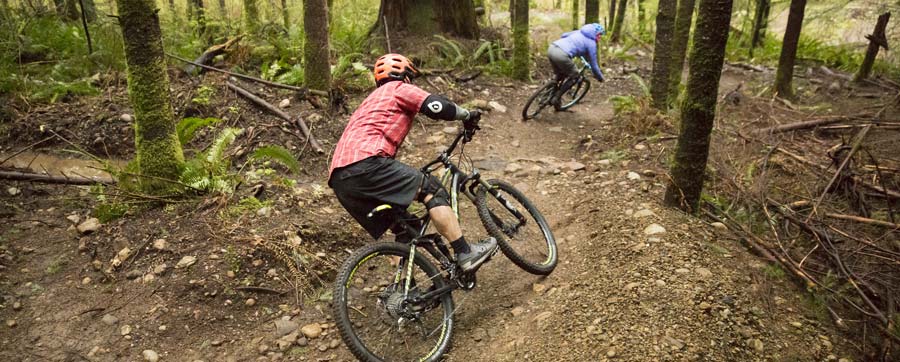
Switchbacks, berms and off-camber corners all tap into the same fundamentals. Following the guidelines below will set you up for success on any turn.
First, brush up on basics: Need to review some foundational skills? Check out Mountain Biking: Basic Techniques and Mountain Biking: Climbs and Descents. These articles reiterate topics covered here and provide a broader context.
Scout it out: Checking out a gnarly corner ahead of time is always a smart move, especially if your skills are still coming along or if it's your first time on that trail.
- Is the dirt loose or firm? This is especially important at the top of berms.
- Does the turning radius get tighter or looser? A tighter radius means you need to keep slowing down; a looser radius lets you speed up as you exit.
- Are there obstacles, nasty drop-offs or other hazards lying in ambush?
Focus on your line: The adage "your bike follows your eyes" applies whether a turn is flat, bermed or off camber. Glance ahead to be aware, but focus on a line that skirts obstacles and finds the sweet spots. Fixating on a rock or root sets you up to meet it in unpleasant ways.
Get in position: Lean over the bar with elbows wide and bent; bend knees and equalize your weight over each tire; have level pedals and equal weight on each pedal; hold your head up and level. Grip the bar lightly, resting fingers on brake levers.
Track and Roll: Leaning over the bar weights the front wheel for tracking. Scrubbing speed before the turn lets the front wheel roll along the line you want. If you still need to slow down mid-turn, use the rear brake so the front wheel doesn't lock and skid. Different types of turns require differing approach speeds:
- Ride switchbacks at a "walking pace"
- Ride bermed turns at a "sprinting pace"
- Ride off-camber corners at a "walking pace"
Torque your torso: To get the right bar and body orientation, point your head, shoulders and hips toward the inside of the turn, aiming your belly button where you want to go.
Riding Switchbacks
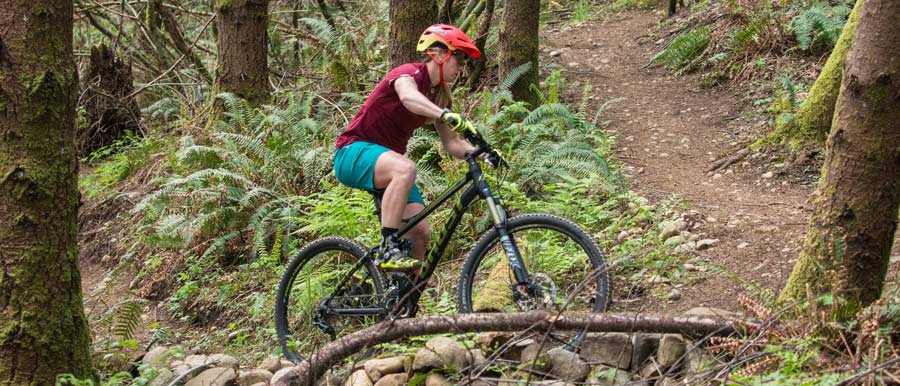
If you're riding where the terrain is seriously steep, you'll encounter switchbacks, hairpin curves that traverse gradually up or down the hill.
Video: Riding Switchbacks
Uphill Switchback Techniques
- Focus wide: Look at a wide entry point because staying wide gives you the most trail to work with through the turn. After you enter wide, turn your head sharply (away from your direction of travel) to locate your exit point into the straightaway.
- Shift early: Glance ahead and shift before entering the switchback. Your goal is moderate pedaling effort: Avoid too-hard gears that make you stall and too-easy gears that make you "hamster wheel."
- Lean forward: Whether you sit on the front of the saddle or stand and crouch, you need to hold your chest close to the bar. That shifts your weight forward to increase front-wheel traction and tracking. Make sure pedals are level and evenly weighted.
- Burst out: Continue your pedal stroke to power out of the turn. If you don't maintain your momentum, you risk stalling out.
Downhill Switchback Techniques
- Focus wide: Just as you do on an uphill switchback.
- Brake early: Scrub speed before the switchback by "feathering": applying equal pressure to each brake. Dropping your heels while braking can help you maintain your position over the bike.
- Keep knees wide: The "cowboy" stance leaves room to move the bike between your knees.
- Heavy feet and light hands: Having level, evenly weighted pedals and a light grip provides stability underfoot and agility as you handle the bar.
Bermed Turn Technique
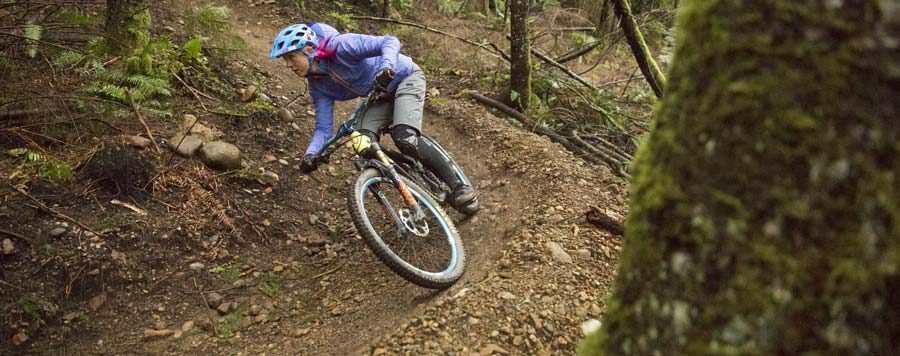
Bermed turns are not natural features, but they are a common feature of bike parks and local trail networks. Trail builders create these special dirt banks so you can rail around the turn. Assessing the integrity of the dirt is key, especially near the top of the berm.
Video: Riding Bermed Turns
Bermed Turn Technique
- Brake early and hunker down: Follow standard turning procedures: Scrub speed early and position yourself properly—get in an aggressive riding position with elbows and knees bent, equally weighted on both pedals.
- Start wide and high: Focus on a high line to carry more speed through the turn. Exit low so you can roll down the berm and jet yourself out of the turn.
- If the top of the berm is sketchy, start lower: You'll roll slower through the turn and on the exit, and you'll exit later. But if you guard against the berm pushing you higher, you save yourself from blowing over the edge.
- Adjust your lean: If you hit it high and fast, the berm actually helps lean your bike and body so they're perpendicular to the trailbed. If you're going slower and lower, you have to lean the bike toward the inside of the turn, while also holding your body more upright for balance.
Riding Off-Camber Corners
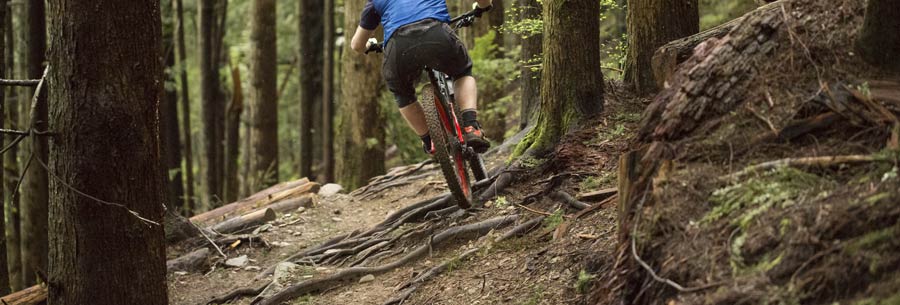
"Off camber" describes any section where the outside edge of the trailbed is lower than the inside edge. A slight outward slant, which prevents water from pooling on a trail, isn't the concern. A pronounced tilt, though, makes things a little dicey.
When the off-camber is on a corner, both gravity and momentum work against you. And crashes are nastier because most happen on the downhill side of the trail. Your best defense is good grip underfoot.
No trail crew intentionally creates an off-camber turn. Local geology is the culprit. In forests, tree roots can create off-camber sections with unique challenges. In the Southwest, redrock ledges create epic trails that snake from one off-camber turn to the next. Gritty sandstone helps riders there. Rock-solid skills help on any surface.
Video: Riding Off-Camber Corners
Off-Camber Corner Technique
- Brake seriously and get balanced: Follow standard turning protocol, but slow things way down ahead of time. Position your chest over the bar, placing equal weight on each pedal and tire; bend elbows and knees.
- Find your line: It's not a matter of going wide or tight. The best line allows you to do your sharpest turning on the least pitched parts of the corner. When in doubt, start high to allow for some downhill skidding. When roots are involved, pick a line that hits them straight on. Otherwise you risk them redirecting your tires in ways you might not want to go.
- Turn your bar: Rather than relying on body torque and bike lean, steer the bar to guide your front tire along your chosen line.
- Adjust your lean: Keep your body mostly upright in order to have more of your tire and knobs contacting and clinging to the trail surface. If you have large, grippy side knobs, a slight inward lean improves traction.
- Adjust pedal position: Have the inner pedal higher to avoid clipping it, but keep pedals equally weighted. If mid-turn acceleration is needed, "ratchet" the pedals: Push the inside one a half revolution, then pull it back and repeat.
Equipment Tips for Cornering
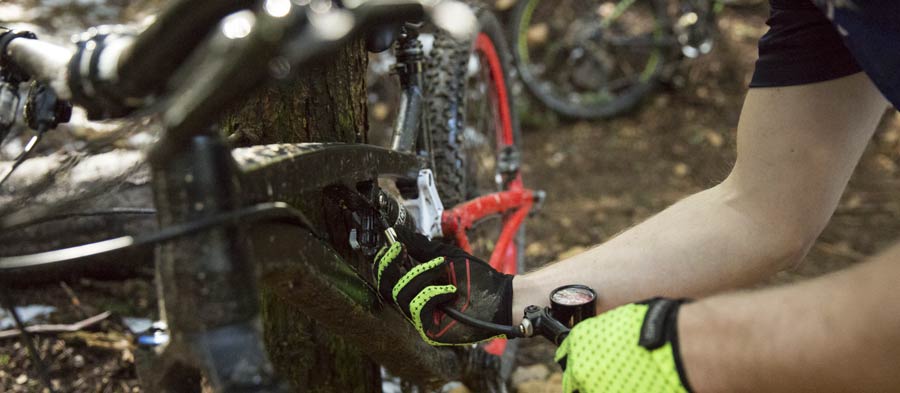
Though it's true that you always have to "run what you brung," a few adjustments can improve your bike's performance in technical turns.
Check tire inflation: Lowering tire pressure helps tires conform to terrain and grip well. Hyper-inflated tires are unforgiving. On a severely underinflated tire, the sidewall can squirm sideways, losing control and burping air.
Try this simple squeeze test: If your tire feels hard as an apple, it's overinflated. If it's soft as a peach, it's underinflated. You want the tire to feel like a nice ripe orange.
Fine-tune brake position: Technical cornering requires responsive braking. If brake angle and bar position weren't initially dialed in, check out our How to Set Up Your New Mountain Bike article. Be sure your levers are cradled in the first knuckle of your braking finger(s).
Adjust suspension: Most bikes have adjustable suspension that can greatly impact the bike's traction and handling on the trail. If you're comfortable adjusting yours, you can increase compression damping. This minimizes how much of your turning force diverts into your suspension travel. To learn more, check our Bike Suspension Basics article. Following the maintenance suggestions there will help ensure your bike handles well on any trail section, including corners.
Drop your saddle: If the trail ahead is downhill, rugged, or both, lowering your saddle will help. The bike will be able to move freely underneath you and you will be able to keep your body low and centered. If you don't have one, consider buying a dropper seatpost. It lets you adjust saddle height on the fly via a bar-mounted control. If you plan to ride a lot of technical terrain, the hefty price tag can be worth every penny.
Assess your armor: Everyone understands the importance of helmets, but sometimes other protective gear gets overlooked. Knee and elbow pads are much more comfortable than they used to be, so now is a good time to add or upgrade pads and armor.
