Putting on a climbing harness for the first time can feel a bit like a brainteaser when you have to figure out where all the straps, loops and buckles go. But with a few tips and some repetition, it will soon become as familiar as pulling on a pair of pants.
Here's how to put on a climbing harness. (Note: Not all climbing harnesses are exactly the same, so you should read the instruction manual specific to your harness to understand how to use it properly.)
- Loosen the buckles: Start with the waistbelt and leg-loop buckles.
- Remove twists: Straighten out the waistbelt or leg loops.
- Step into the harness: Step through the waistbelt and into the leg loops, and then pull the harness up.
- Tighten the buckles: Snug up the waistbelt and leg-loop buckles.
- Double-back the buckles: Make sure each buckle is properly double-backed.
- Double-check everything: Check again for any twists and that all buckles are double-backed.
Here's some additional detail on each step:
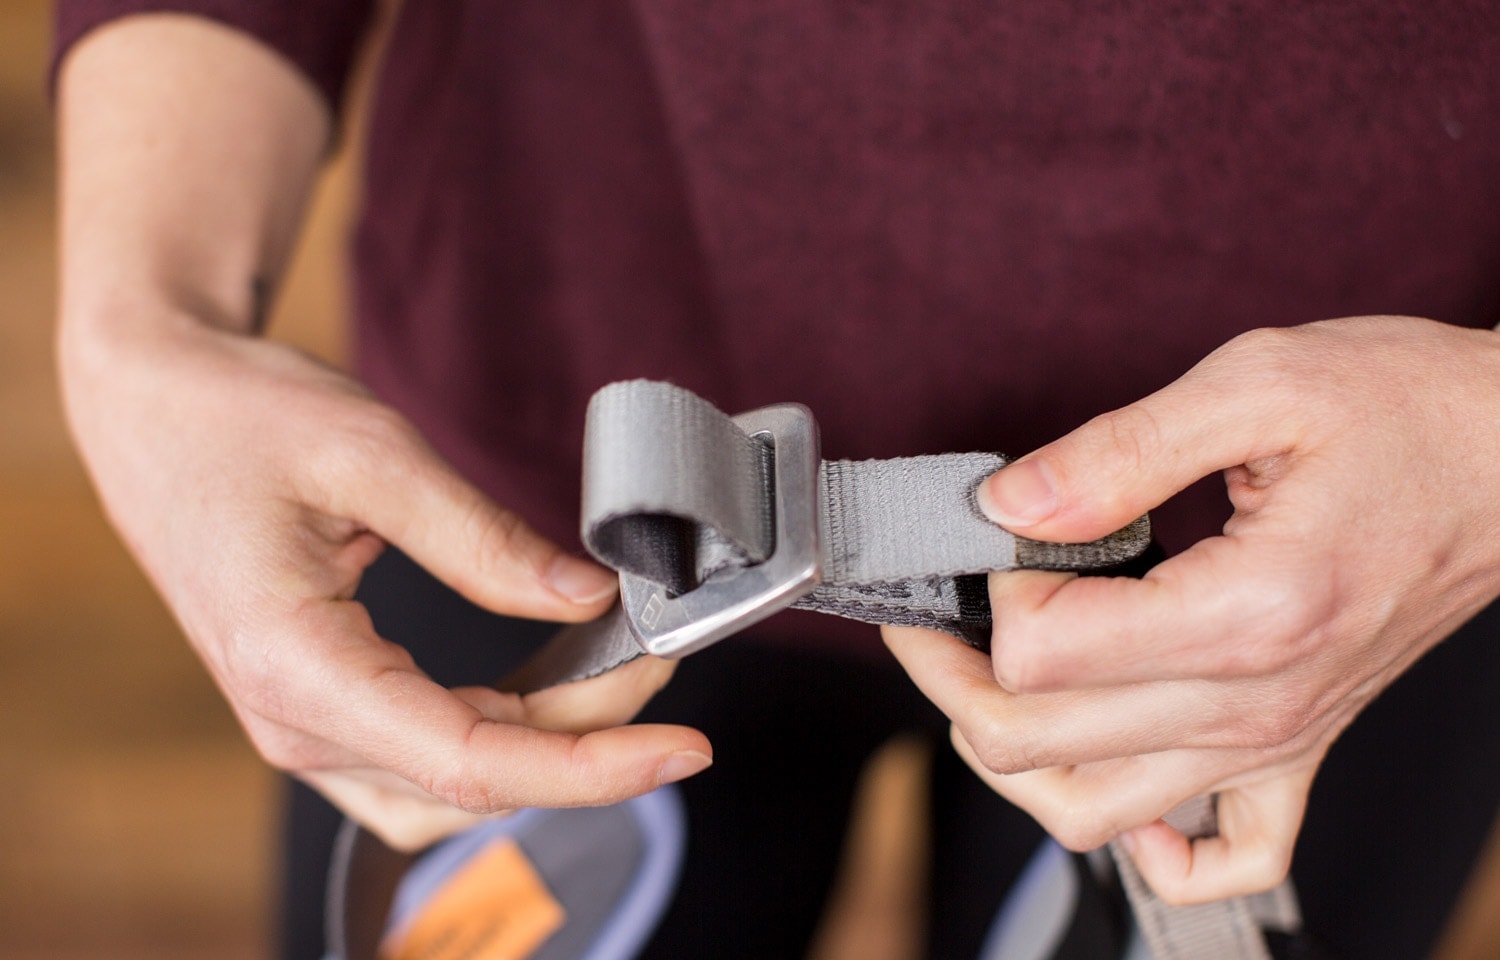
1. Loosen the waistbelt and leg-loop buckles.
Some harnesses allow you to completely undo the buckles, and some people like to do this when putting on a harness, but it's usually simpler and faster to loosen the buckles enough so that you can get into the harness. (If your harness has stretchy leg loops without buckles, you need only to loosen the waist buckle.)
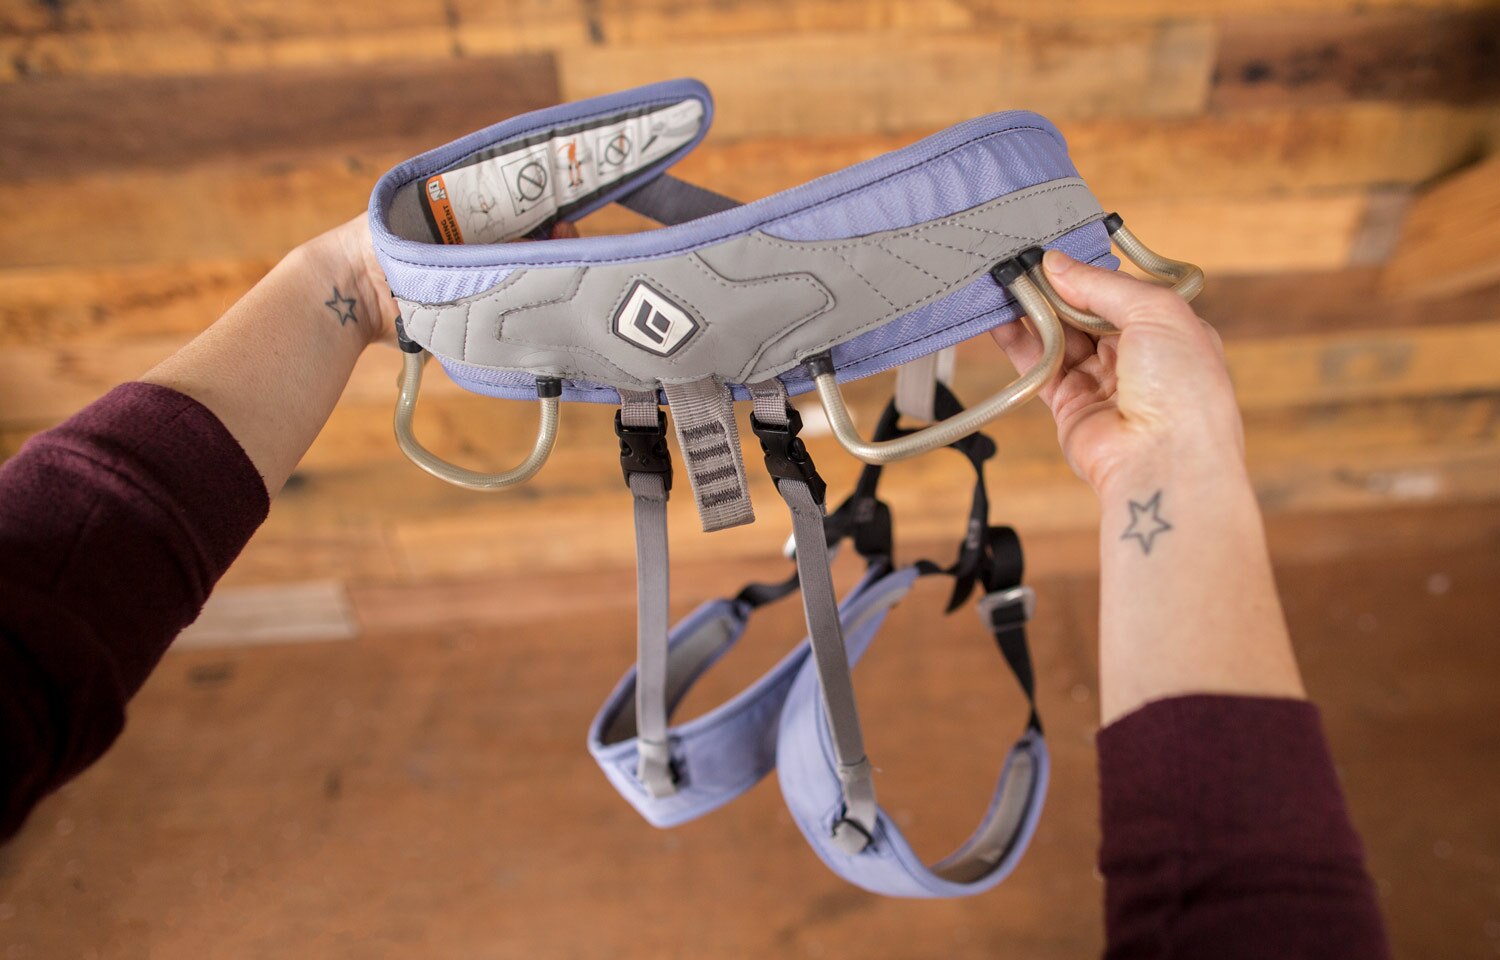
2. Remove twists in the waistbelt or leg loops.
Hold the harness out in front of you by the waistbelt with the belay loop facing away from you and undo any twists. Pay particular attention to the leg loops, as they are prone to twisting and flipping upside down. For an easy way to tell if things are twisted, look at the stretchy straps on the back of the harness that connect the waistbelt to the leg loops. They should run fairly straight to each leg loop.
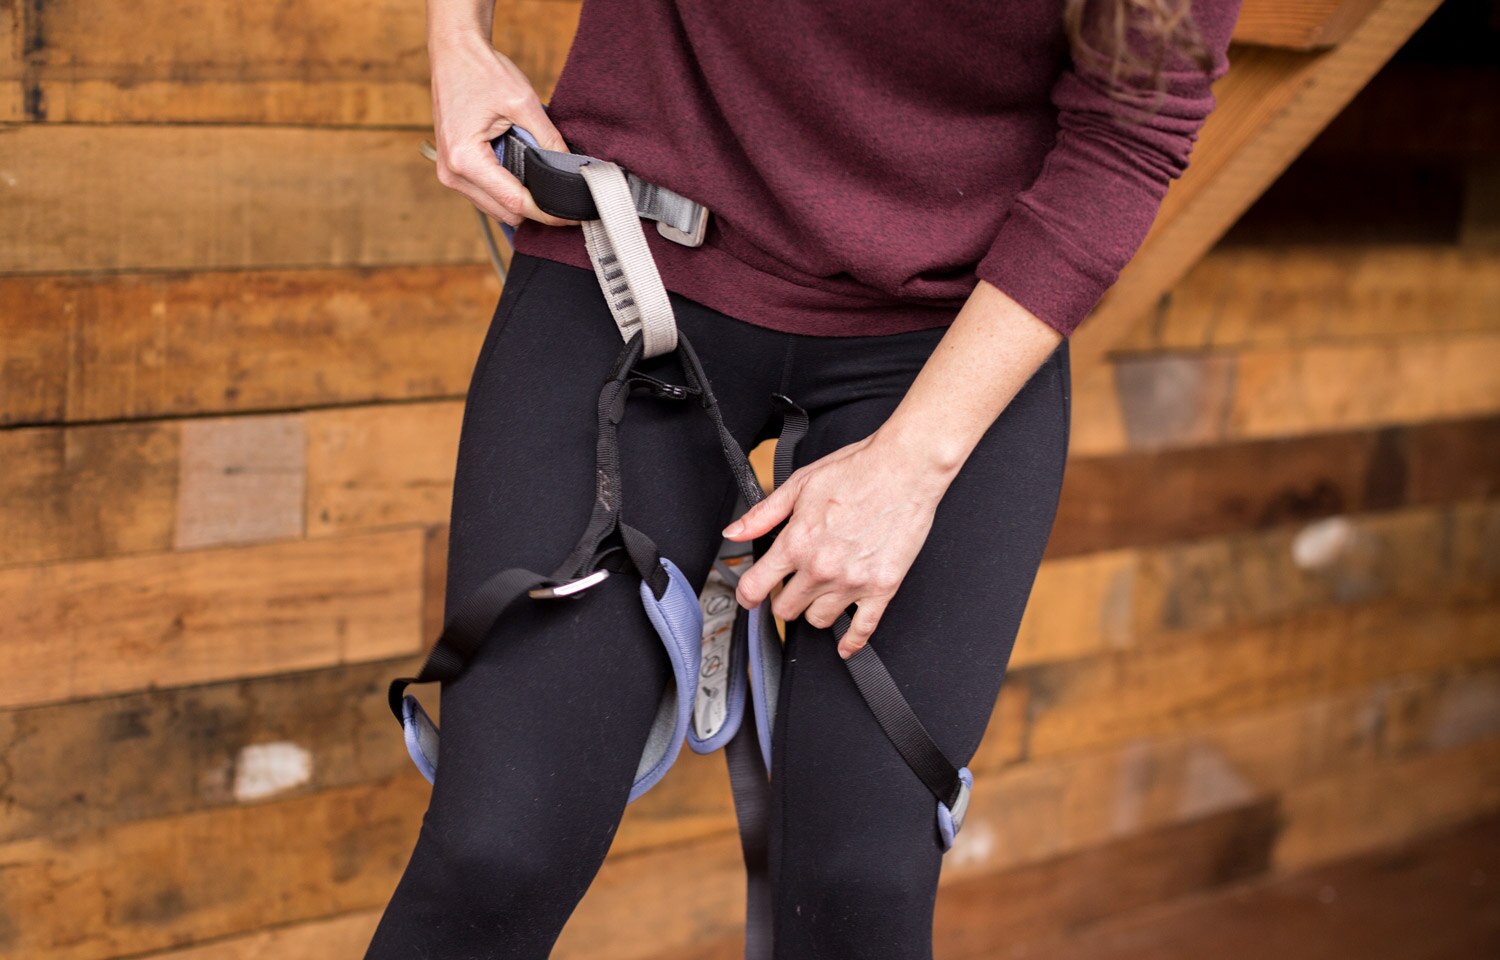
3. Step through the waistbelt and into the leg loops like pulling on a pair of pants.
Pull the harness up by the waistbelt so that the leg loops are around your upper thighs and the waistbelt is just above your hip bones. Alternately, you can put the harness on the ground with the leg loops placed inside the waistbelt. Step into both leg loops and pull the harness up.
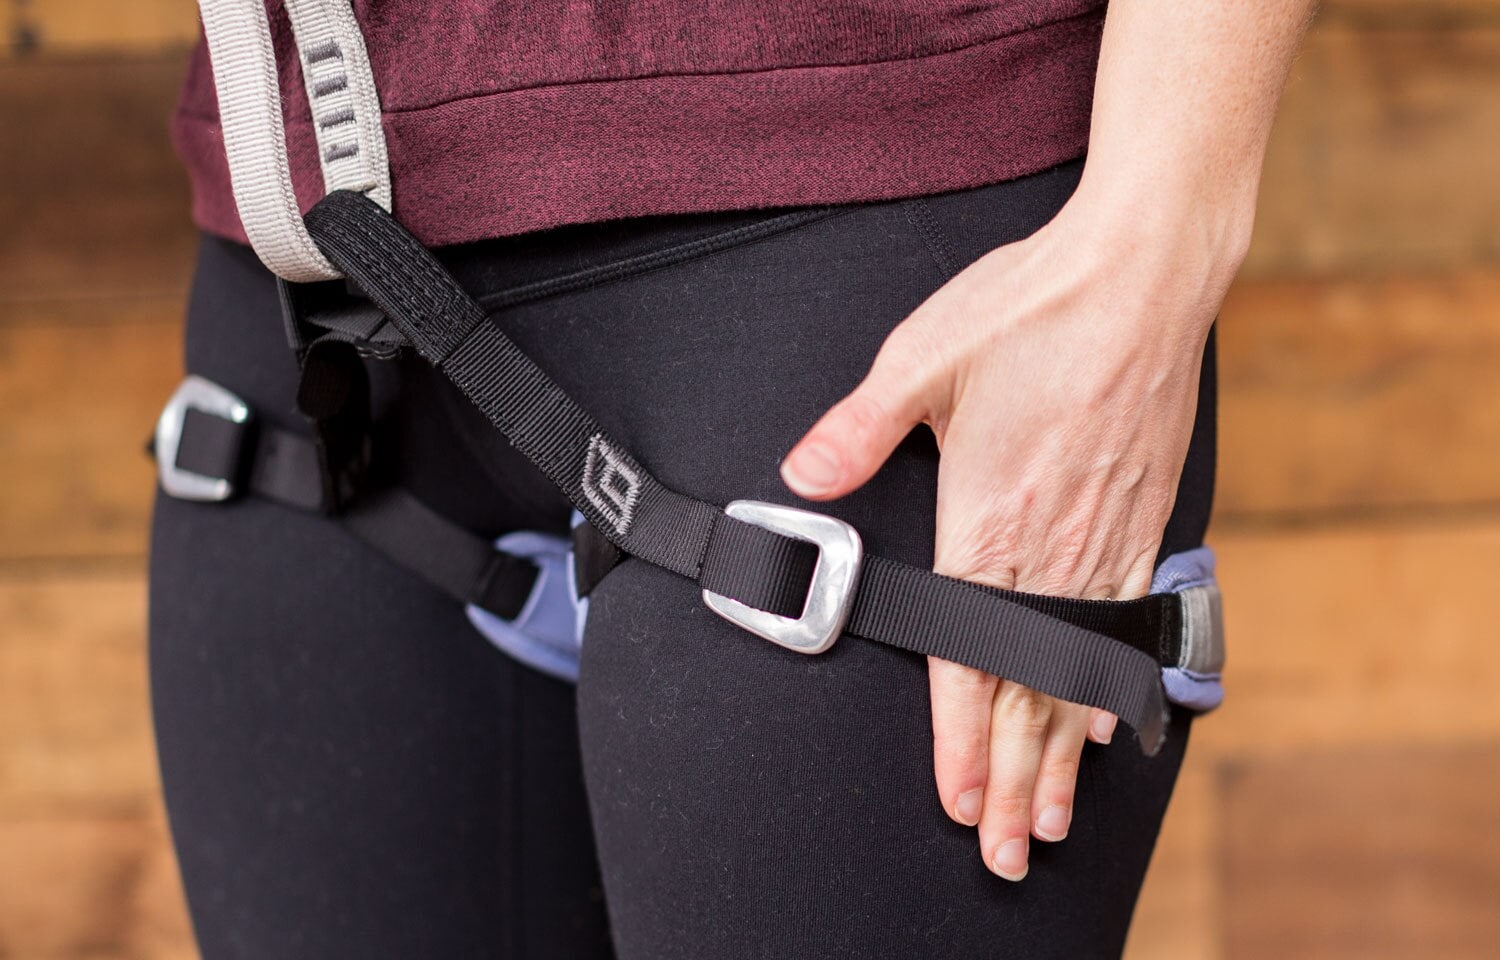
4. Tighten the waistbelt and leg-loop buckles.
Snug the waistbelt tight enough so that the harness cannot be pulled down below your hips. (You can test the tightness by slipping a hand through the belt. Then, make a fist and try to pull your fist up through the harness. If your fist comes out easily, you need to tighten the belt more.) Tighten the leg buckles up so that they are comfortably snug. If you can slide a flat hand between the leg loop and your thigh, that's usually about right.
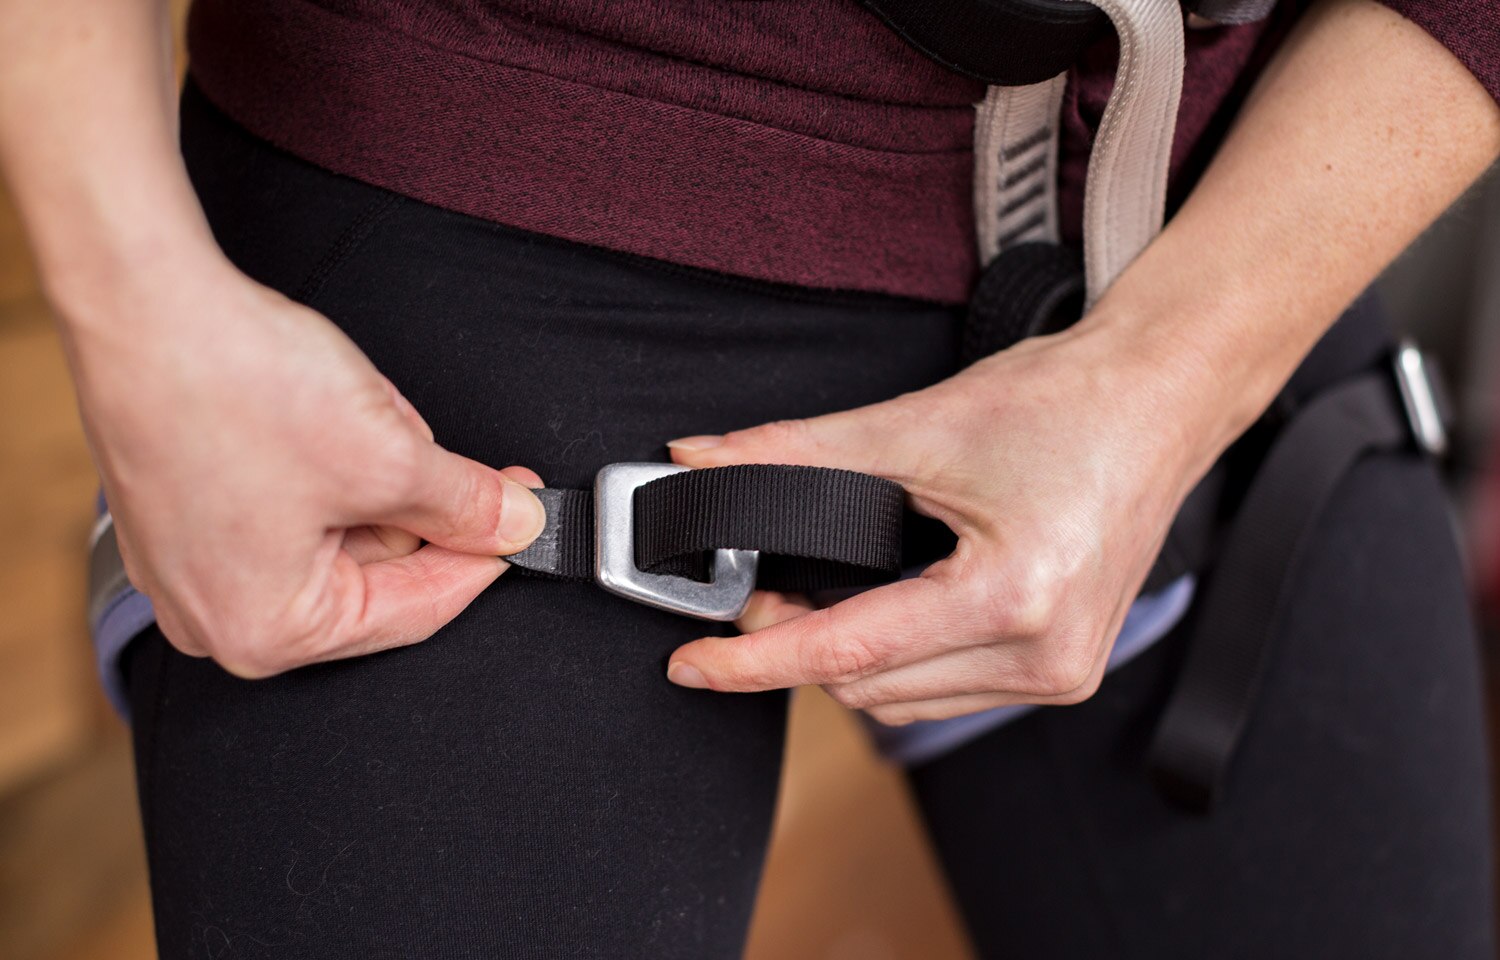
5. Double-back all the buckles.
Many newer harnesses include pre-threaded buckles that adjust while maintaining the correct double-back configuration. With these, simply tighten the straps up and you're ready to go climbing. However, some harnesses have buckles that require you to manually double them back, which basically means threading the strap back through the buckle one more time to secure it.
Important: Always read the instruction manual that comes with your harness so you understand what style buckles the harness has and how they operate. It's critical that all buckles are properly double-backed before climbing.
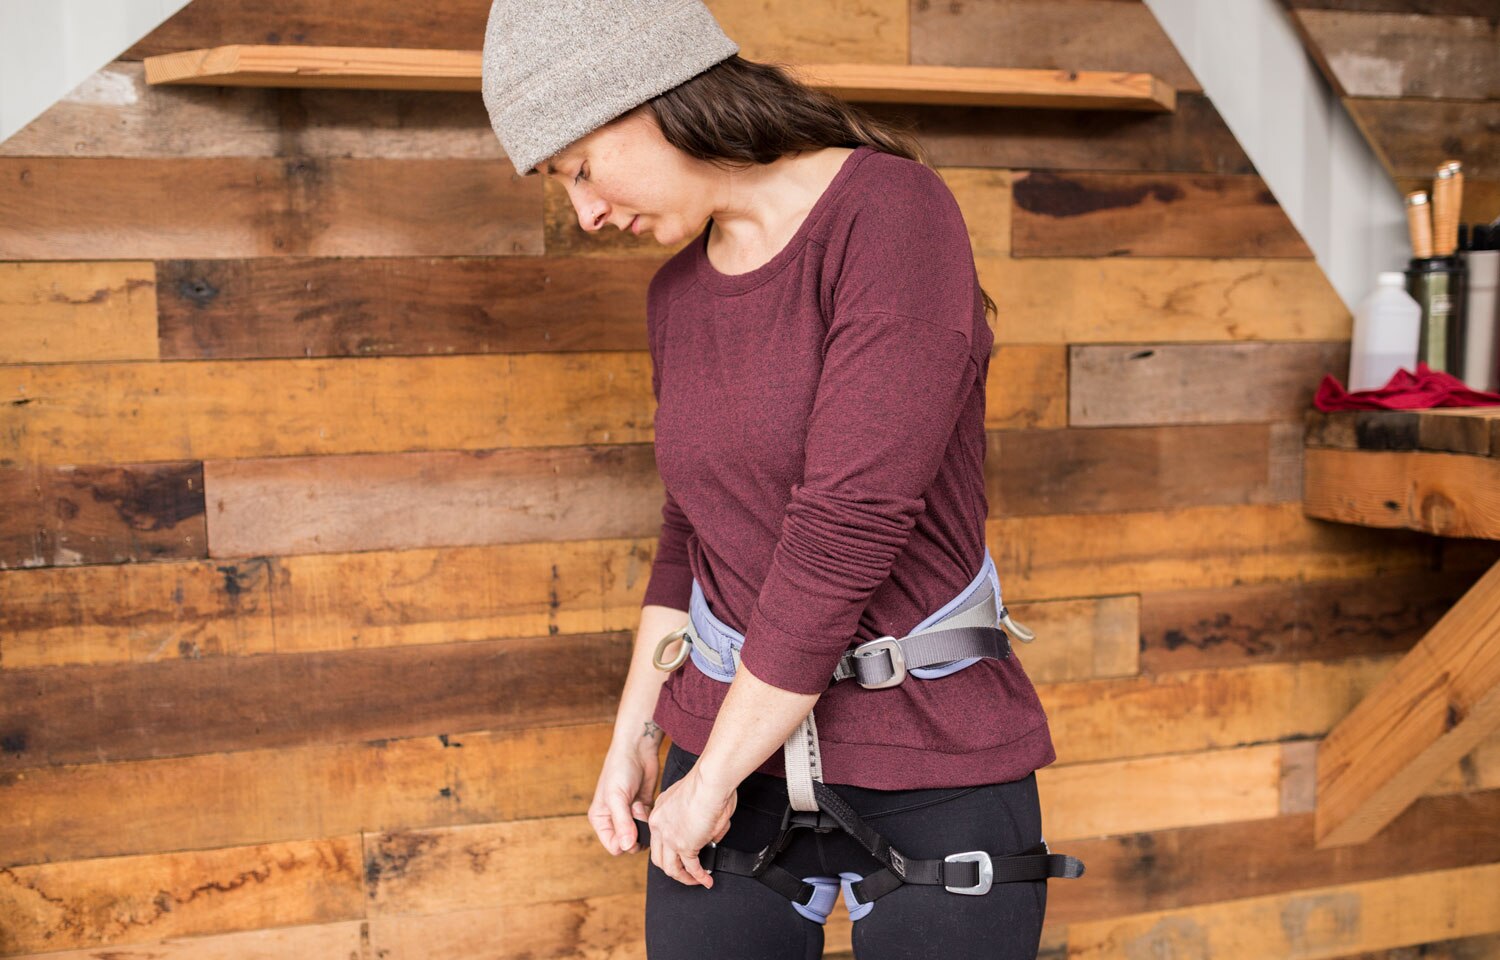
6. Double-check that you've put the harness on correctly.
Make sure there aren't any twists in the waistbelt or leg loops and that all of the buckles are double-backed. While you're at it, double-check your partner's harness, too.
Now you're ready to tie in with a figure 8 knot and climb. Learn more in our Getting Started Rock Climbing and How to Belay articles.
Remember: Safety is your responsibility. No article or video can replace proper instruction and experience. Make sure you're practiced in proper techniques and safety requirements before you climb.

