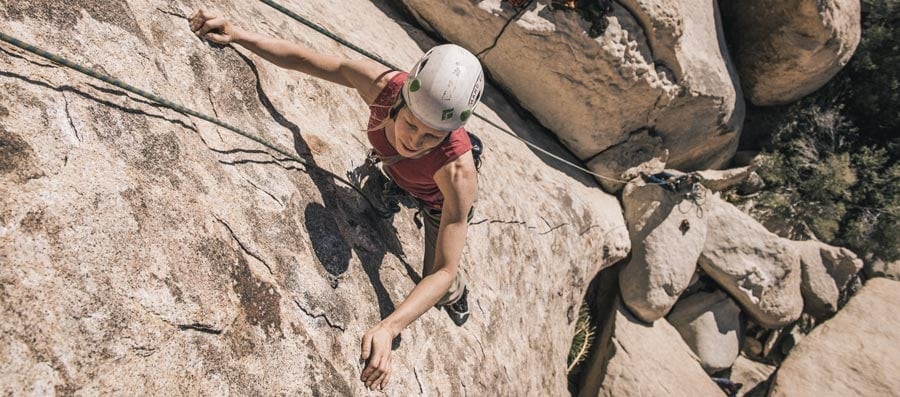
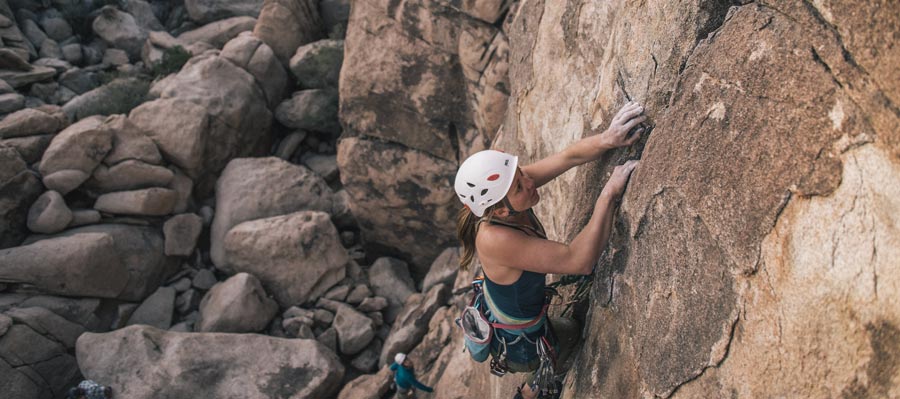
Often described as a vertical puzzle, rock climbing provides a unique, physical outlet that anyone can enjoy. Learning to move up the wall creates a strong mind-body connection that can help build self-awareness and confidence. Climbing is also a great way to build fitness, make new friends and spend time outside.
At first glance, it may seem intimidating; specialized gear and technical skills can feel like big barriers to accessing the sport. Luckily, there are so many ways to enjoy climbing. Indoor gyms make it possible to try it out close to home, and most gyms set up routes in a wide range of difficulty, including plenty that are suitable for beginners. And if you want to head outside, there are countless organizations and guiding companies that offer introductory classes, including REI Co-op Experiences.
Follow these steps to get started:
To learn basic climbing terms before you get started, check out our Rock Climbing Glossary.
Step 1: Understand Climbing Disciplines
Rock climbing has a broad range of disciplines, with each requiring differing types of gear and training. Maybe you've seen pictures of climbers hanging from ropes hundreds of feet above the ground. While this is one way to engage with the sport, there are several forms of climbing that keep you much closer to earth. As a beginner, some of the best places to start are top-rope climbing (top-roping) or bouldering, either indoors or outside.
Bouldering
Bouldering requires the least amount of specialized gear and technical knowledge to get started. Though a few advanced climbs can get pretty high, most bouldering routes—often referred to as "problems"—take you only as high as you can jump off comfortably. Bouldering is a great introductory activity because it requires only climbing shoes, a chalk bag, a crash pad (to cushion your jump or fall off the rock), and experienced spotters to help guide your landing. You don't need a rope, a harness or other hardware. To learn more, check out our guide: How to Get Started Bouldering.
Top-rope climbing

Top-rope climbing (or top-roping) brings you higher off of the ground than bouldering and uses a rope for protection. The climber ties into one end of a rope that passes through an anchor at the top of the route. As the climber ascends, another person, called the "belayer," uses a belay device to take in slack on the other end of the rope. By keeping the rope taut, the belayer minimizes the fall distance if the climber slips. Belaying is a critical role, and you can learn how to belay in many introductory climbing classes.
More advanced climbing
After gaining comfort with top-roping or bouldering, you may be curious to learn more about sport lead climbing or traditional lead climbing. These skills are often necessary for outdoor roped climbing without a guide or more experienced climber. We'll walk you through these options in Step 5, and you can also check out the articles Intro to Sport Lead Climbing and Intro to Trad Lead Climbing.
Step 2: Try It Out
Top-roping and bouldering can both be done indoors and outdoors. REI Co-op Experiences offers intro indoor and outdoor rock climbing classes that include all the gear you need to get started. Many indoor climbing and bouldering gyms also offer classes and drop-in day passes.
Climbing outside on real rock can be thrilling, but involves a few more variables and a bit more experience. Because you're not climbing in a controlled environment with pre-set routes, an experienced climber or guide needs to build the anchor to set up a top rope. If you're set on ascending real rock outdoors, you can jump ahead to Step 3 and check out the article, Learning to Climb Outdoors, for more details.
New climbers often start in an indoor gym because these spaces are more readily accessible and not dependent on weather. At climbing gyms, you'll find protective floor mats to cushion your landings, pre-set routes marked with color-coded plastic holds, top ropes already set up for you to climb and a social atmosphere. Many gyms also host classes to hone or learn a new skill. Read more details in the article Indoor Gym Climbing Basics.
Indoor Bouldering: Because it requires minimal specialized gear or skills, indoor bouldering has the lowest barrier to entry of any climbing discipline. It's possible to show up to a gym, sign a waiver, complete a brief orientation with a staff member and hop on the wall to attempt some beginner routes. An orientation may cover how to identify route difficulty levels and tips for minimizing your fall risk. While bouldering solo is also an option, it's fun to work through the movement with a friend. Bouldering gyms can be fairly social, and climbers often work together to "solve" a boulder "problem," as the routes are called. And a great way to improve is to watch how other people climb.
Indoor Roped Climbing: We'll cover the steps and skills needed for roped climbing more in-depth in the next section. But indoor top-roping requires an experienced belayer, which could be a staff member, a friend with a belay certification or an auto belay device. Orientation at a climbing gym often includes an overview of auto-belays.
Step 3: Learn the Ropes
If you want to try top-rope climbing, it's important to learn the basics from an experienced climber or qualified instructor. You can also join a local climbing organizations or hire a qualified guide. (The American Mountain Guides Association and the Professional Climbing Guides Institute are two examples of certifying bodies for guides in the United States).
Skills You'll Learn
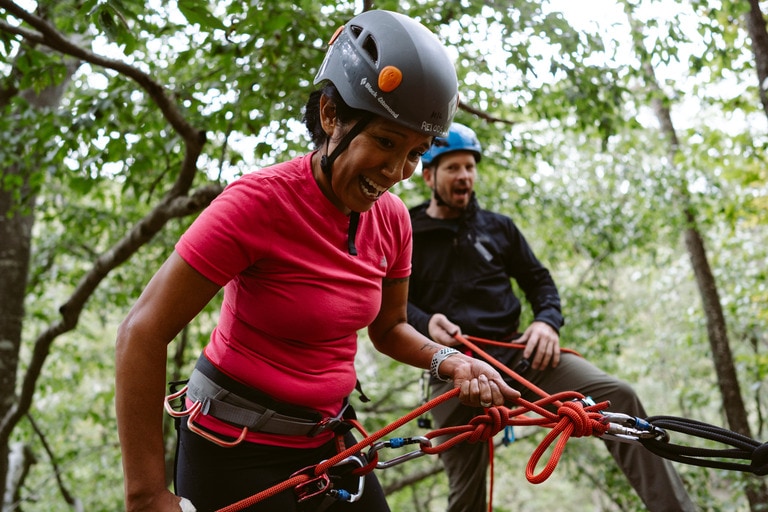
A typical intro a top-rope climbing course includes an overview of gear, essential knots, belay checks, climbing commands, belaying and basic movement skills. If the course is outside, instructors will also go over ways to minimize risks associated with outdoor climbing like rock fall or exposure.
- Knots: Climbers most commonly use a Figure-8 Follow Through knot to tie into the end of the rope while climbing. Instructors will demonstrate how to use this knot to attach the rope to your harness. Watch the video How to Tie a Figure 8 Knot for Climbing.
- Belay Checks: Before the climber starts up the wall, it's essential to check the system to make sure it's set up properly. You'll learn to evaluate the tie-in knot, belay device, harnesses and helmets.
- Commands: There is a specific set of phrases that climbers and belayers use to communicate in order to increase safety and efficiency on the wall. You'll practice these commands before jumping on the climb.
- Belaying: You'll learn how to set up a belay device and use it to keep the rope tight, catch the climber if they fall, and lower them back to the ground. Learn more in the article How to Belay.
- Basic Movement Skills: While it seems like climbing requires a lot of upper body strength, your instructor will help you find ways to use your legs as much as possible to move up the wall. You'll learn basic footwork, body positioning and balance to start solving the vertical puzzles.
Gear Needed for Rock Climbing
If you start out at a gym or climb with a guide, necessary equipment is usually provided. Some gyms or guides might require you to buy at least a few pieces of gear, though. And, eventually, you'll want a full set of your own climbing gear.
Tip: Always inspect your gear before climbing—whether you own it or rent it. Frequent use inevitably results in some wear and tear. The advantage of buying your own gear is that you know its history.
For indoor bouldering, all you need are comfortable clothes, climbing shoes and chalk.
Climbing Clothes: Wear clothing that allows you to move freely on the wall. Choose clothing that is breathable, wicks sweat and dries fast so that you can stay warm and comfortable while climbing. If you're climbing outdoors, carry extra clothes for changing conditions just as you would for hiking.
Rock Climbing Shoes: Climbing shoes protect your feet while providing the friction you need to grip footholds. Some styles are quite versatile, but your climbing ability and where you climb are factors in choosing the right shoe for you. Rock shoes should fit snugly but not painfully tight. The general rule is that closer-fitting shoes are better for more technically challenging climbs. Learn more on how to choose rock climbing shoes or check out our staff's favorite climbing shoes.
Chalk: Just like gymnasts, climbers use chalk to improve their grip. Chalk absorbs perspiration on your hands. Climbers often carry chalk in a chalk bag slung from the waist by a lightweight belt. Be sure to check the rules at your local gym or crag; some areas don't allow chalk or require that climbers only use certain types.
For top-roping, in addition to climbing shoes, chalk and comfortable clothes, you'll also need a climbing harness, locking carabiner and belay device. If you're climbing outside, a helmet designed specifically for climbing is an essential tool.
Climbing Harness: Your harness allows you to tie into the rope securely. Most harnesses have two front tie-in points designed specifically for threading the rope and tying in, one at the waist and one at the leg loops. Generally the tie-in points are different from the dedicated belay loop. Buckling your harness correctly is essential. For tips, watch our video on how to put on a climbing harness. Or learn more on how to choose a climbing harness.
Climbing Helmet: Climbing helmets are designed to help protect your head from falling rock and debris, and some (though not all) are designed to provide protection in the case of a fall. They are generally not worn in a climbing gym since it's a controlled environment. A helmet should feel comfortable, fit snugly but not too tight and sit flat on your head. Learn more in our guide on how to choose a climbing helmet.
Belay Device: A belay device helps the belayer control the rope as the climber moves. The two most common belay-device styles are tube-style and assisted-braking. An assisted braking device provides a back-up in case the belayer loses control of the brake, so these are recommended for extra security. Learn more in our guide on choosing a belay device.
Climbing Rope: No piece of gear is more important to a climber than the rope, though again, when you're first starting out, the rope will likely be provided for you. As you progress, where and what you are climbing will determine which rope is best for you. When you're ready to purchase your own rope, check out our guide on how to choose a climbing rope for in-depth details.
Carabiners: These strong, light metal rings with spring-loaded gates have endless applications in climbing systems. For most beginners, the first carabiner you'll buy is a locking carabiner designed to be used with a belay device. See How to Choose a Carabiner to learn more about the many types of carabiners used in climbing.
Step 4: Practice Your Skills

The best way to keep your new tools sharp is to put them to use! With the knowledge gained from an introductory class, you'll likely be able to take a top-rope belay test at your local gym. It's helpful to complete the assessment soon after taking a class when your skills are still fresh. Once you receive a belay certification, you'll be able to use indoor top-ropes without the assistance of a staff member.
Choosing Routes
As you get more comfortable climbing, you'll also get a feel for which climbs are a good challenge for you. With so many routes to choose from, it's possible for total beginners and professional climbers to have fun in the same gym or outdoor climbing area.
In the U.S., the Yosemite Decimal Rating System is predominantly used to rate climbing difficulty. The technical climbing portion of the scale runs from 5.0 through 5.15, with the difficulty increasing as the decimal portion of the rating goes up.
Very broadly, easier climbing routes are rated in the 5.1 through 5.5 range. Those are the types of routes your instructor will put you on initially.
When you progress to intermediate through hard routes, ratings are in the 5.6 through 5.10 range. The most difficult to seemingly impossible routes are rated 5.11 through 5.15. Ratings of 5.10 and above can also have an "a," "b," "c" or "d" attached to further delineate their level of challenge.
Bouldering ratings are a little more varied, with the V Scale being one of the more common, and ranking routes as V0 (easiest) through V16 (hardest).
To learn more, see: Climbing and Bouldering Rating Systems.
Step Five: Level Up

Once you get a feel for the basics, rock climbing offers countless opportunities to continue learning and growing. Some climbers love exploring more difficult movement, and indoor bouldering may be their favorite style of the sport. Others are fascinated by the technical skills and may pursue sport climbing, trad climbing or aid climbing.
After you become proficient at top-rope climbing in the gym or outdoors, you may be ready to progress to lead climbing, initially on sport-climbing routes. You can find learn-to-lead classes at your local gym or sign up for an outdoor sport leading class through REI Outdoor School. See Sport Climbing Basics for more information.
Perhaps your biggest goal is to spend time outside, exploring different areas. If you're ready to head outdoors, it's important to learn how to locate routes using a guidebook, how to set up and clean a top-rope anchor, and how to follow outdoor climbing etiquette. While it's sometimes possible to set up top-rope anchors from the top of the wall, lead skills are often required to climb outside.
With endless ways to engage in the sport, novices and professionals alike can discover new challenges in the vertical puzzle of climbing. If you follow your curiosity, stay open to learning, and keep having fun, climbing can be a lifelong activity to enjoy.
Remember: Safety is your responsibility. No internet article or video can replace proper instruction and experience. Make sure you're practiced in proper techniques and safety requirements before you climb.


