There may come a time in your climbing when your inability to grip small holds or dime-sized edges becomes the biggest barrier to whether you send a route. That's a good time to train your fingers to better hang on to slopers, pockets, pinches or other holds. There are many training tools to increase hand and finger strength for climbing and bouldering. One of the most popular is a hangboard, also called a fingerboard. They're made of plastic or wood and have a variety of holds that you can hang on.
When to Hangboard and Why
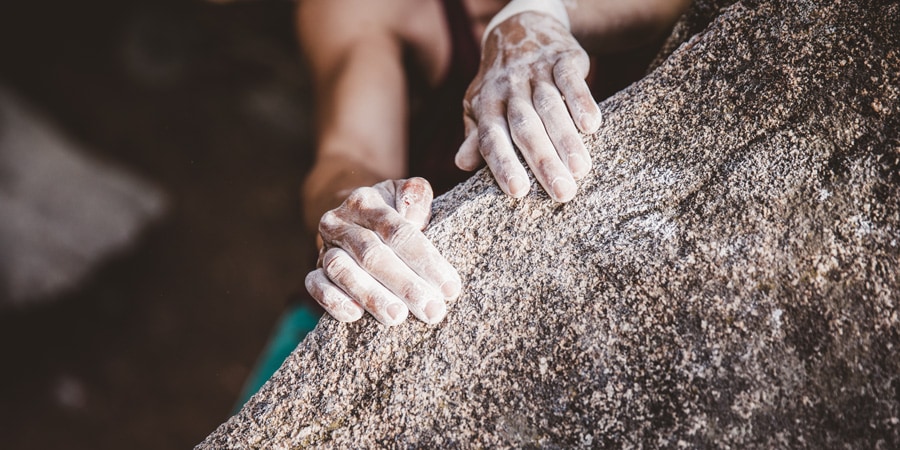
Before you start a workout routine, ask yourself why you want to increase your finger strength. If you're a beginning climber, you may not need to train on a hangboard if you can improve by developing better technique or by simply climbing a lot more. If you're an experienced climber, you can benefit from hangboard training if you've hit a plateau and want to squeeze more energy and productivity from your fingers to make a route easier. If your ability to hang on to a few more crimps is the difference between sending or not sending a route, for example, you could probably benefit from focused hangboard sessions.
What You'll Need for Hangboard Training
- Hangboard: Buy a hangboard, also called a fingerboard, use the one at your local climbing gym or make your own. Read our article to learn how to DIY your own board.
- A stopwatch or the timer on your smartphone.
- A log to track your progress.
- A chair: If you're not able to hold your own weight while hanging, it may help to have a chair that you can put a foot on to take some of your weight.
Getting Started With Hangboard Training
Before beginning any training plan, check in with your doctor or certified training professional.
Hangboard training works best inside a larger training program that includes climbing time as well as time spent improving your general fitness and endurance. Here are some things to consider as you start your training:
- Have a goal in mind or a project you want to send. Think about grips and hand positions you're struggling with.
- Keep it simple to start.
- Take at least a full day or two to rest between hangboard training sessions to avoid straining your hands and tendons.
- Remember that you're constantly working on finger strength when you're climbing in the gym or at the crag, so consider limiting your hangboard training sessions to three or four weeks—or until you feel like you're able to complete the project you had in mind.
- Listen to your body. If anything feels weird, respect that.
Tips for Proper Hangboard Technique
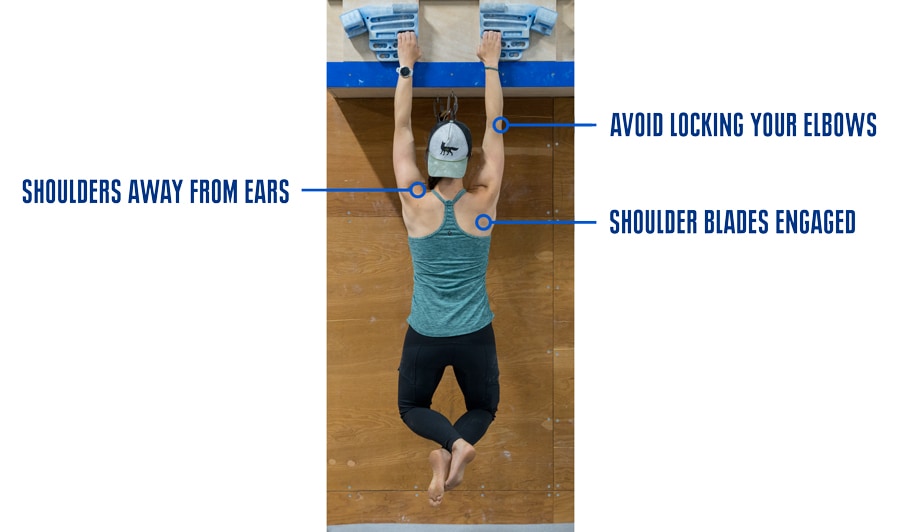
Using the proper form while hanging will help you avoid injuries. Here are some tips:
- Make sure you can reach the hangboard without having to jump to it.
- Avoid shrugging your shoulders or locking your elbows.
- Keep your shoulders away from your ears and engage your shoulder blades.
- As you progress, modify the hang time and rest time as you progress. For example, increase the time you hang and shorten the time you rest as you develop more strength.
Hangboard Grip Positions
The beauty of any training session is that you can customize it based on your goals and the weaknesses you're trying to target. Focus on holds you need to work on the most. If you're climbing mostly limestone pockets, you probably won't need to worry about slopers and pinches. With all these grips, try to keep an open hand and avoid hanging using a full-closed crimp where your thumb closes around your index fingers, as it risks more injuries.
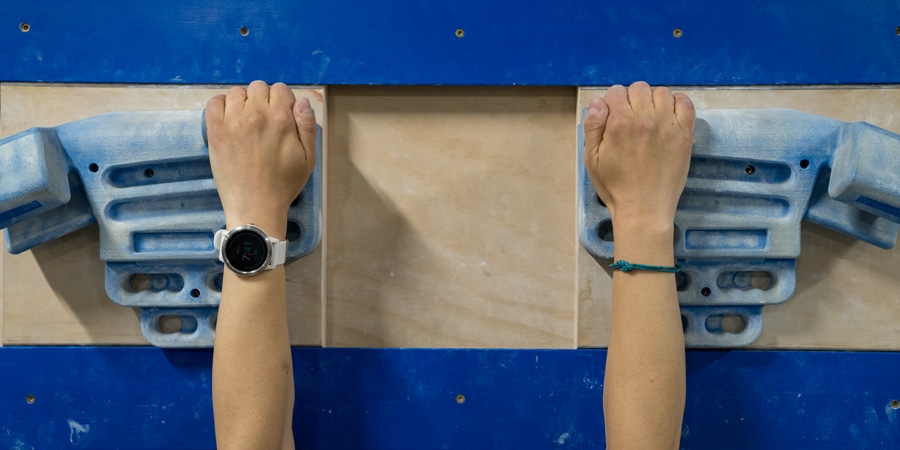
Jug: These are the easiest holds and are great for warming up. There's not much to them. Get your hand around them and hang in a comfortable position.
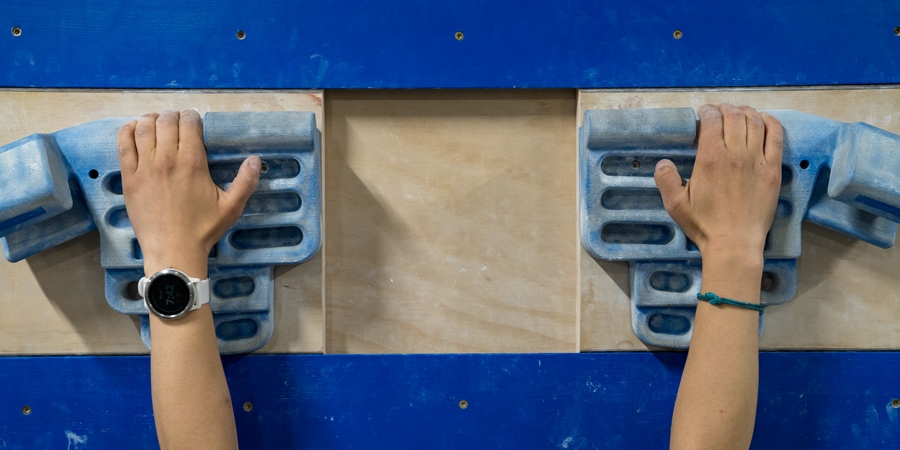
Slopers: Get as much of your hand on the hold as possible and push down on it.
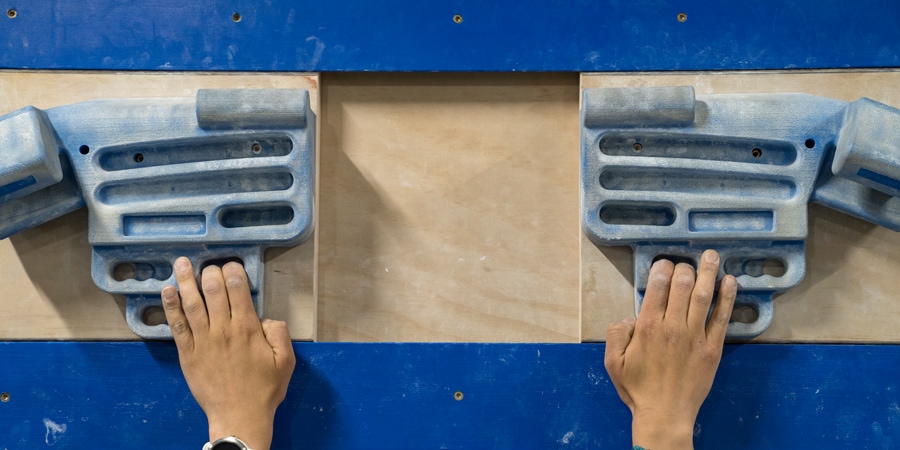
Pockets: You can vary the intensity by using one to four fingers in the holes as well as train with different sets of fingers out of the hold. For example, you could hold with your pointer, middle and ring fingers in the hold or train with your middle, ring and pinky in the hold. Remember, your middle finger is the strongest. Try to keep your hand open, avoiding curling your fingers into a crimp.
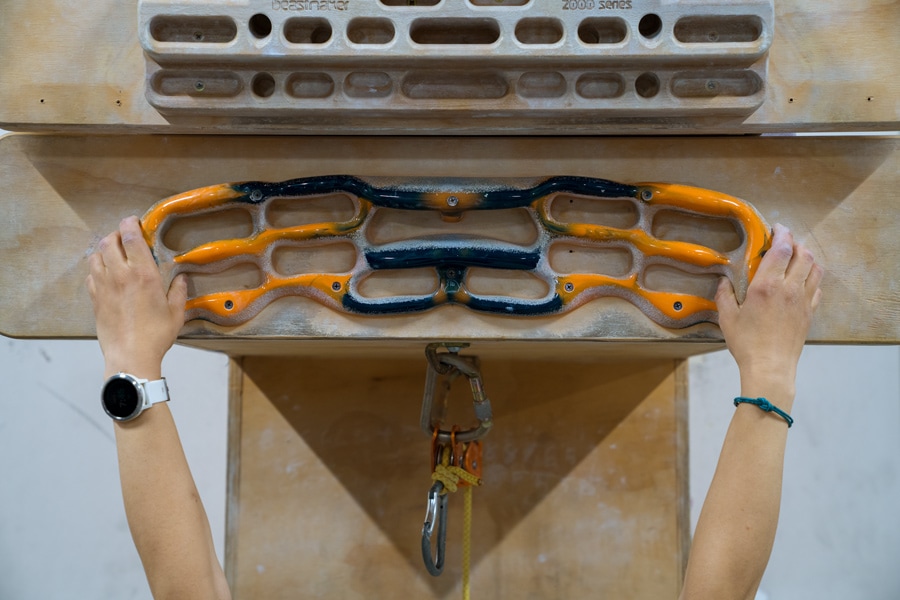
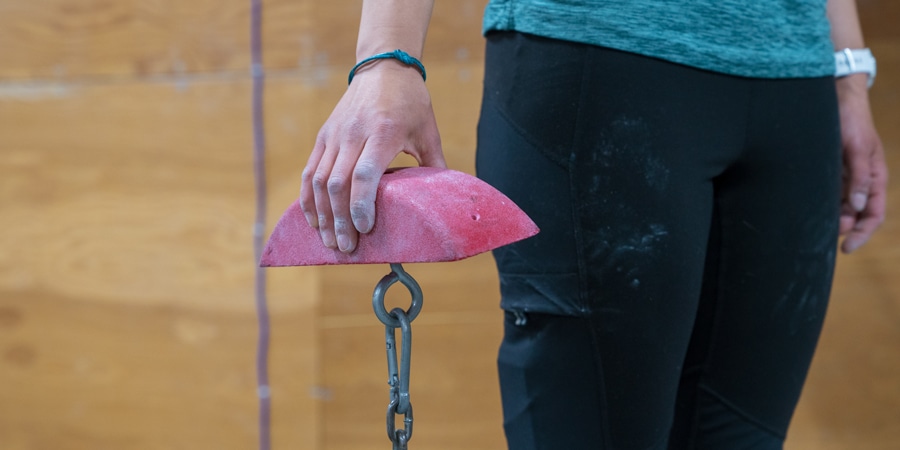
Pinches: If your hangboard has pinch holds, grip the hold with your thumb on one side and your fingers on the other. Wider pinches are harder. As an alternative, use a pinch block, which is a basic block (made of wood, polyurethane or other materials) from which you hang weights; train your pinch grip using different widths.
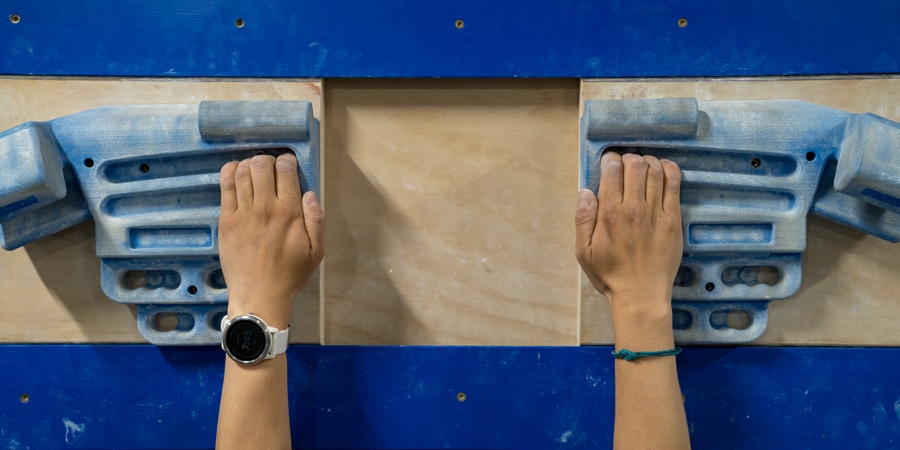
Edges: Edges range from deep to really shallow (more difficult). Use an open hand position. Imagine slapping your hand against a window and slowly dragging it down so your fingertips are on the edge. Don't close your thumb over your index fingers (as in a full crimp).
Sample Hangboard Workout
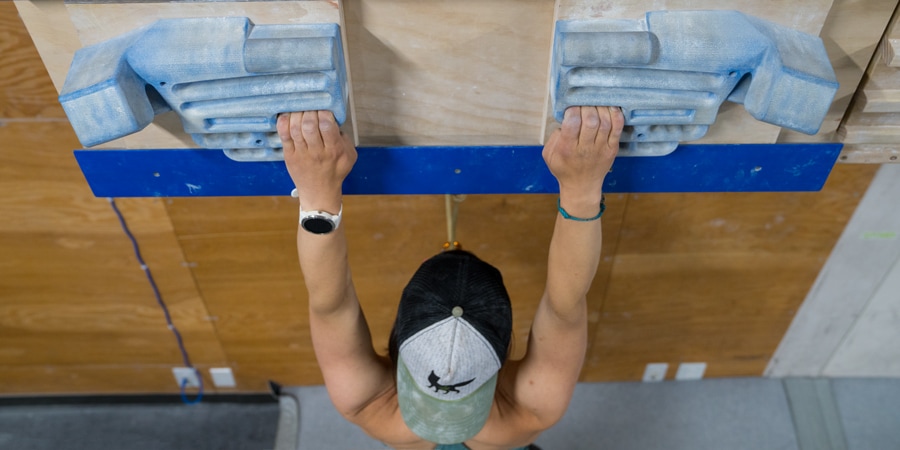
There's no shortage of hangboard training programs and many schools of thought about how to do it. Some training programs are designed around specific boards while other boards offer training apps.
Below is just one sample routine. You should identify the grips you want to work on and customize your training plan to suit your needs. Start on the biggest holds and work to the smaller ones.
- In each grip position, you'll hang with slightly bent elbows for 7 to 10 seconds. Then rest for 5 seconds. Repeat that sequence for a total of 6 times.
- Rest for 3 minutes between each set.
- Stop at the first indication of pain or twinges in your fingers.
Warm Up: It's important to warm up first before you start hanging. Do about 20 to 30 minutes of easy climbing or bouldering or low traversing on a climbing wall. If you're not able to hit a climbing gym, warm up with 20- or 30-second "dead hangs" (hang on the biggest holds, typically found at the top of the board) and several sets of pull-ups.
| Warm Up | 20-30 minutes of easy climbing or light traversing, or several sets of pull-ups |
|---|---|
| Jug | Hang for 7-10 seconds. Rest for 5 seconds. Repeat 6 times. |
| Rest | 3 minutes |
With three fingers in the pocket, hang for 7 to 10 seconds. Rest for 5 seconds. Repeat 6 times. | |
| Rest | 3 minutes |
| Edge | On a medium edge using an open hand grip, hang for 7 to 10 seconds. Rest for 5 seconds. Repeat 6 times. |
| Rest | 3 minutes |
| Pinch | On a medium pinch, hang for 7 to 10 seconds. Rest for 5 seconds. Repeat 6 times. |
| Rest | 3 minutes |
| Sloper | Use a large sloper, hang for 7 to 10 seconds. Rest for 5 seconds. Repeat 6 times. |
| Recovery | Do light stretches. |
