Now that technology has given us tools that photographers of yore could barely imagine, millions of people have the means to take stunning photos of the great outdoors. But having an advanced camera won't help you become a more accomplished photographer unless you know a few basics about the craft. Specifically, you need to understand about the interplay between light and exposure, which is the camera's ability to capture the light that's reflected off of a scene.
So, before you take a deep dive into the manual for your DSLR, mirrorless or advanced point-and-shoot camera, it's worth grounding yourself in a few fundamental concepts about how all cameras control exposure.
In this article we'll cover the following concepts that will help you learn how to take great outdoor photos:
A hands-on photography course is a great way to learn these concepts. You can find both in-store and in-the-field classes at many REI stores:
Sign Up for an Outdoor Photography Class
What is ISO and What Does It Do?
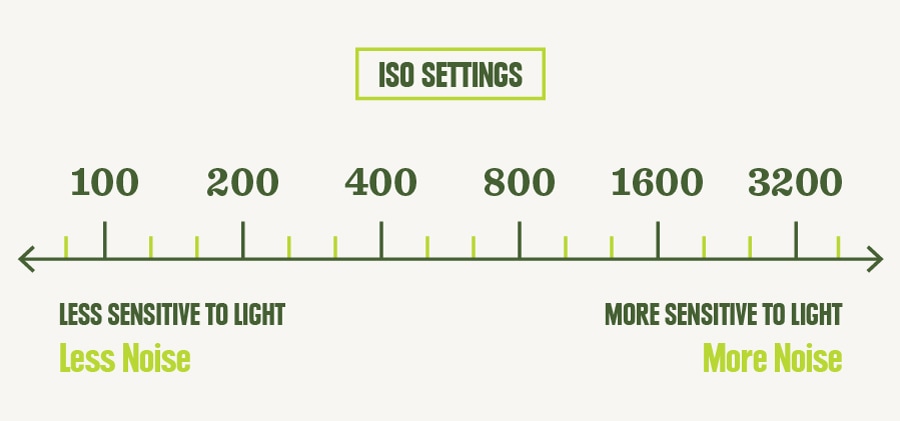
ISO determines the light sensitivity of the camera. A higher ISO makes the camera's image sensor more sensitive to light and a lower ISO makes it less sensitive to light. Generally, it's best to use a low ISO setting because higher ISO settings can introduce a grainy quality to photos.
ISO settings: On most cameras, ISO starts at 100 and goes up from there. The ISO scale is intuitive: ISO 200 is twice as light sensitive as ISO 100, ISO 400 is twice as sensitive as 200, and so on.
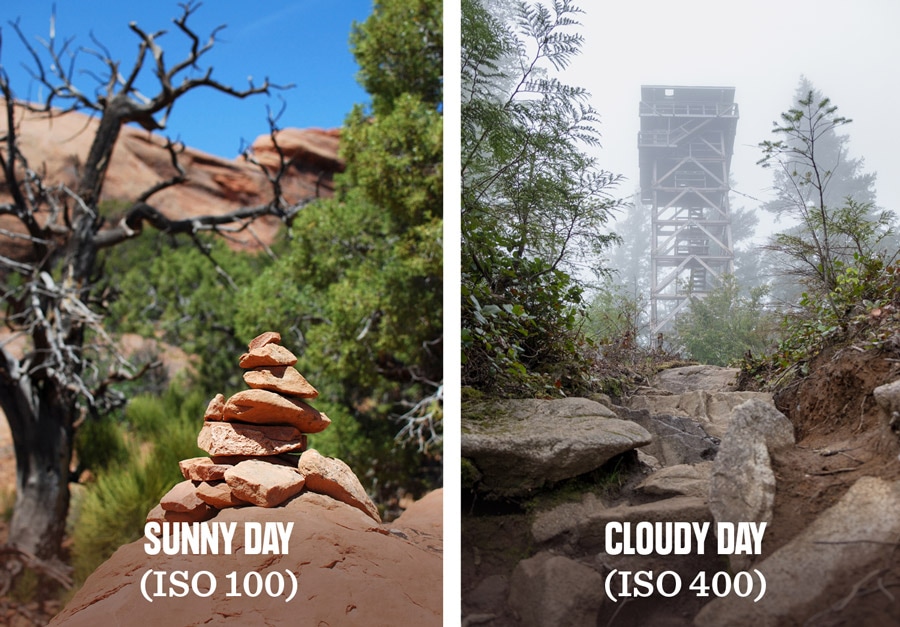
When you work with ISO, choose a setting based on the ambient light available. For example, if it's a bright, sunny day, choose a low ISO setting of 100 because you have plenty of available light and you don't need extra sensitivity to create a correctly exposed image. When ambient lighting is less intense—an overcast day, for example—you might bump ISO up to 400. Special scenarios, like photographing the night sky, call for an ISO of 1600 or higher.
| Light conditions | Recommended ISO setting |
|---|---|
| Bright, sunny day | 100 |
| Cloudy day | 400 |
| Cloudy day, dark forest | 800 |
| Night | 1600 |
How ISO affects "noise": When you shoot in low-light conditions, it can be tempting to crank up the ISO to ensure proper exposure. As ISO rises, though, images can take on a slightly grainier quality (noise). This will be most noticeable in the darker areas of the photo. This can happen with ISO set as low as 800; as the ISO increases, noise will be even more noticeable. Experiment with your camera to see what ISO settings start to introduce a concerning amount of image noise.

How to use ISO creatively: While you can change the ISO if you want to intentionally introduce noise to your photo, ISO is used primarily to set a starting point for other creative choices you'll make with aperture and shutter speed.
What is Aperture (f-stop) and What Does It Do?
Aperture refers to the size of the lens opening. While aperture sets how much light the lens lets in (a larger opening lets in more light and a smaller opening lets in less), the primary creative effect is to control the photo's depth of field— the distance between the closest and farthest areas of your frame that are in focus.
Aperture settings: Aperture uses the "f-stop" scale, which is not simple and intuitive.
- The lower the f-stop number, the larger the lens opening (and the more light that comes through)
- The higher the f-stop number, the smaller the lens opening (and the less light that comes through).
Available f-stops vary from lens to lens. Your lens' f-stops might include something like this: f/2.8, f/4, f/5.6, f/8, f/11, f/16.
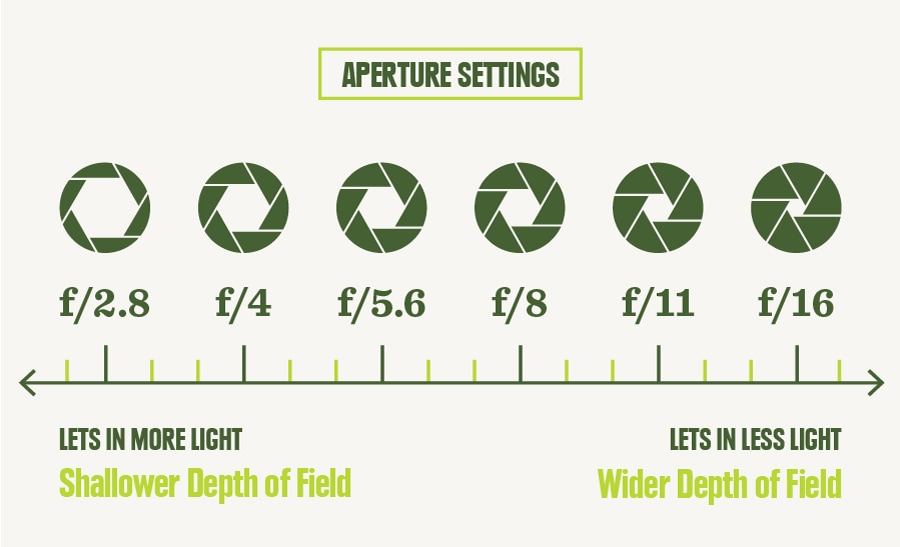
Aperture settings and depth of field: Aperture can control which areas (beyond the subject) of the photo are in focus.
- A lower f-stop number lets in more light and creates a shallower depth of field (less of the frame is in focus)
- A higher f-stop number lets in less light and creates a wider depth of field (more of the frame is in focus).
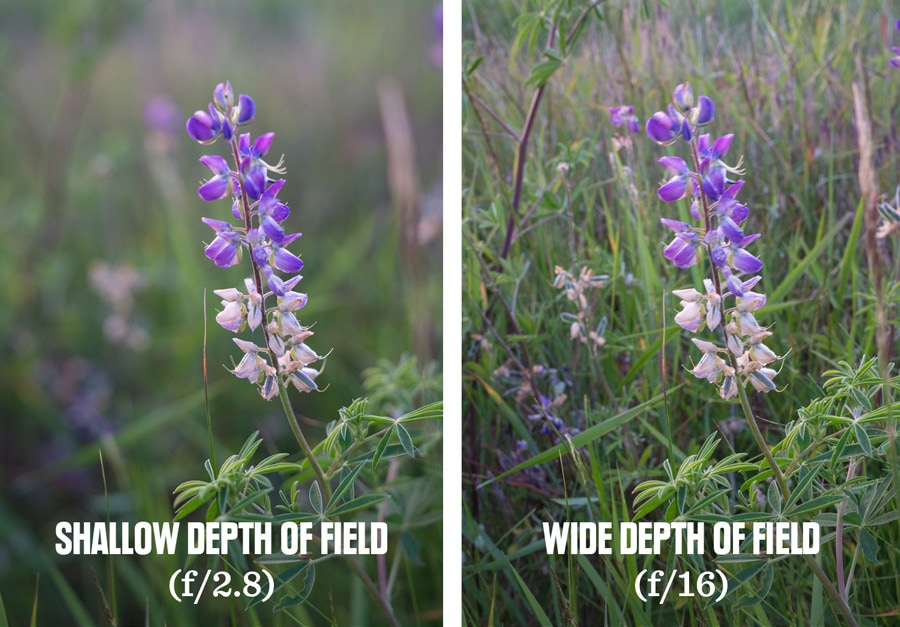
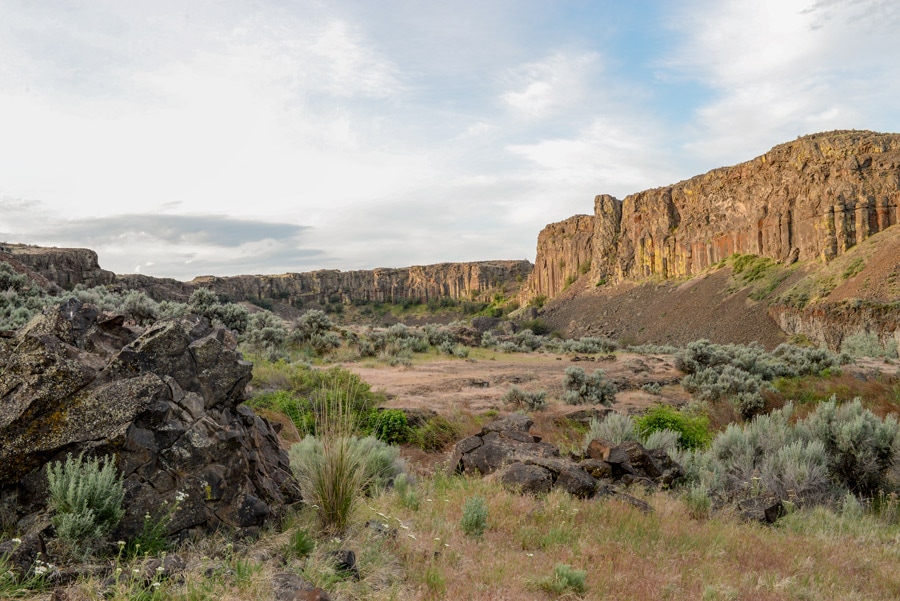
On a landscape photo, you might want a wide depth of field, so that everything from the foreground to the distant peaks are in focus.
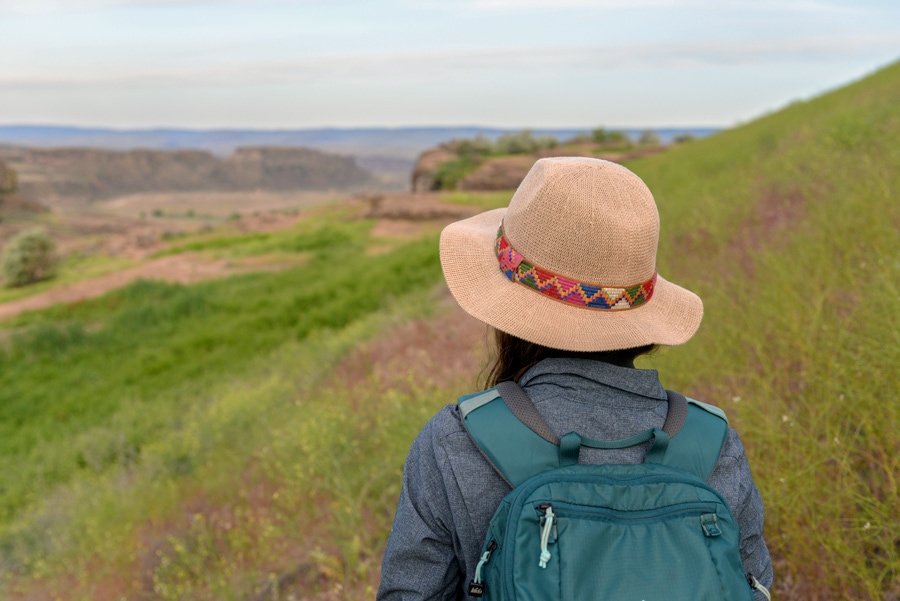
On a photo of your hiking companion, though, you might highlight her multicolored hatband by keeping her in sharp focus and having the background landscape slightly blurred.
What is Shutter Speed and What Does It Do?
Shutter speed sets how long the shutter remains open. When it's open for a longer time, more light enters the camera; when it's open for a shorter time, less light enters the camera.
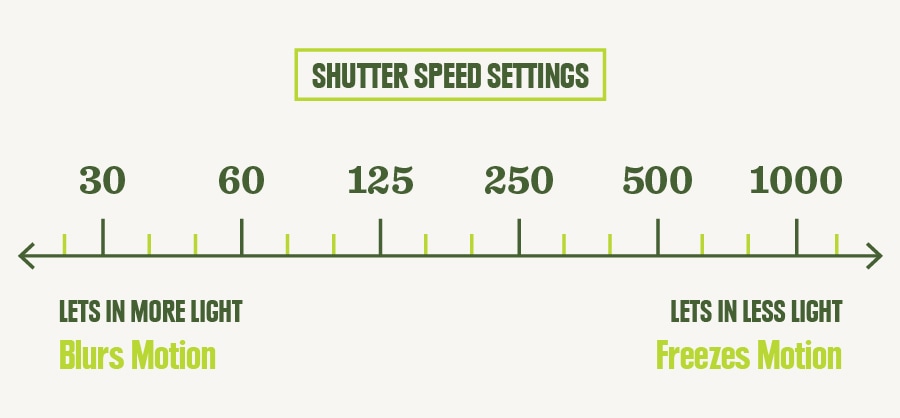
Shutter speed settings: The settings in this scale are simpler than f-stop numbers for aperture. They represent fractions of a second: 1000 is actually 1/1000th and 60 is actually 1/60th. The longer the shutter is open, the more light it admits: A shutter open for 1/125th of a second gives you twice as much light as 1/250th of a second.
Available shutter speeds vary with the camera you have. A camera's range might go from 1/8000th of a second up to 30 seconds (which will be displayed differently than 1/30th of a second). Most cameras also have an infinity (bulb) setting where the shutter stays open as long as you choose.
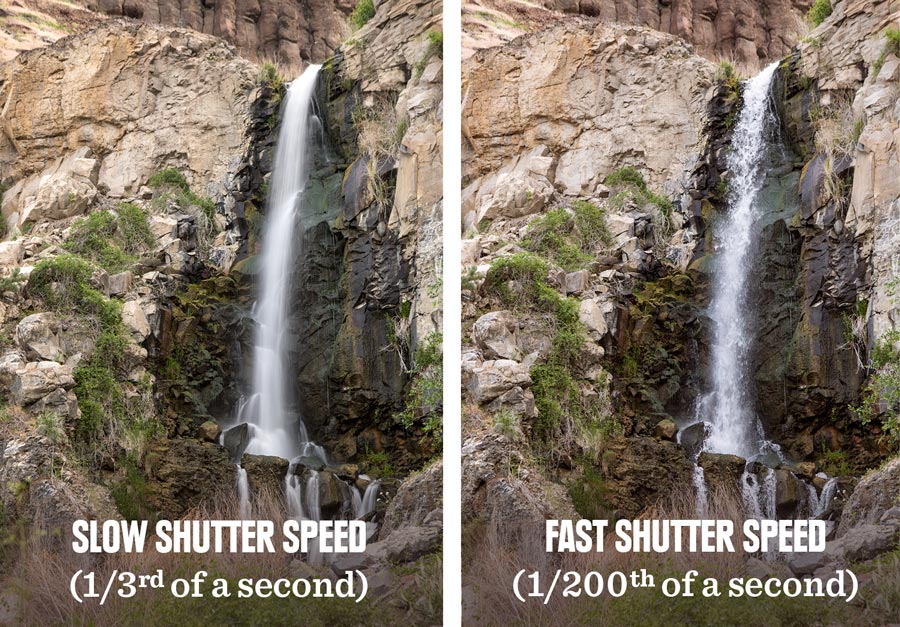
How to use shutter speed creatively: Shutter speed can be used to create motion effects. A fast shutter speed lets you freeze a fast-moving object like a mountain bike catching some air — your shutter speed might be 1/1000 or faster. A super-slow shutter speed can be used to blur motion: You could focus on a still spectator and have the mountain bike show up as a streaking element passing that person — your shutter speed might be 1/100 in this scenario.
How shutter speed can introduce unwanted blurring: Slow shutter speeds introduce a not-so-artsy blurring of images because your hands can't hold the camera steady for the full time the shutter is open. You can still shoot at slow shutter speeds, but you need a tripod to hold the camera steady.
The rule of thumb for the lowest handheld shutter speed is to look at your lens focal length and use a tripod for speeds lower than that number: If it's 50mm (a common setting for fixed-length lenses), use a tripod for speeds any slower than 1/50th of a second. If your lens' focal length is in the telephoto realm, say 250mm, then you'll probably want a tripod at anything slower than 1/250th of a second.
How to Get a Correct Photo Exposure
A correctly exposed photo, not too dark and not too bright, requires the right combination of your three exposure settings (ISO, aperture and shutter speed). That sounds simple enough, until you realize that dozens of combinations will produce an equivalent exposure level.
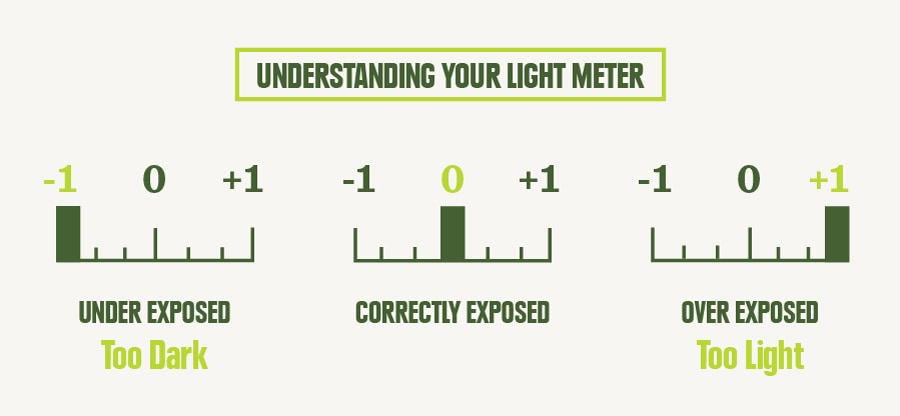
How to know when your exposure settings are correct: Your camera has a sophisticated light meter that measures light in terms of "stops." When your camera's light meter reads "0," it's telling you the exposure is correct. If your camera's light meter is showing +1, it's telling you your image is overexposed (too bright) by one stop. Conversely, if your camera's light meter is showing -1, it's telling you your image is underexposed (too dark) by one stop.
Even though ISO, aperture and shutter speed scales all use different terms, they all measure stops of light. If you choose to change any one setting, you'll need to adjust another by an equivalent amount to counterbalance that change. Here's an example:
Say you're composing a photo with settings of ISO 400, f/5.6 and 1/500, and your light meter is showing "0." If you choose to change the aperture by one stop to f/4 to achieve a shallower depth of field, then you'll need to either increase the shutter speed by one stop to 1/1000 or decrease the ISO by one stop to 200.
(Note: Most cameras allow you to adjust your exposure —ISO, aperture and shutter speed— in one-third stop increments.)
How to decide which exposure setting to change: Start by setting your ISO for the ambient light. If you're looking to control the depth of field, work with aperture. Then you'll need to adjust your shutter speed until your camera's light meter reads "0."
If your goal is to freeze or blur motion, set the shutter speed after setting ISO. Then adjust your aperture until your light meter reads "0."
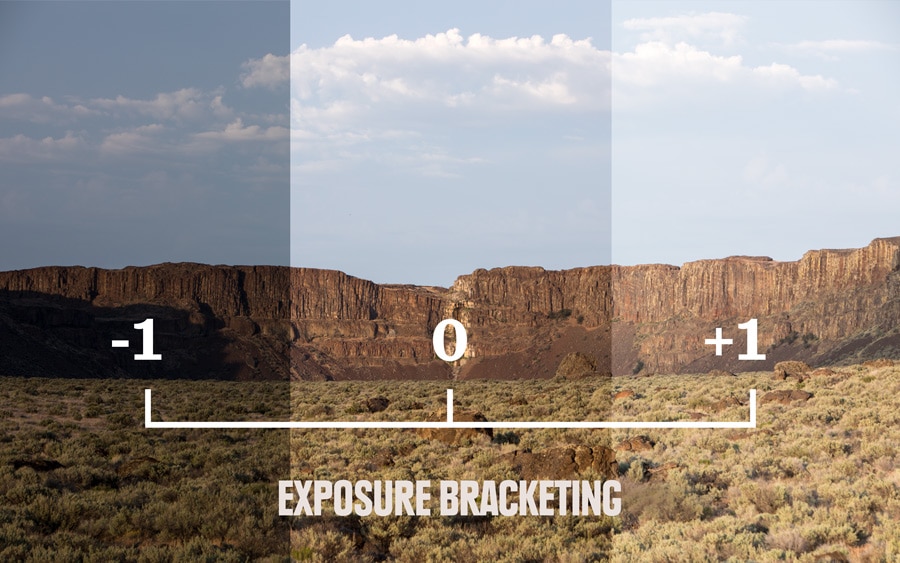
How to bracket exposure settings: Sometimes you might not agree with the ideal setting determined by your light meter. By shooting three photos, one at +1, one at -1 and one at a 0 setting, you can later select the image with the level of brightness you prefer. (You can go even further, too, shooting at +2 and -2 when you bracket.)
Experimenting with Exposure Settings
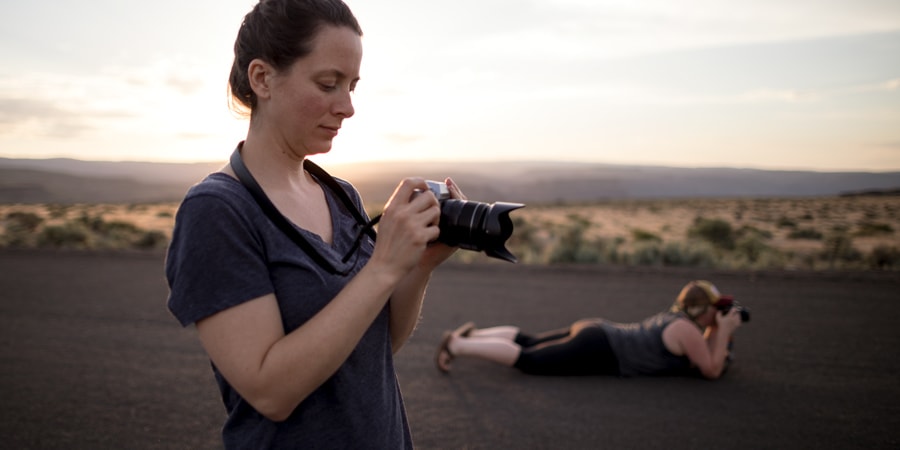
The beauty of digital photography is you get instant feedback on photos, which makes it easy to experiment with different settings. Experience is a great teacher, so head outdoors and take lots of trial shots to see how these elements affect your photos.
Now that you know some of the basics of exposure, it's a good time to read our article on understanding your camera.
And, to learn more about taking great outdoor photos, see our article on photo composition.
