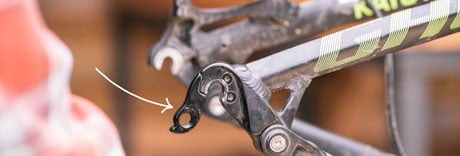
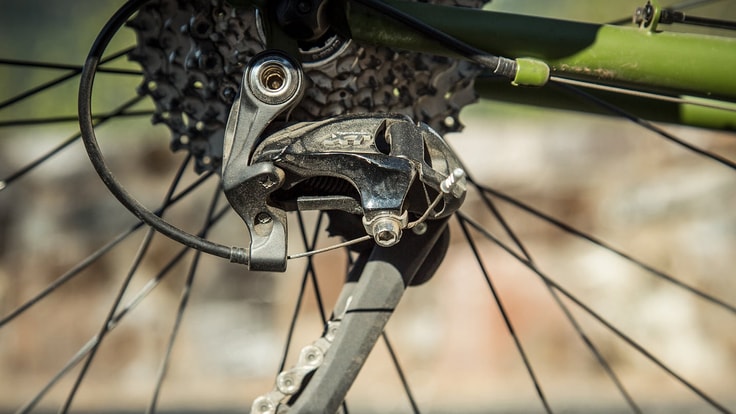
If your derailleur takes a hit during your ride, the derailleur hanger is there to absorb the impact. If the hanger gets damaged or bent, you'll need to replace it.
Video: Bike Maintenance: How to Replace a Derailleur Hanger
Tools you'll need:
- Hex wrench
- Bike cleaner
- Bike grease
Removing the Derailleur Hanger

Start by taking the rear wheel off your bike.
Next, use the hex wrench to loosen and remove the bolt that connects the derailleur to the hanger. It's fine to let the derailleur dangle from the shift cable while you work.
Now remove the hanger insert from the dropouts on the frame with a hex wrench. Some hangers will have two halves to remove.
Installing the Derailleur Hanger

Before installing the replacement hanger, clean off the dropout area with bike cleaner and a rag. Then lubricate both the inside and outside of the frame with bike grease.
Now you can install the new hanger and tighten it into place using a hex wrench.
Grease up the threads on the derailleur mounting bolt and reconnect the derailleur. Use a torque wrench to tighten the bolt to the manufacturer's specified torque.
Now reinstall the rear wheel and make sure the gears are shifting normally.
