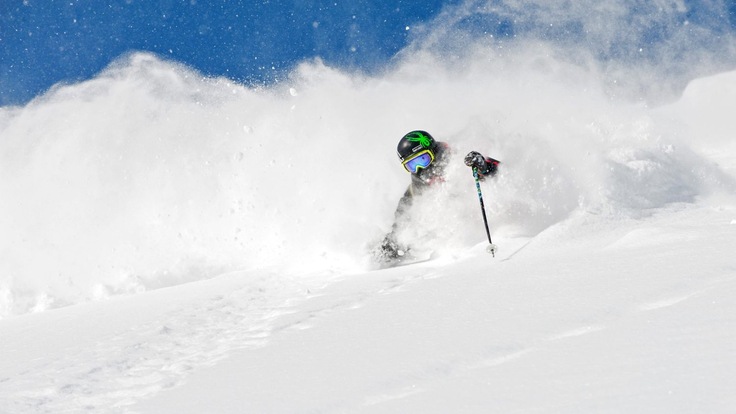
Taking photos on your adventures can be incredibly rewarding, but it can also be incredibly frustrating.
You spend all day shooting your friends on an amazing outing and come home eager to look at your work. But as you review your images, you find that they're blurry, underexposed or just plain boring—definitely not the way that you remember the excitement of the day. This tutorial will help you minimize those frustrations with some tech tips to follow the next time you take your camera on a ski or snowboard outing.
Communicate your plan.
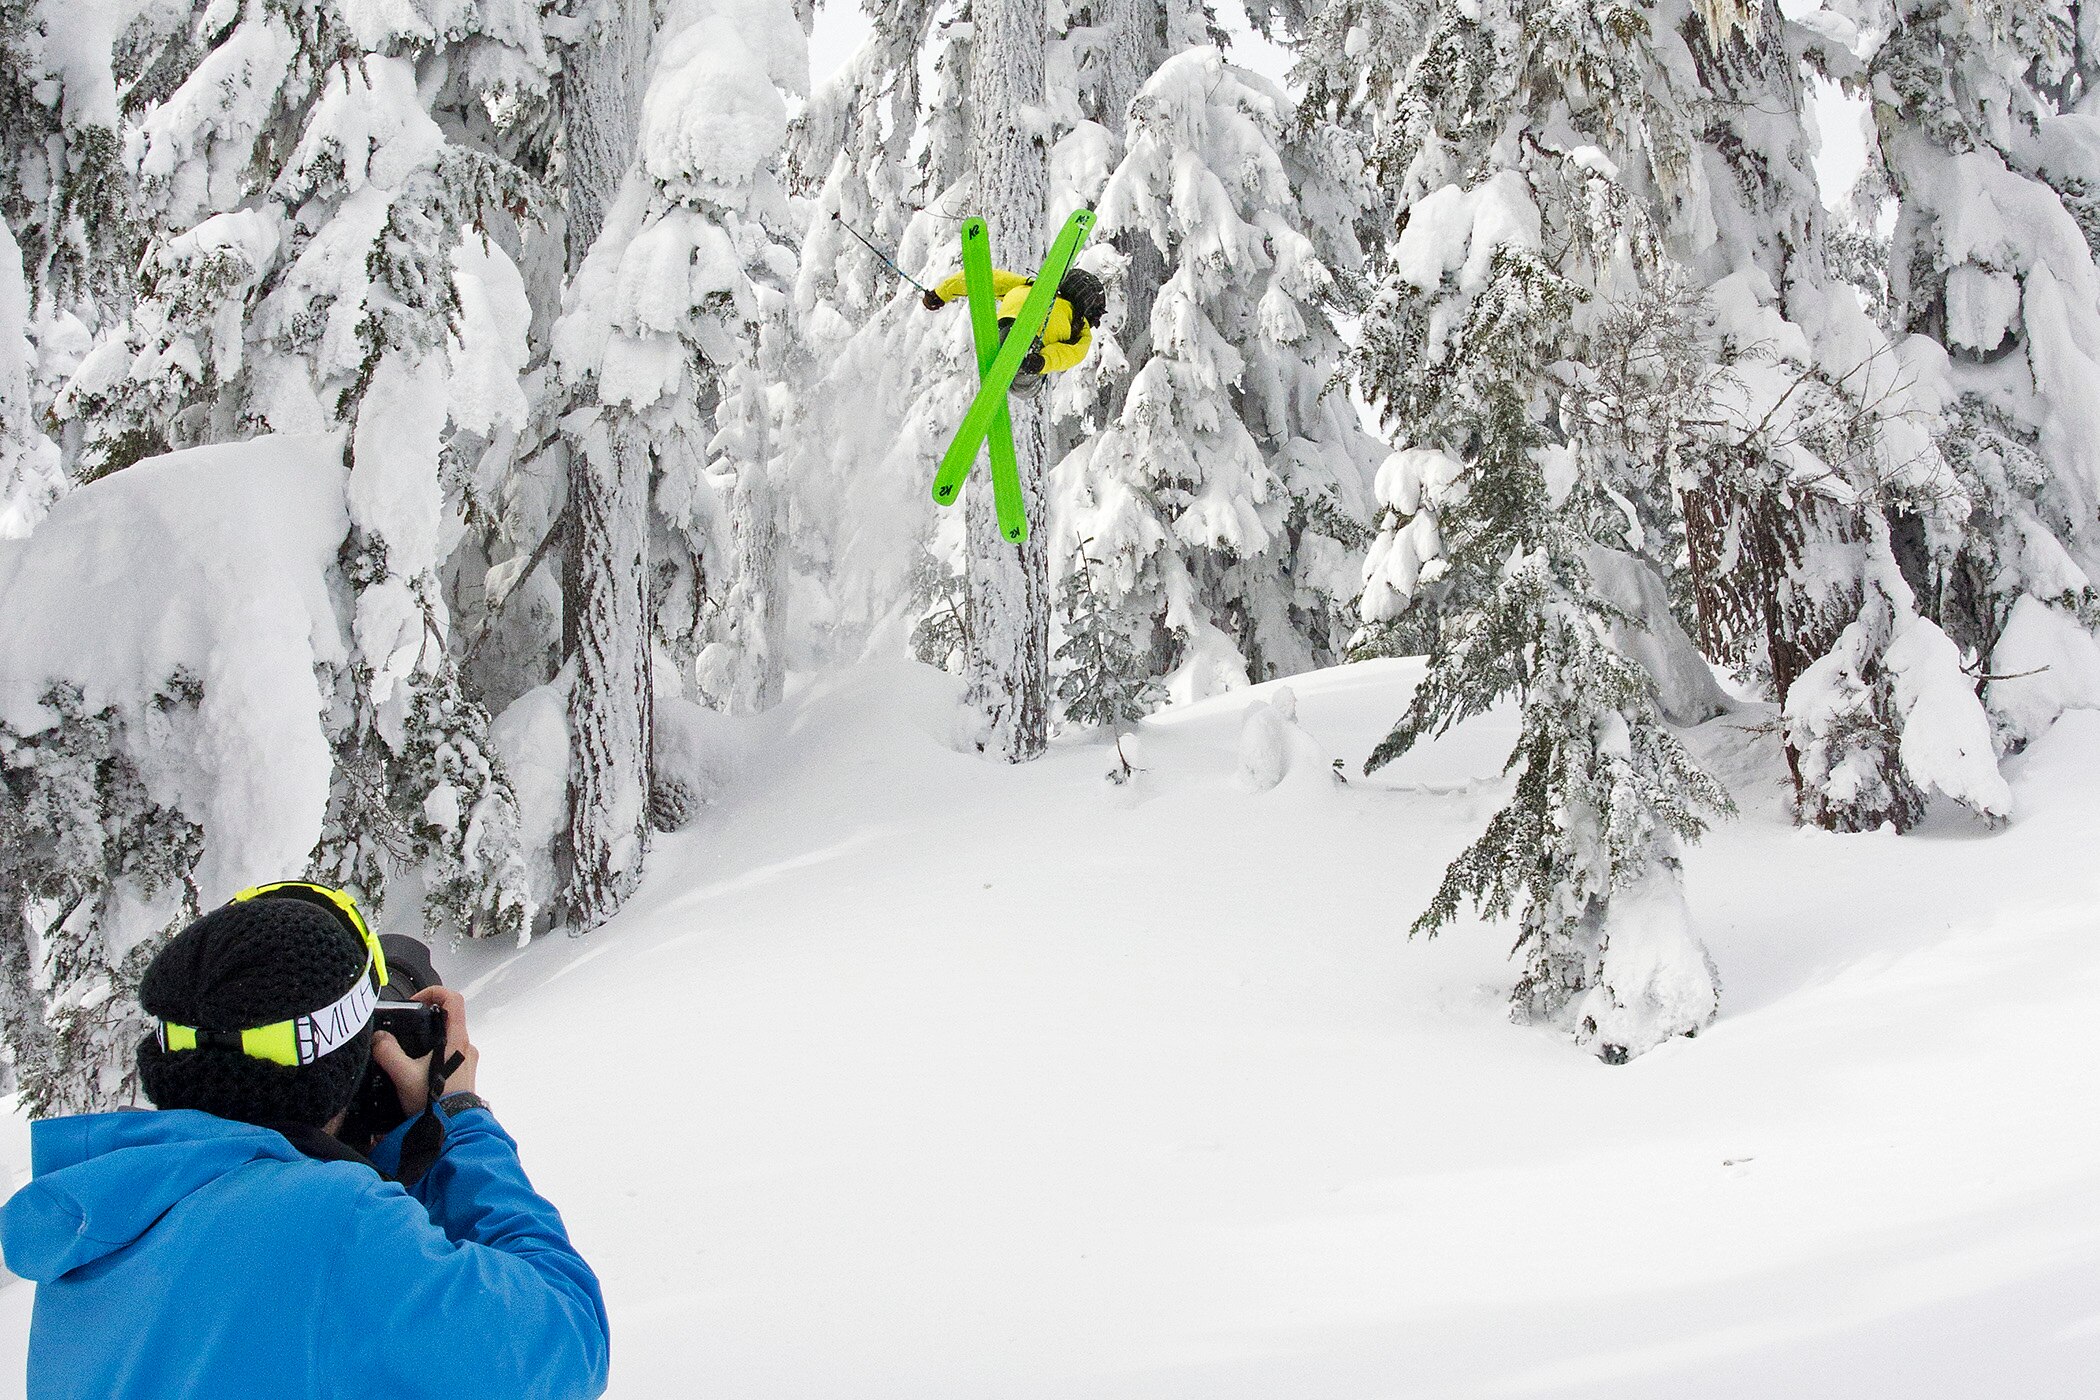
The number one piece of advice I can offer is to plan your shots and communicate that plan to whomever you're shooting. Just having someone ski down past you while you snap photos is a quick way to guarantee subpar shots. Talk to your subject before you have them ski down. Tell them what you're looking for and your chances of getting a shot will drastically go up. Granted, this takes more time and some subjects may get frustrated by the delays. But if you're after amazing photos, it's absolutely required. I've never had an athlete complain about the time it took to get shots once they saw the resulting photos.
Give direction.
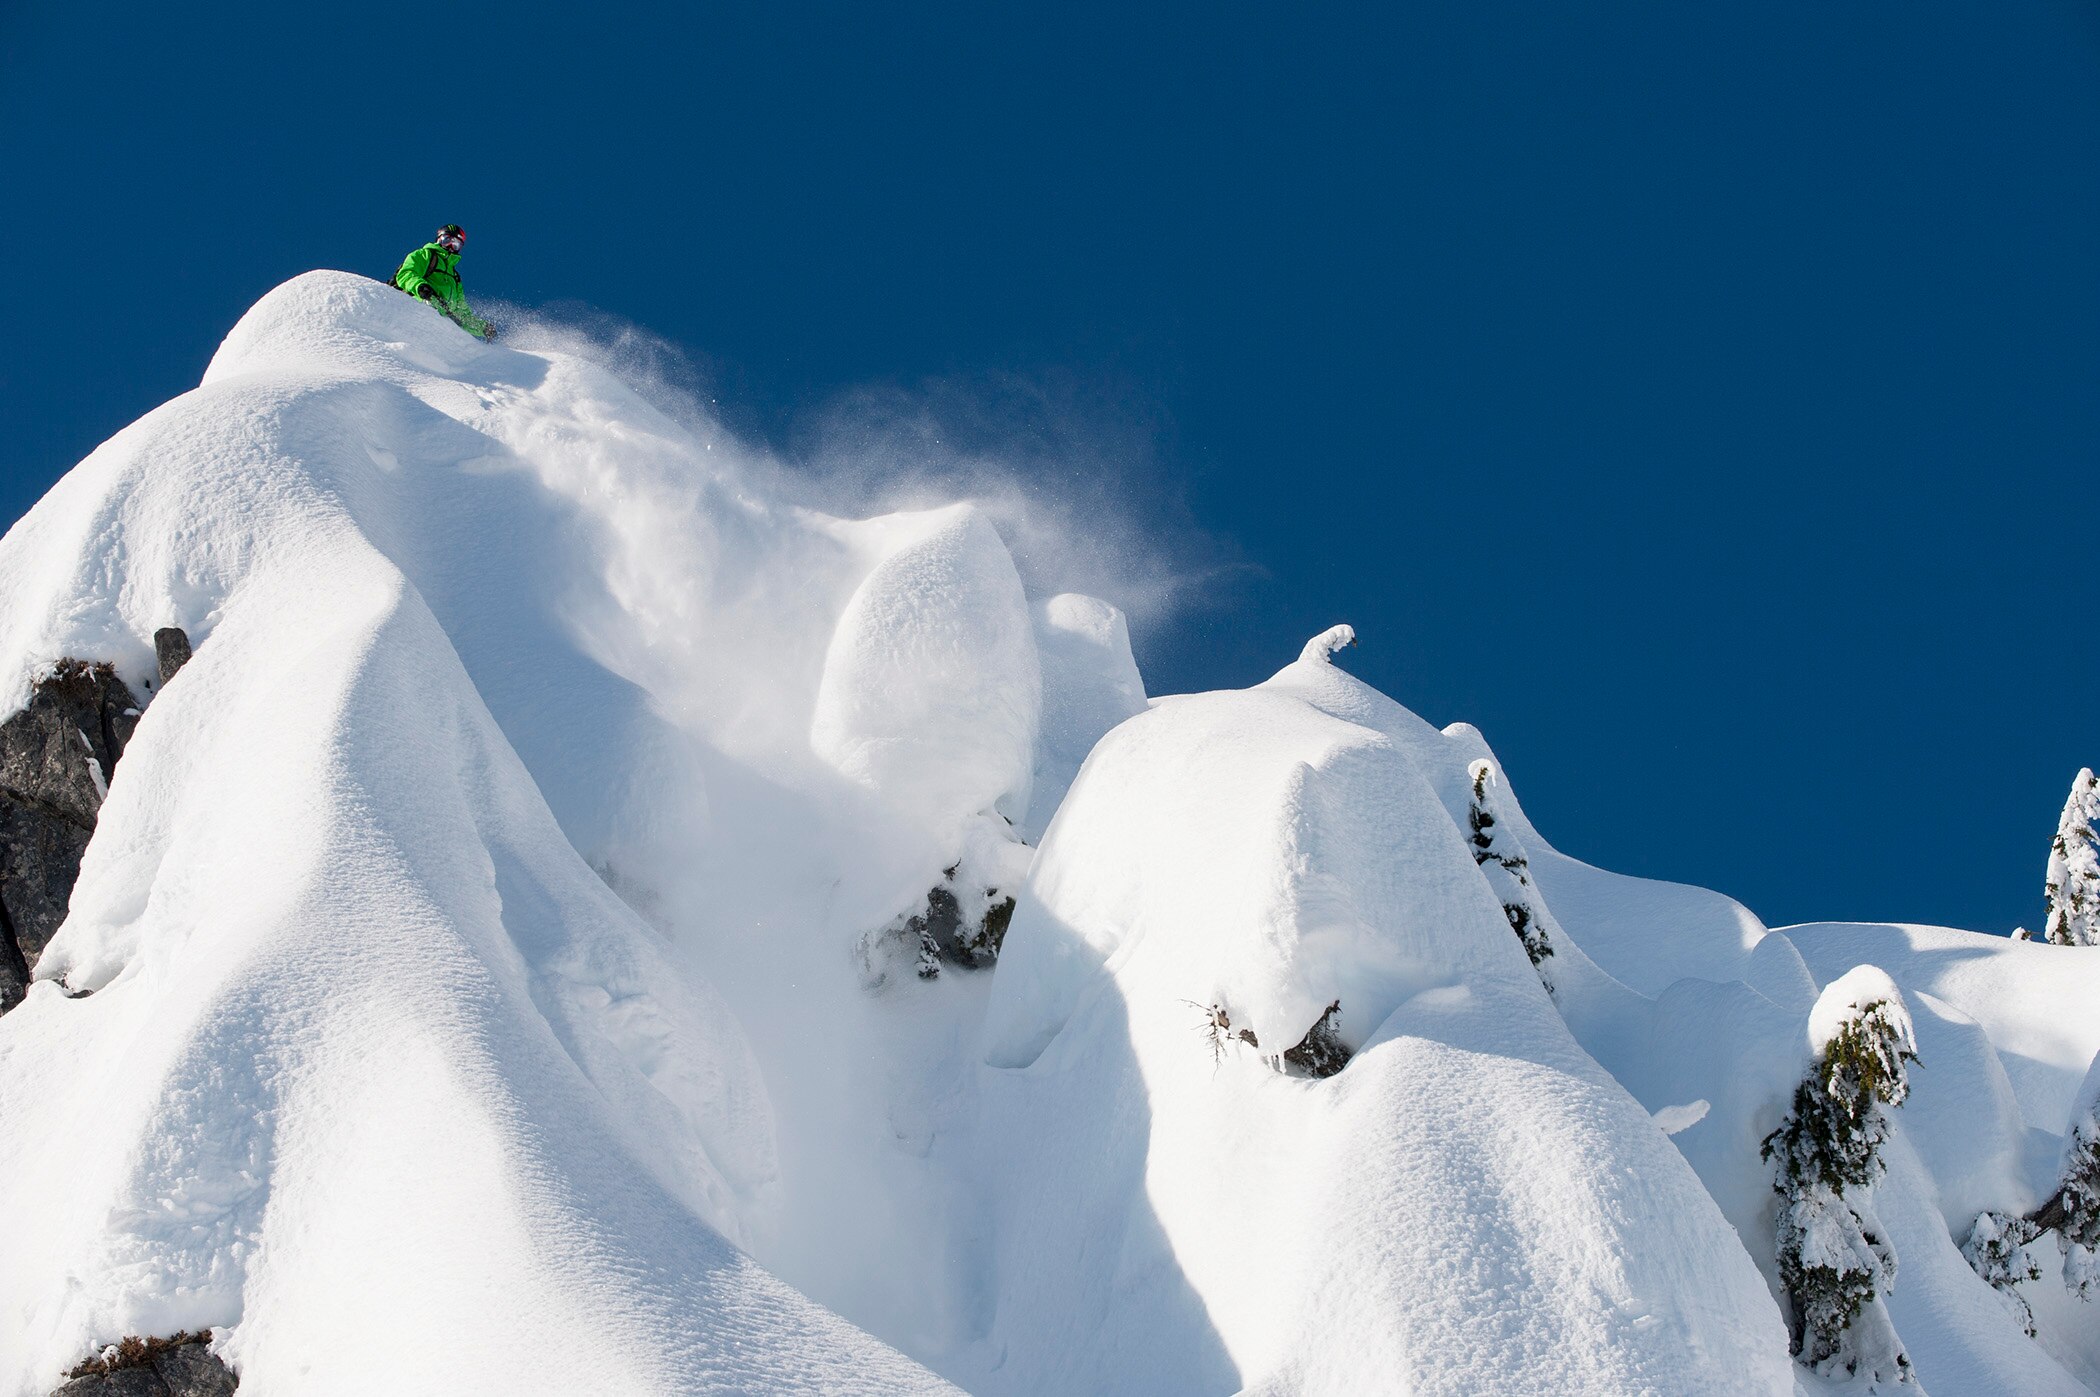
Throw snowballs. You're trying to tell someone where to place their turn, but it's hard to give landmarks on a field of virgin powder. What to do? Wad up some snow into a tiny snowball and throw it where you want them to be. This trick is used by every ski and snowboard photographer in the game. It gives your athlete a mark to aim for. And once they hit it, the evidence is erased from your frame. (If you look at the photo below you can see the snowball just downhill of the skier. By the next frame in the sequence, he will have passed over the snowball, erasing its evidence). This technique is also great if you're having someone jump off a cliff. Have your athlete throw a snowball where they intend to take off and land. You'll be able to see their trajectory and plan your frame accordingly.
Shoot with a fast shutter speed.
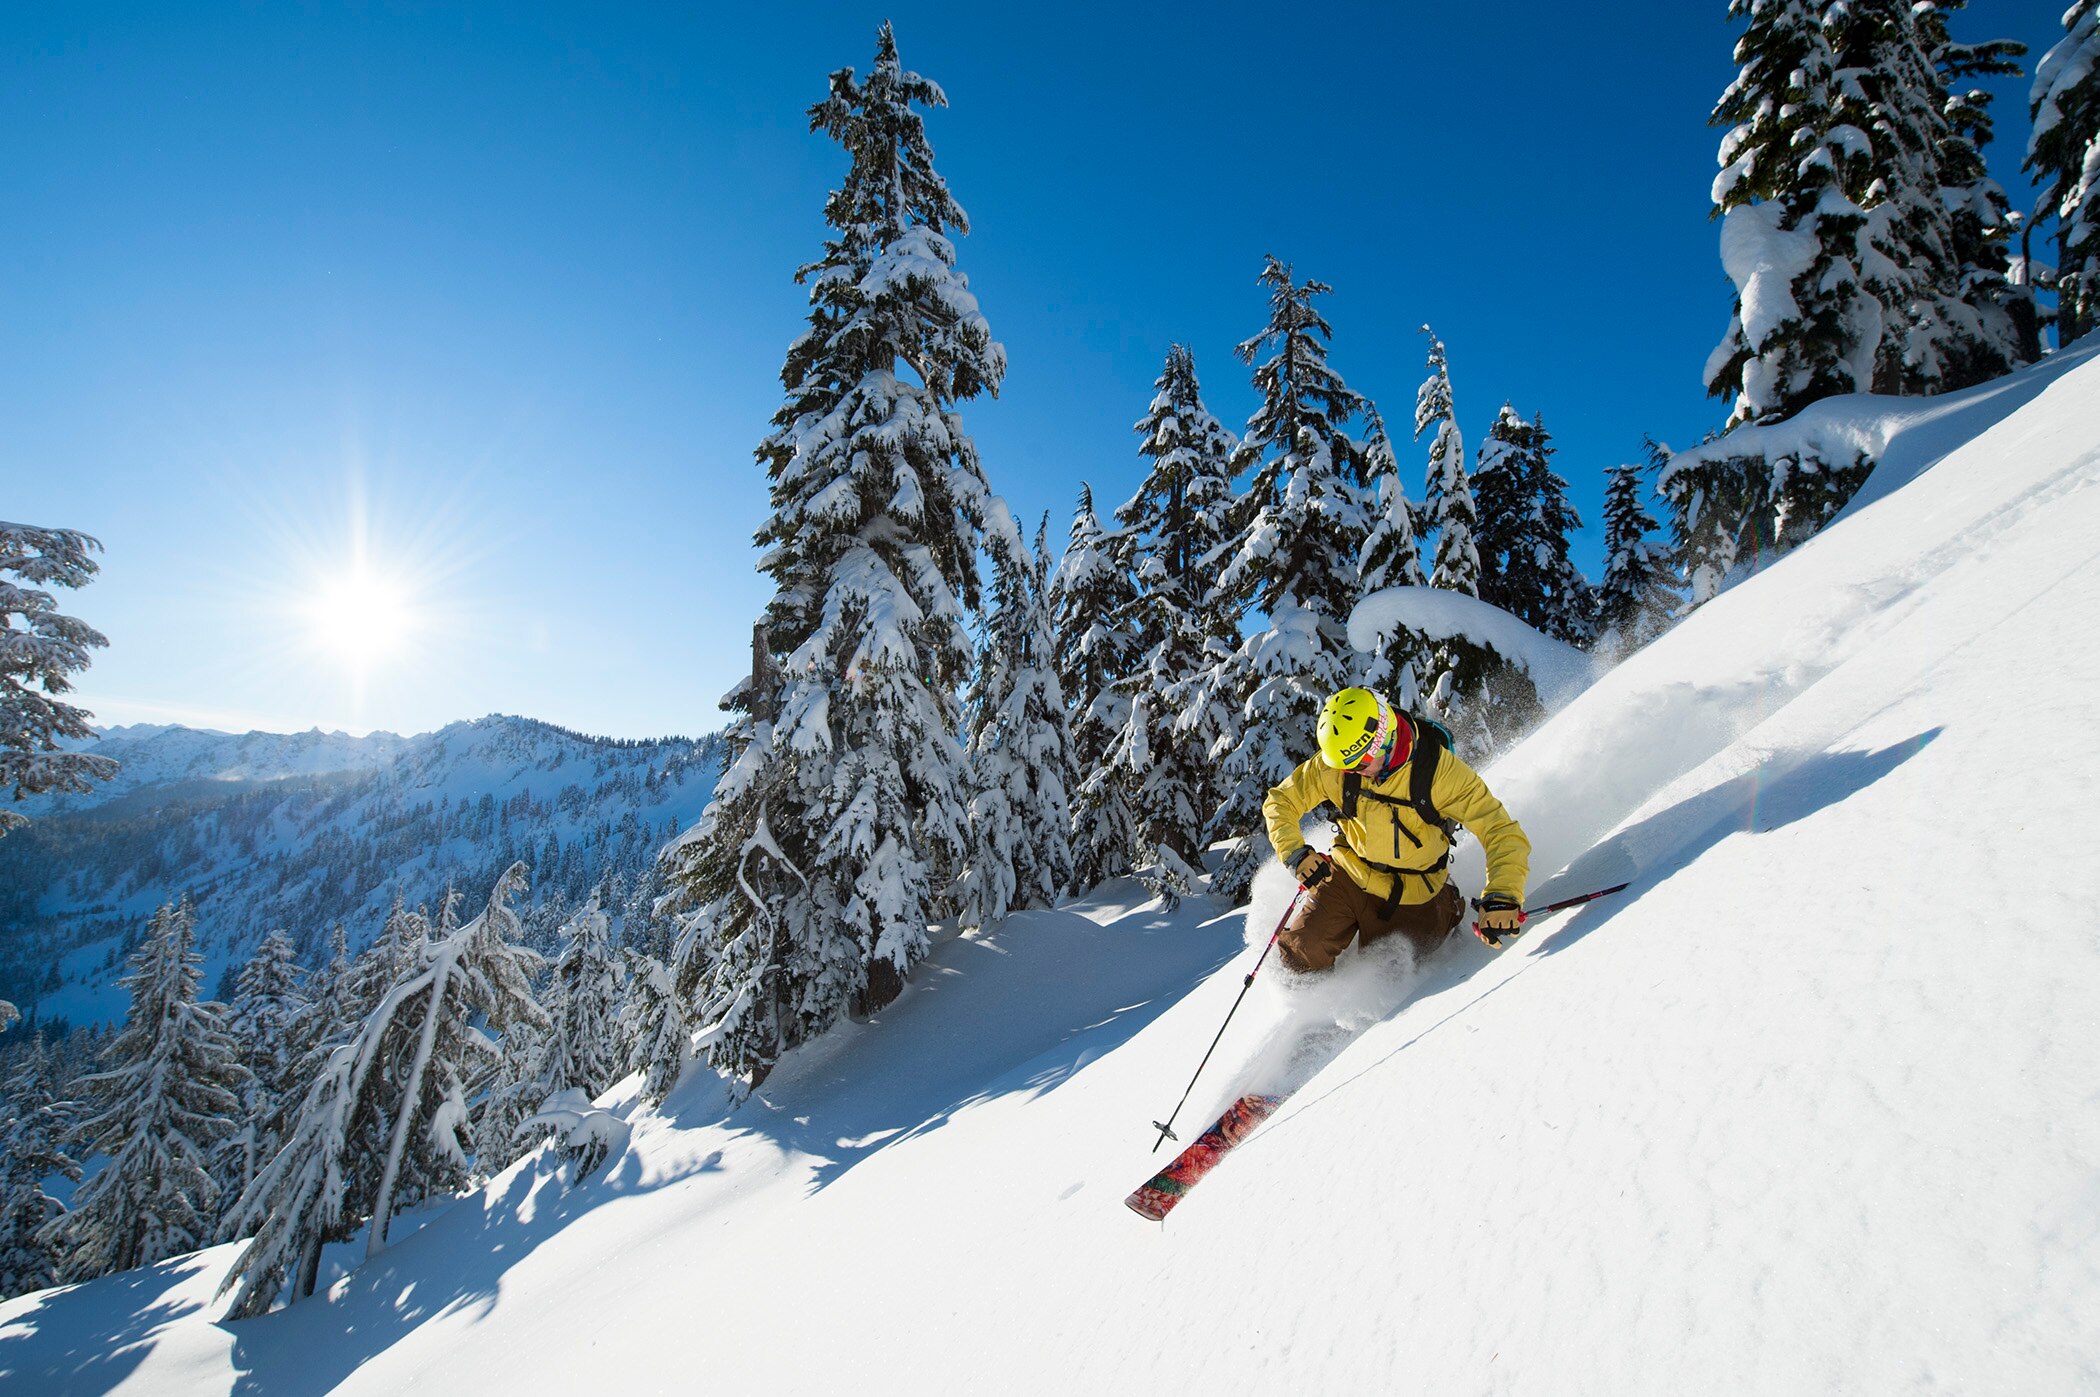
Skiing and snowboarding are incredibly fast-moving sports. In order to freeze the motion of your subject, you're going to need to shoot at a fast shutter speed. 1/1000th of a second is the slowest I'll shoot if I'm trying to freeze the action. If the action is close up (10 feet away or less) I'll push that to 1/1600th or faster.
Dial in your exposure settings.
And while we're talking about shutters speeds, let's take a moment to talk exposure settings. Snow is incredibly bright and will try to fool your camera's built-in light meter. If you shoot on "Program" (where your camera determines exposure values) you'll often come out with photos that are gray and underexposed. The reasons for why this occurs is a little complex (maybe too complex for this lesson). But to simplify this, overexpose your photos by 1 and 2/3 stops. Meter off the snow and overexpose from what your camera is telling you by 1 and 2/3 stops, or go into your camera's "exposure compensation" feature to overexpose there. By overexposing your photo, the snow will now turn out white—the way it should look.
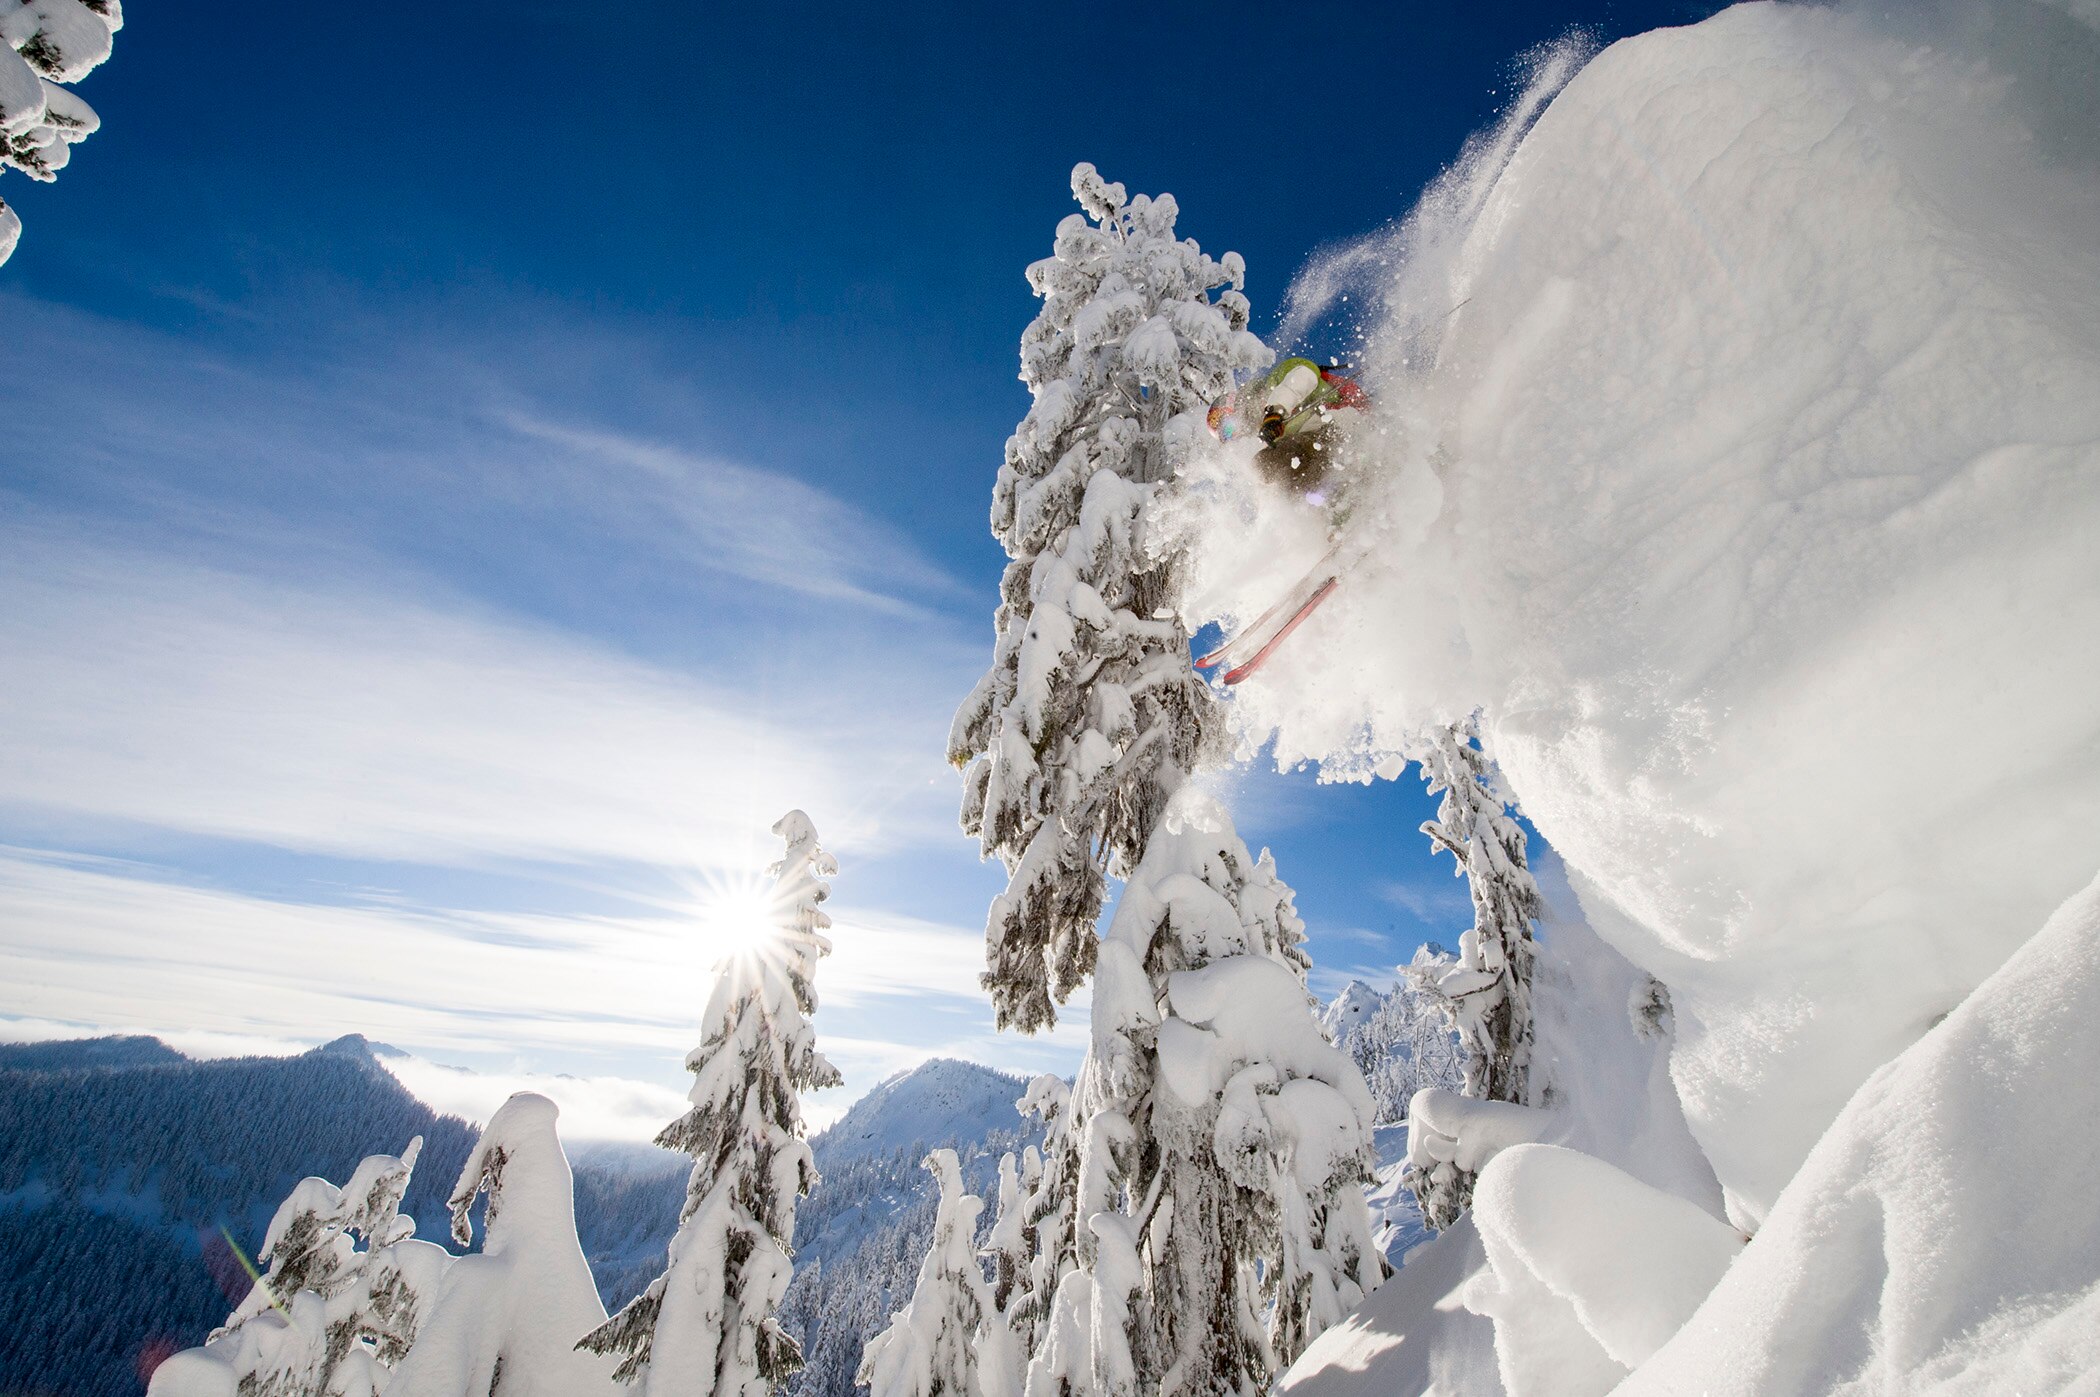
Consider prefocusing your camera.
Unless you have a top-of-the-line DSLR and the fastest autofocusing lens, chances are you won't be able to autofocus fast enough to track a moving skier. (Even if you do, it will take years of practice to do this.) Instead, prefocus on where you want (or expect) your athlete to be and lock focus there. A nearby tree (or the snowball you just threw) makes a good point to set your focus on.
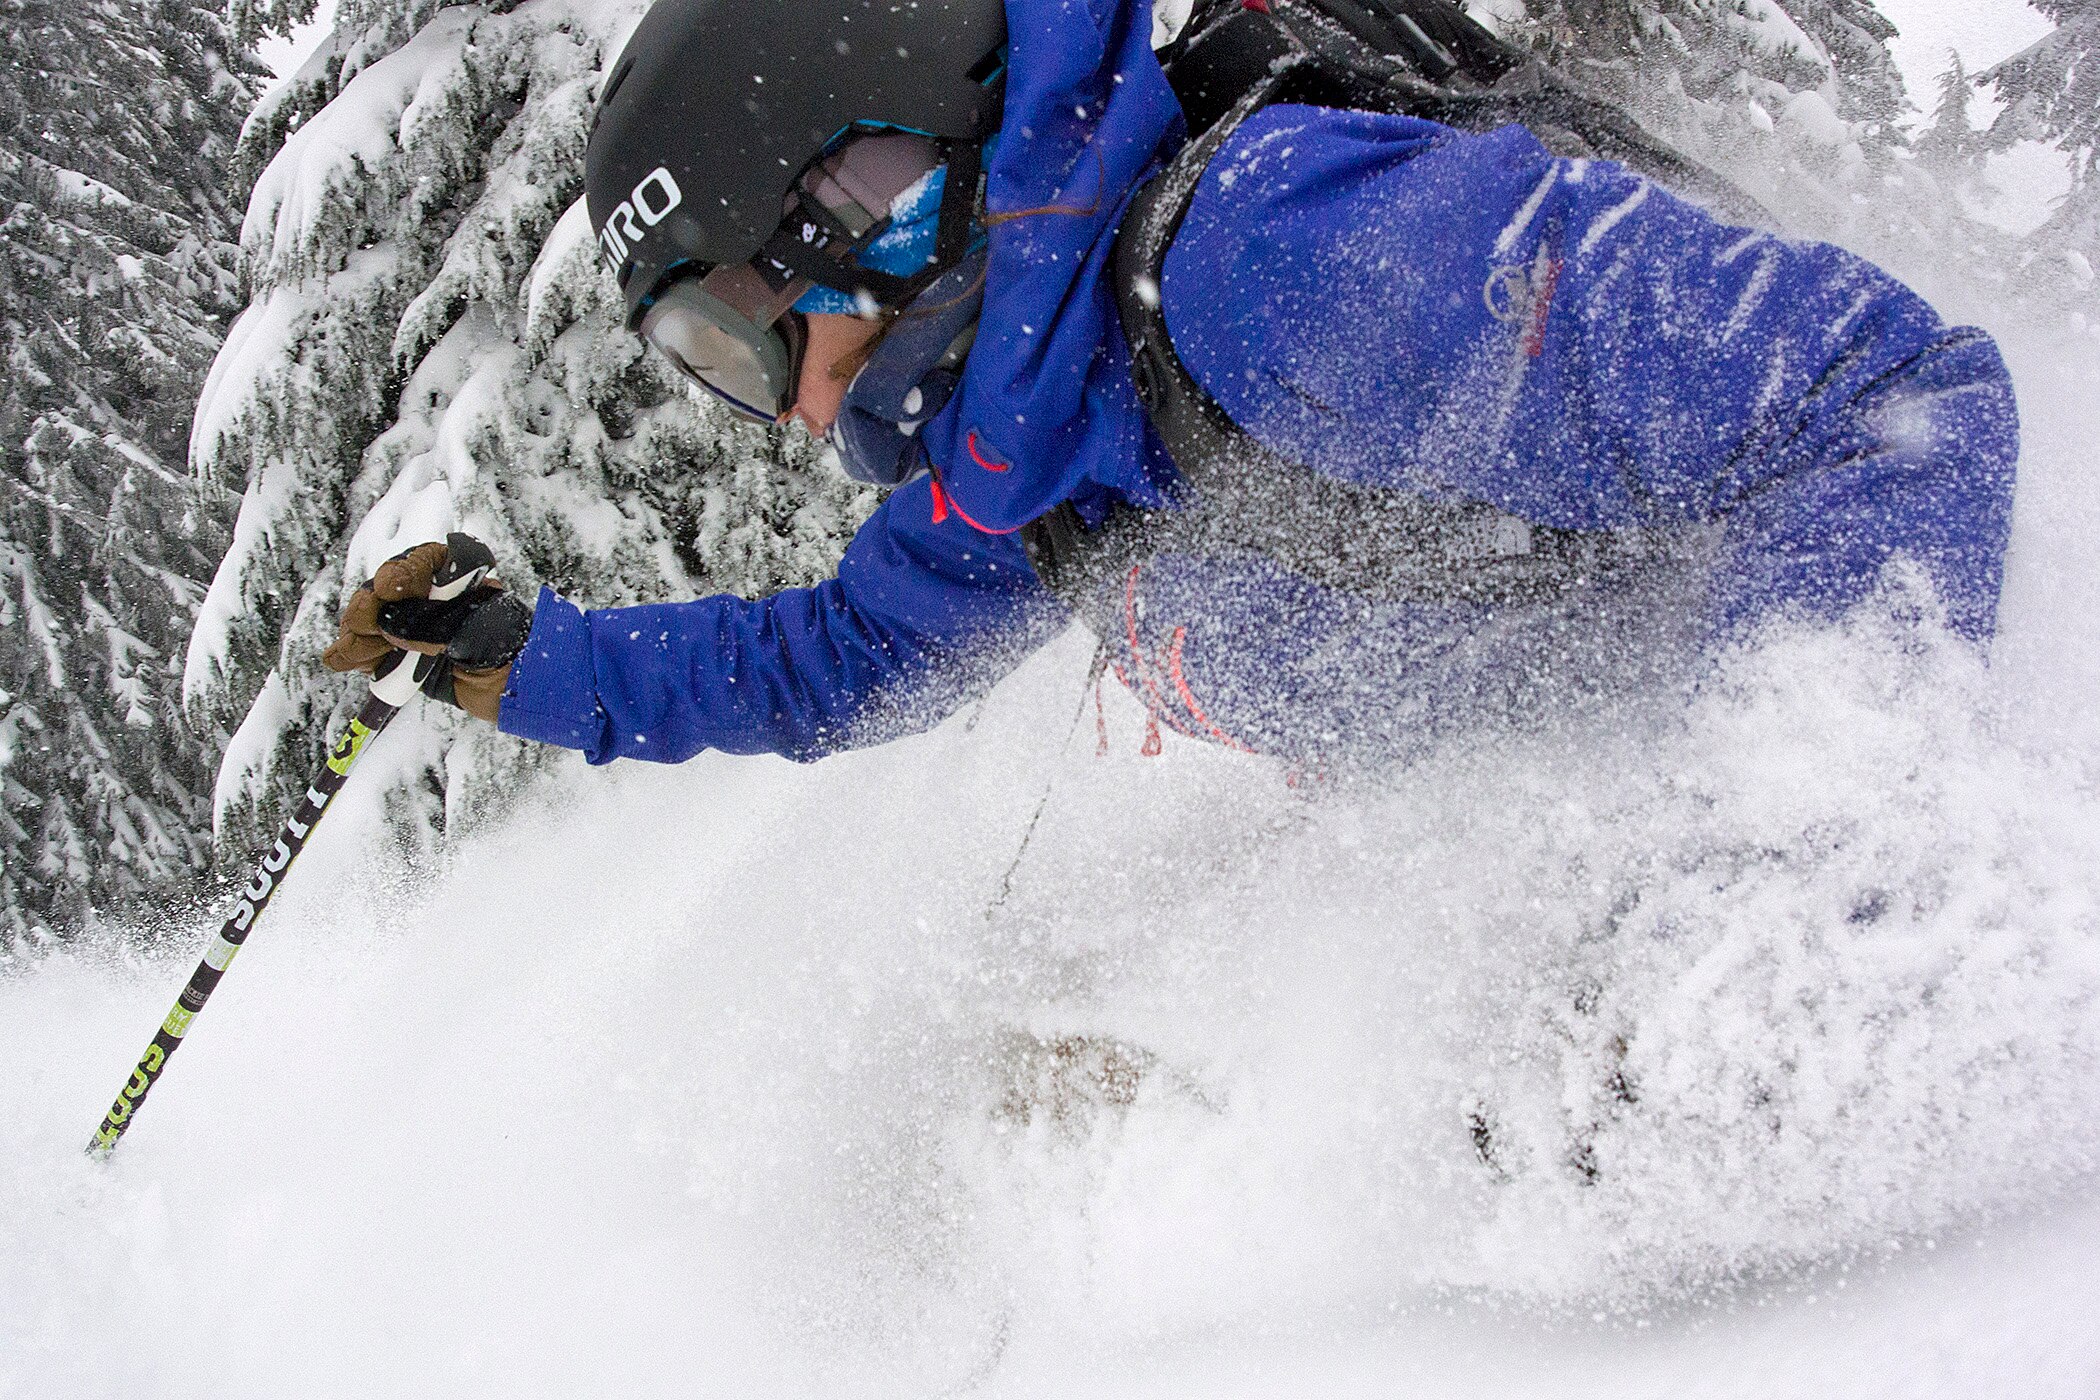
Overemphasize the movement.
In still photography, everything needs to be a little exaggerated. Simply having your friend make their normal turn is great, but it doesn't look all that amazing when it's frozen. Instead, try to overemphasize the movement—a little bit—don't go too far. If someone is making a turn, have them really sink their hip into the turn and carve hard around you. If they're jumping off something, have them tuck up into a tight cannonball or have them grab.
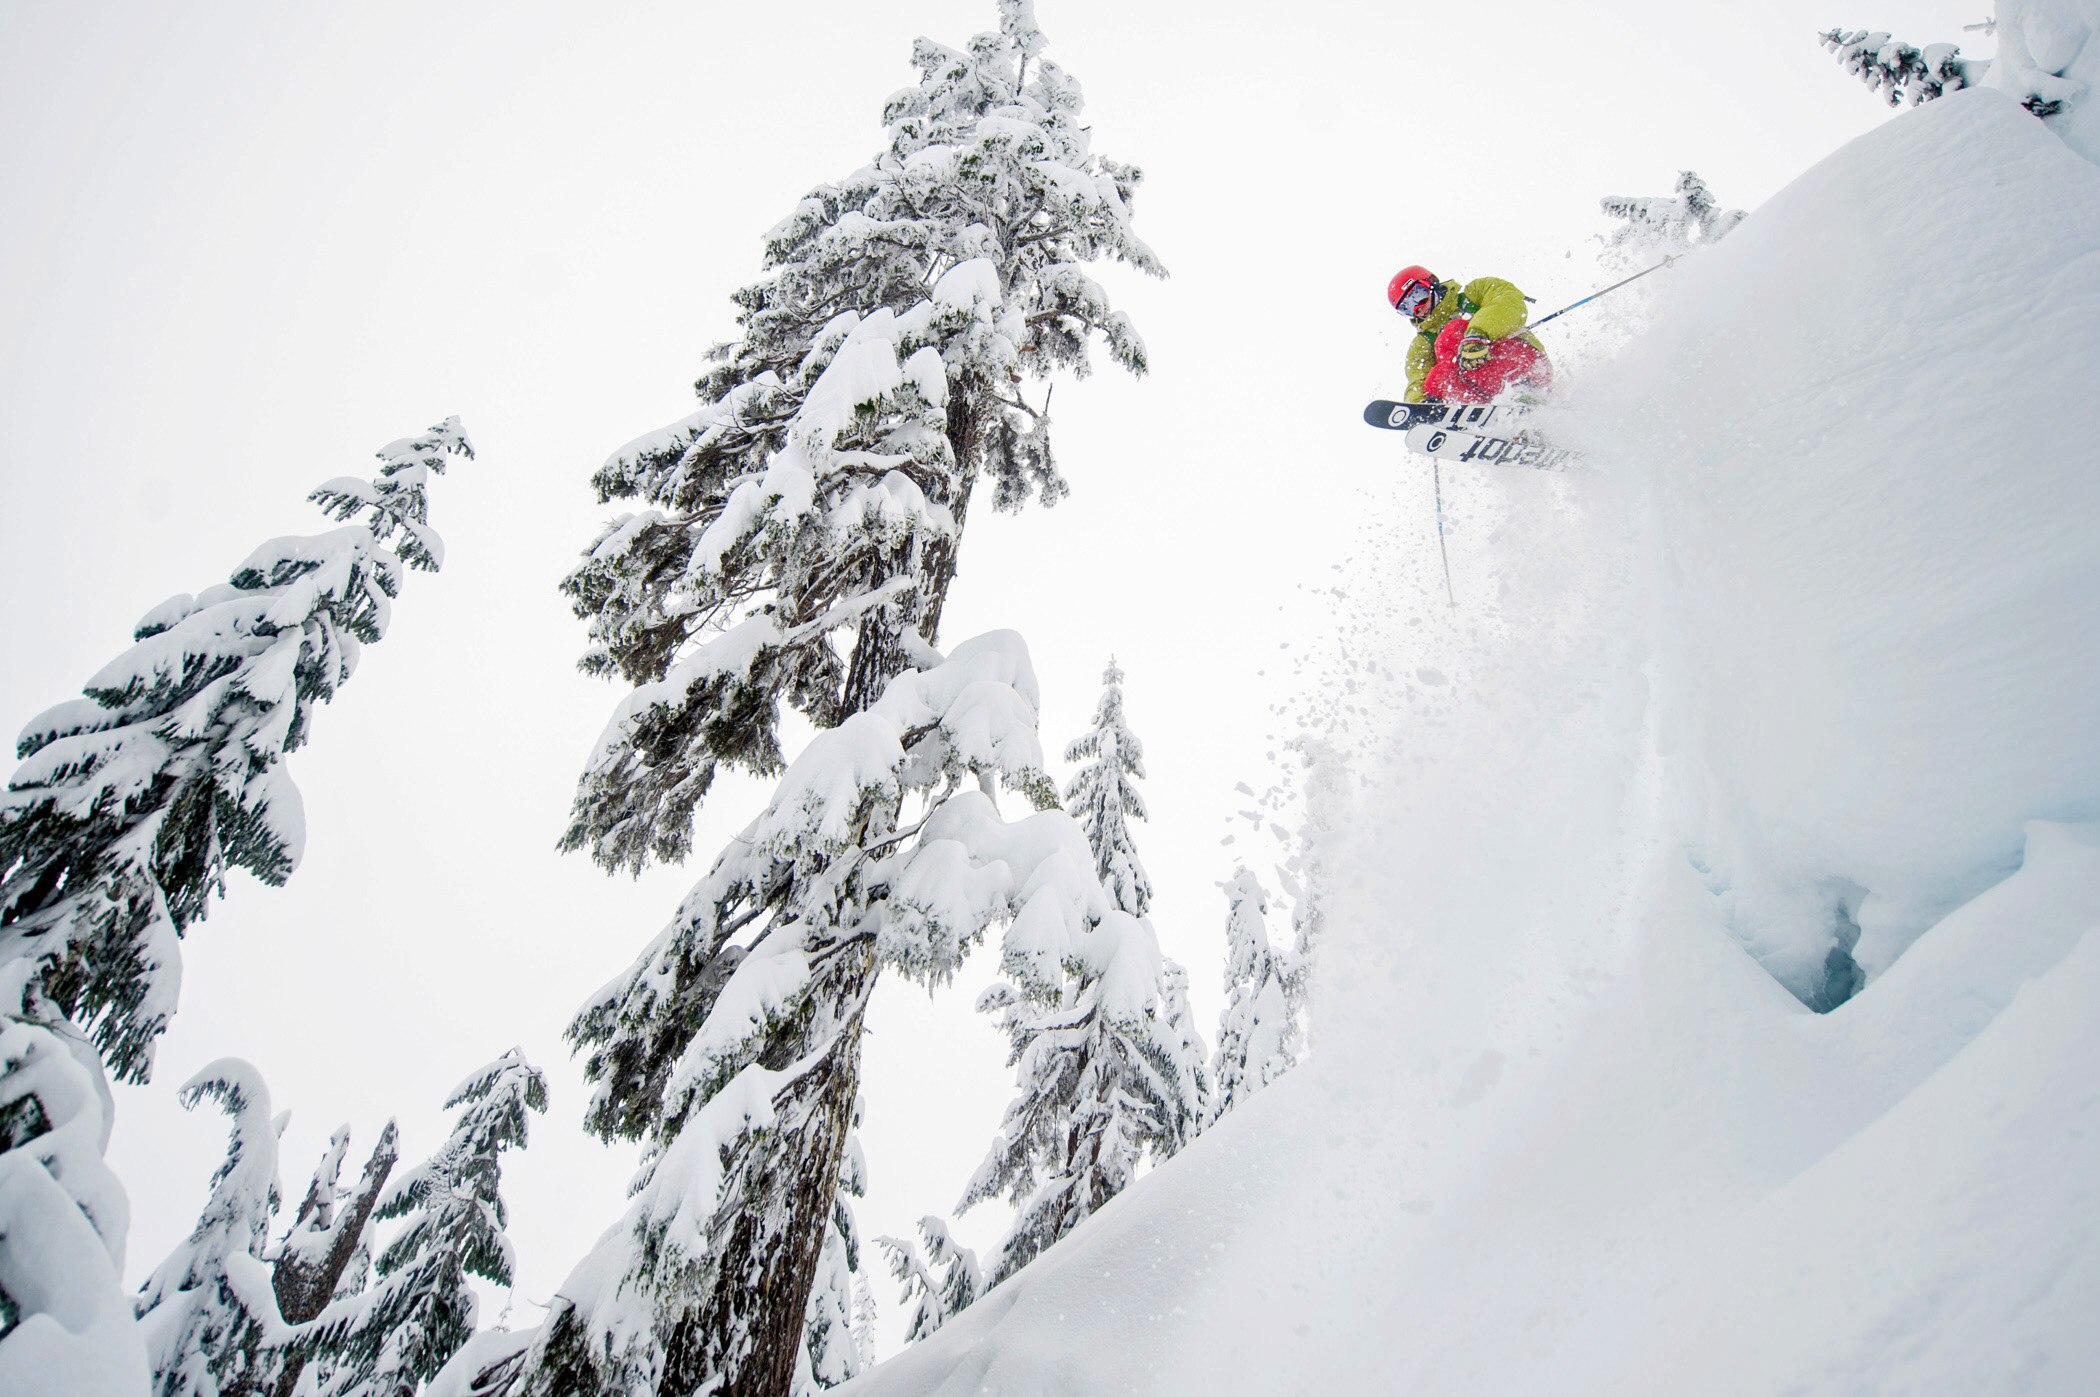
Carry your gear with care.
Carry your camera in a quality camera pack. It gets bounced around enough as you ski. But if you fall, you'll need the pack to be protected and padded. When you stop to take a photo, make sure there isn't a tree overhead or someone above you that could kick snow into your open pack. And once you take your camera out, close up your pack and put it back on. I've seen countless days ruined when a still-open pack got filled with snow when the athlete skied down. I've even had a friend lose their entire pack and all their gear when it got swept downhill and buried by sloughing snow.
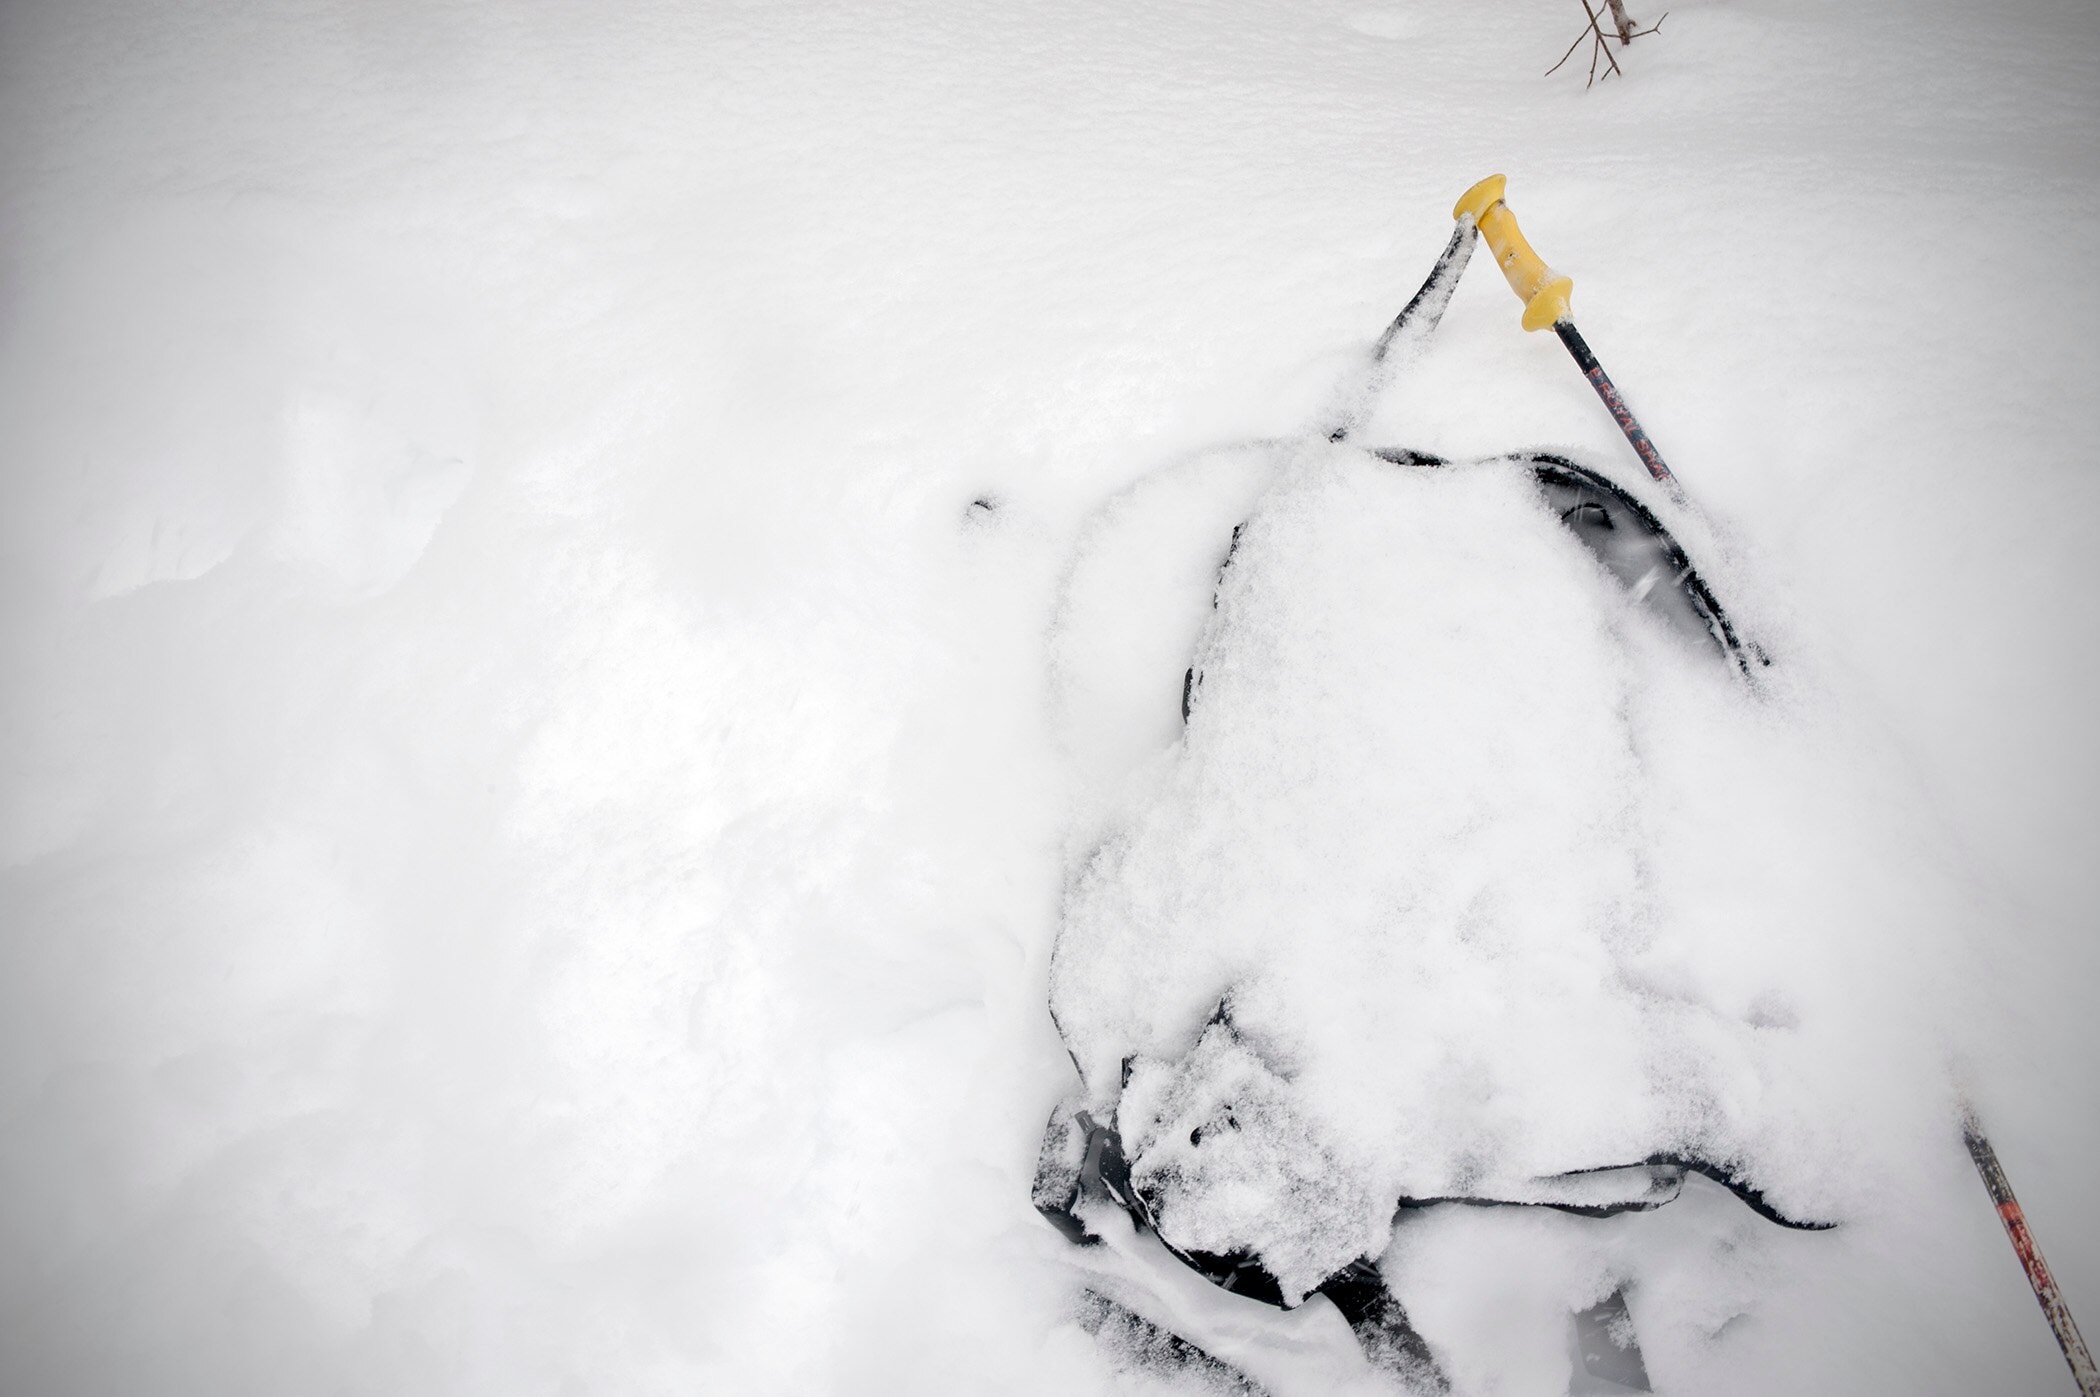
My pack was on the ground half-open for only 30 minutes.
Keep your gear dry.
This isn't a hard task when it's blue and sunny, but on a stormy day, it can be next to impossible. My advice will go against what any manufacturer will say, so please don't email me hate messages if your camera gets soaked. That disclaimer aside, my advice for keeping your camera dry: don't bother, because it will get wet! Your gear is going to get wet no matter what you try—waterproof cases, rain tarps, shields, you name it. Those options may keep things a little drier, but the time it takes to put them on will increase the amount of time that your camera is out.
If you shoot in a blizzard your gear is going to get trashed. I've found it best not to fight it and just shoot as quickly as possible. Carry a bunch of dry lens wipes to keep your lens clean, carry a lens hood to aid in that process and try to minimize the amount of time your camera is out of your pack. But beyond that, there's nothing you can do. Most modern DSLR's can handle a bit of moisture since they are sealed. Instead of fretting about it while you're shooting, just worry about it when you get home. Take everything out of your pack and thoroughly dry it. Place it near a heater in your house to aid the process or stick it in a bag of rice to suck out any excess moisture.
Don't take your camera out of your pack when you go into the lodge. The difference in temperature and humidity between the outdoors and the warm, cozy lodge are too great. Open your pack and everything will instantly fog up and you won't be able to recover it for the rest of the day. Leave it in the pack and that won't happen. If you're dying to review your shots, go outside and do it there.
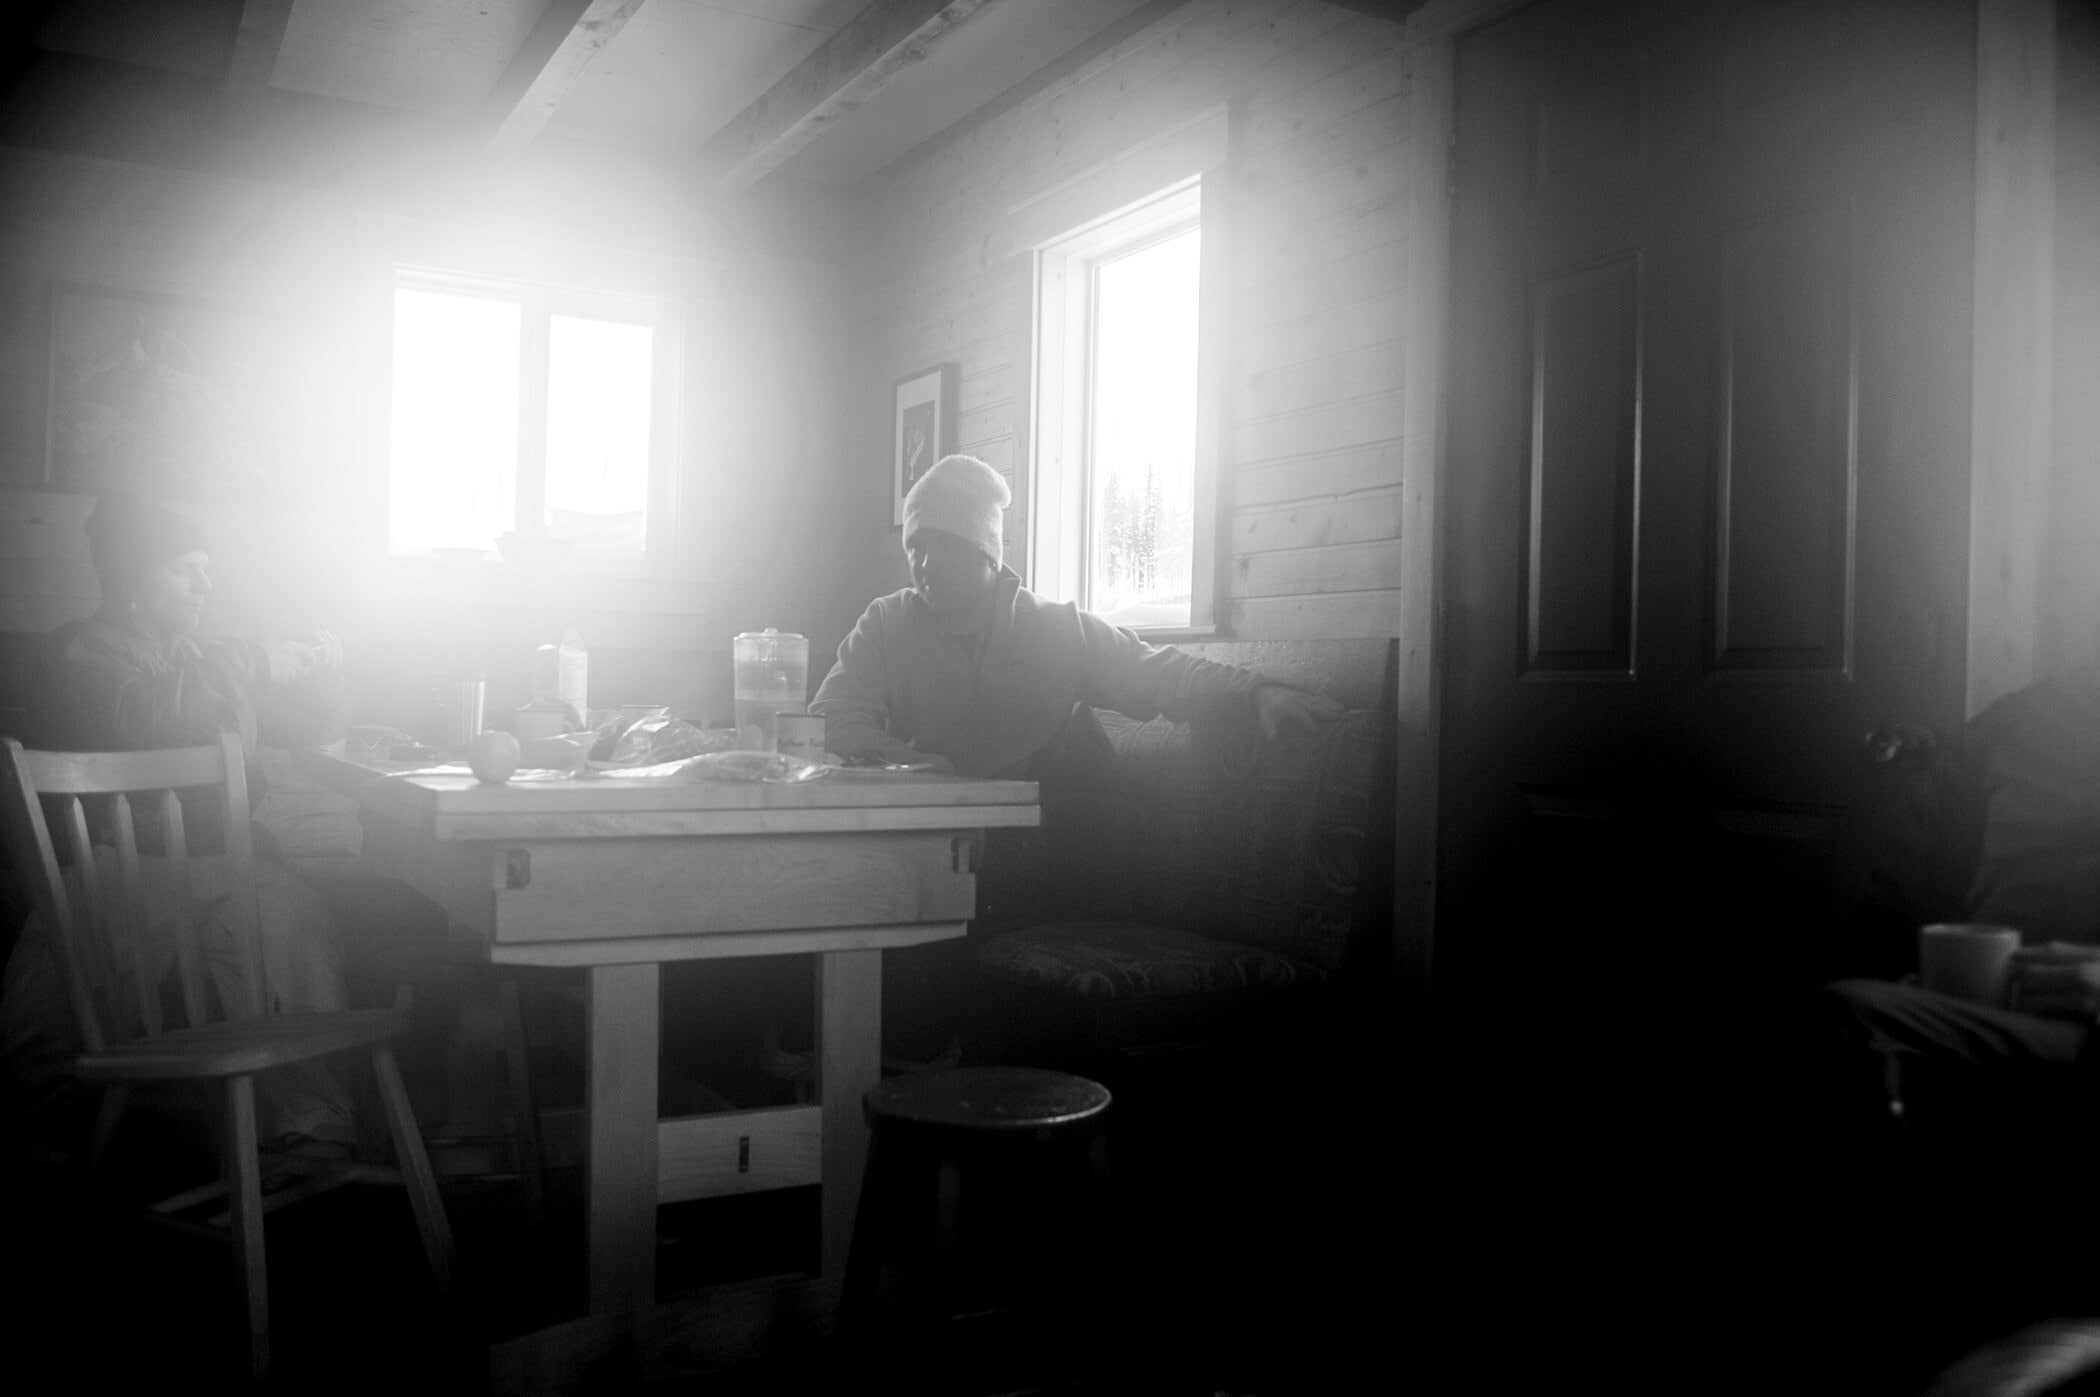
An example of what your photos will look like if you take your camera out inside—foggy.
Keep your hands warm.
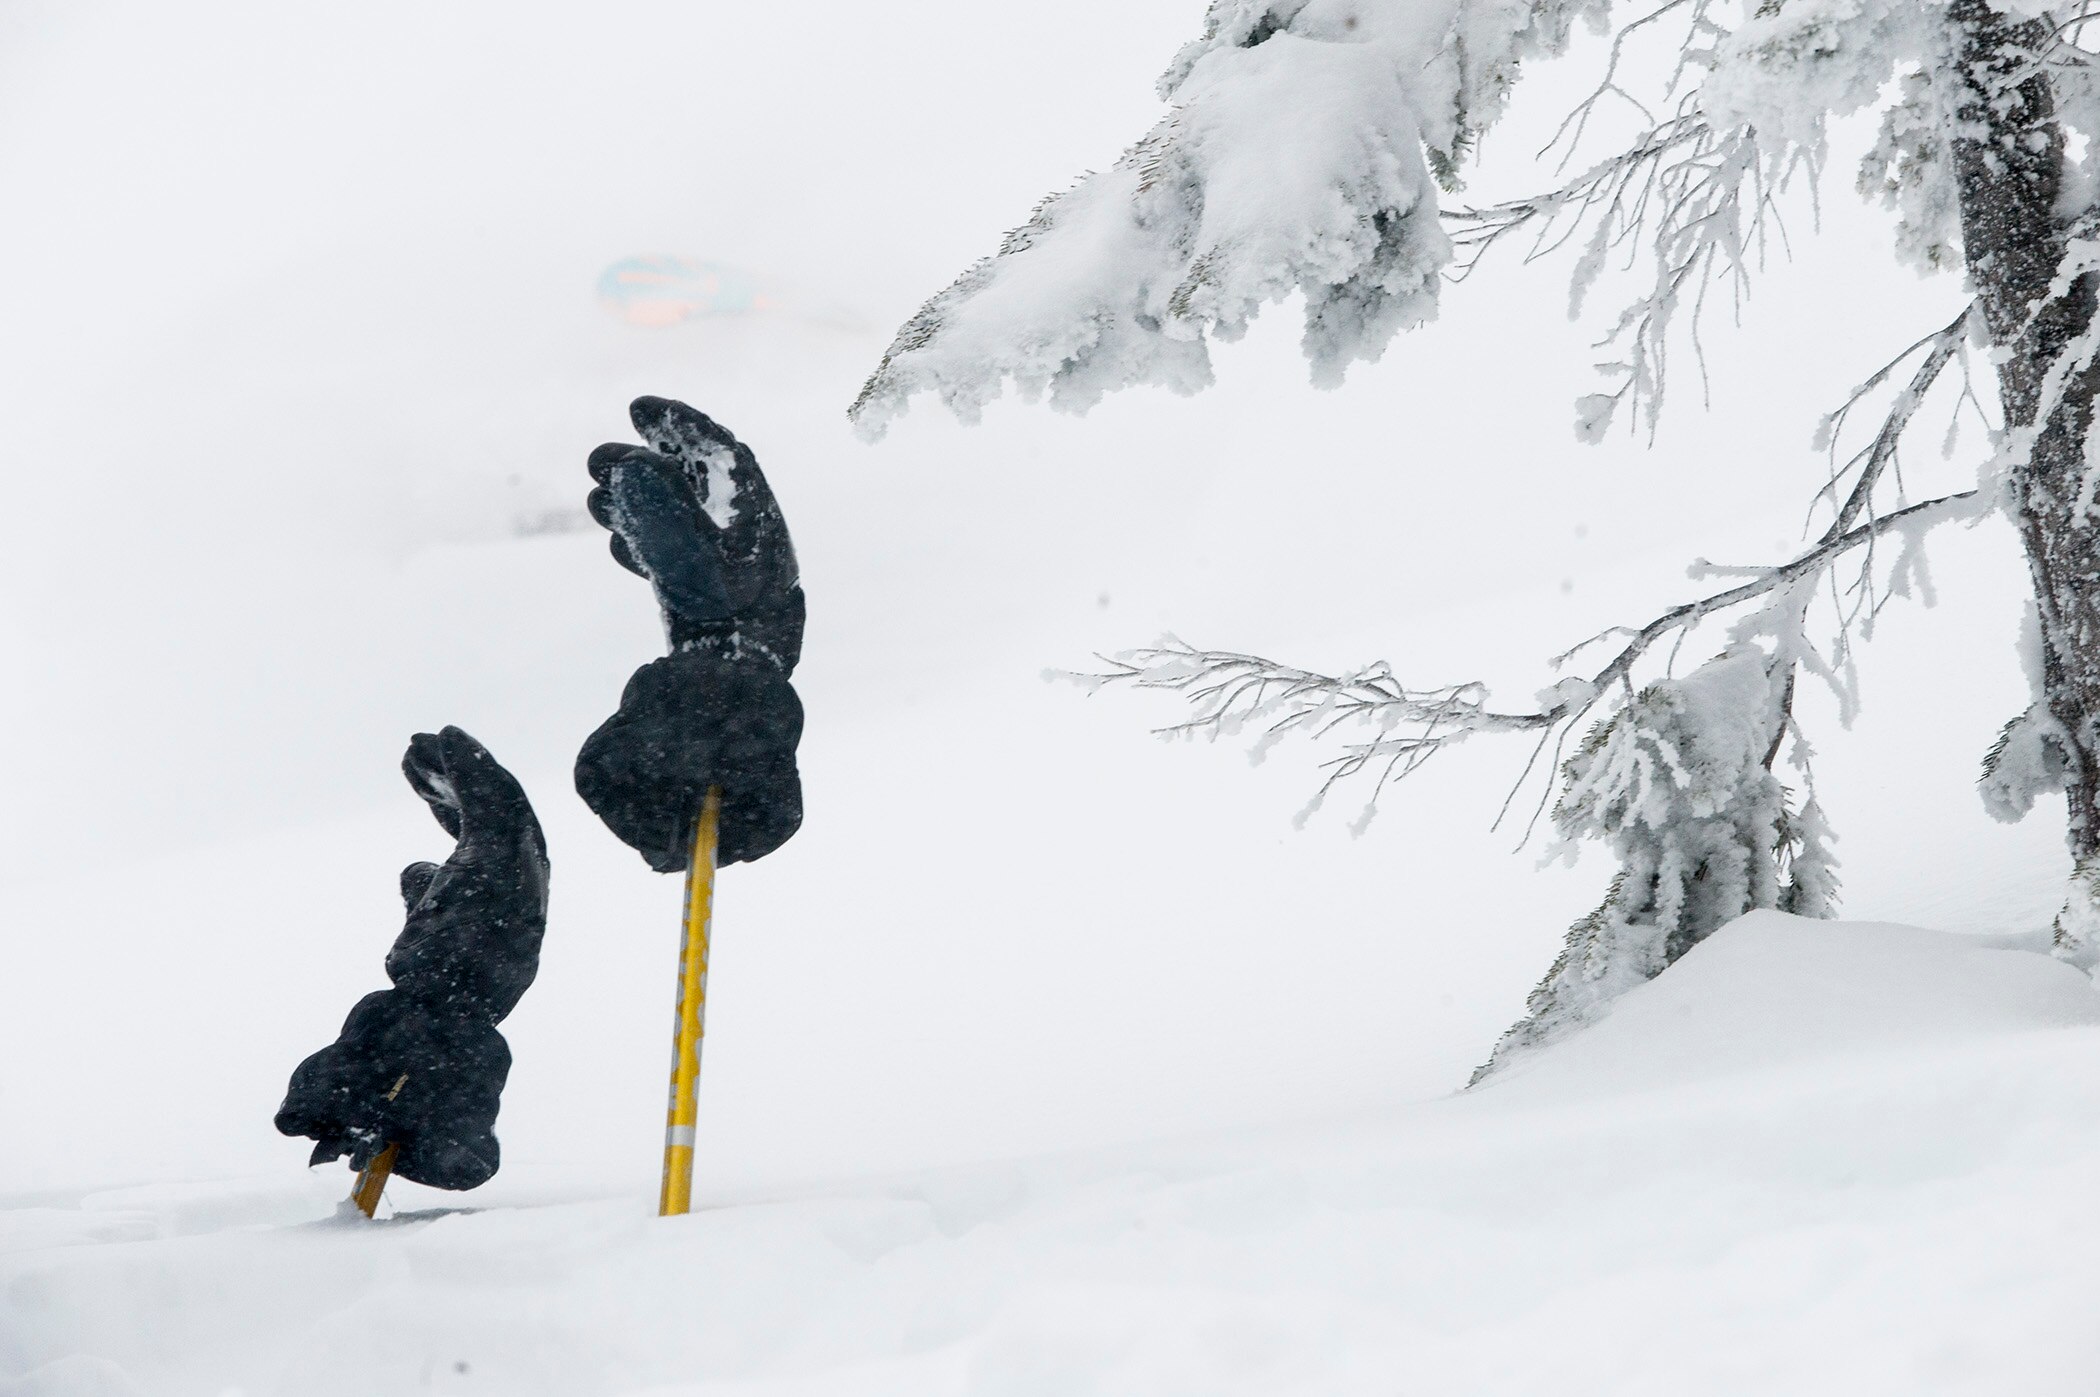
I personally suffer from the world's worst circulation and find I have cold hands even when I'm in the tropics. This makes operating your camera incredibly difficult and sometimes downright painful. Invest in good pair of gloves, or my preference, mitts. Wear them as long as possible to minimize exposure to the cold. When you're ready to shoot, stick your ski poles into the snow so they stand vertically and place your gloves on your poles (like a hat rack). This will keep them from filling with snow on the ground, even in driving blizzards. I also carry hand warmer packs that I keep in my jacket pockets. As soon as my gloves come off, my hands go straight into my pockets. If it's brutally cold, I'll hold onto the hand warmers when I'm shooting by sandwiching them between my hand and the camera body.
Be careful!
I iterate this with everything, but ski photography really needs this reminder. You are going into a potentially dangerous environment. Be aware of the snowpack and avalanche conditions. Follow all of the backcountry safety techniques. Be cautious of where you stand. When you're looking through your viewfinder, you won't see the potential hazards around you. Getting hit by your athlete, or by other objects (like an avalanche) is a very real hazard that I've learned the hard way. Trust me, it's a lesson better learned here than by experiencing it yourself.
And pay attention to your athlete and their safety. Far too many people will do things for the camera that they normally wouldn't in the name of getting a shot. If having a camera present is the only reason they'll ski something, maybe consider putting your camera away. It's not worth getting someone hurt so you can get a good shot.
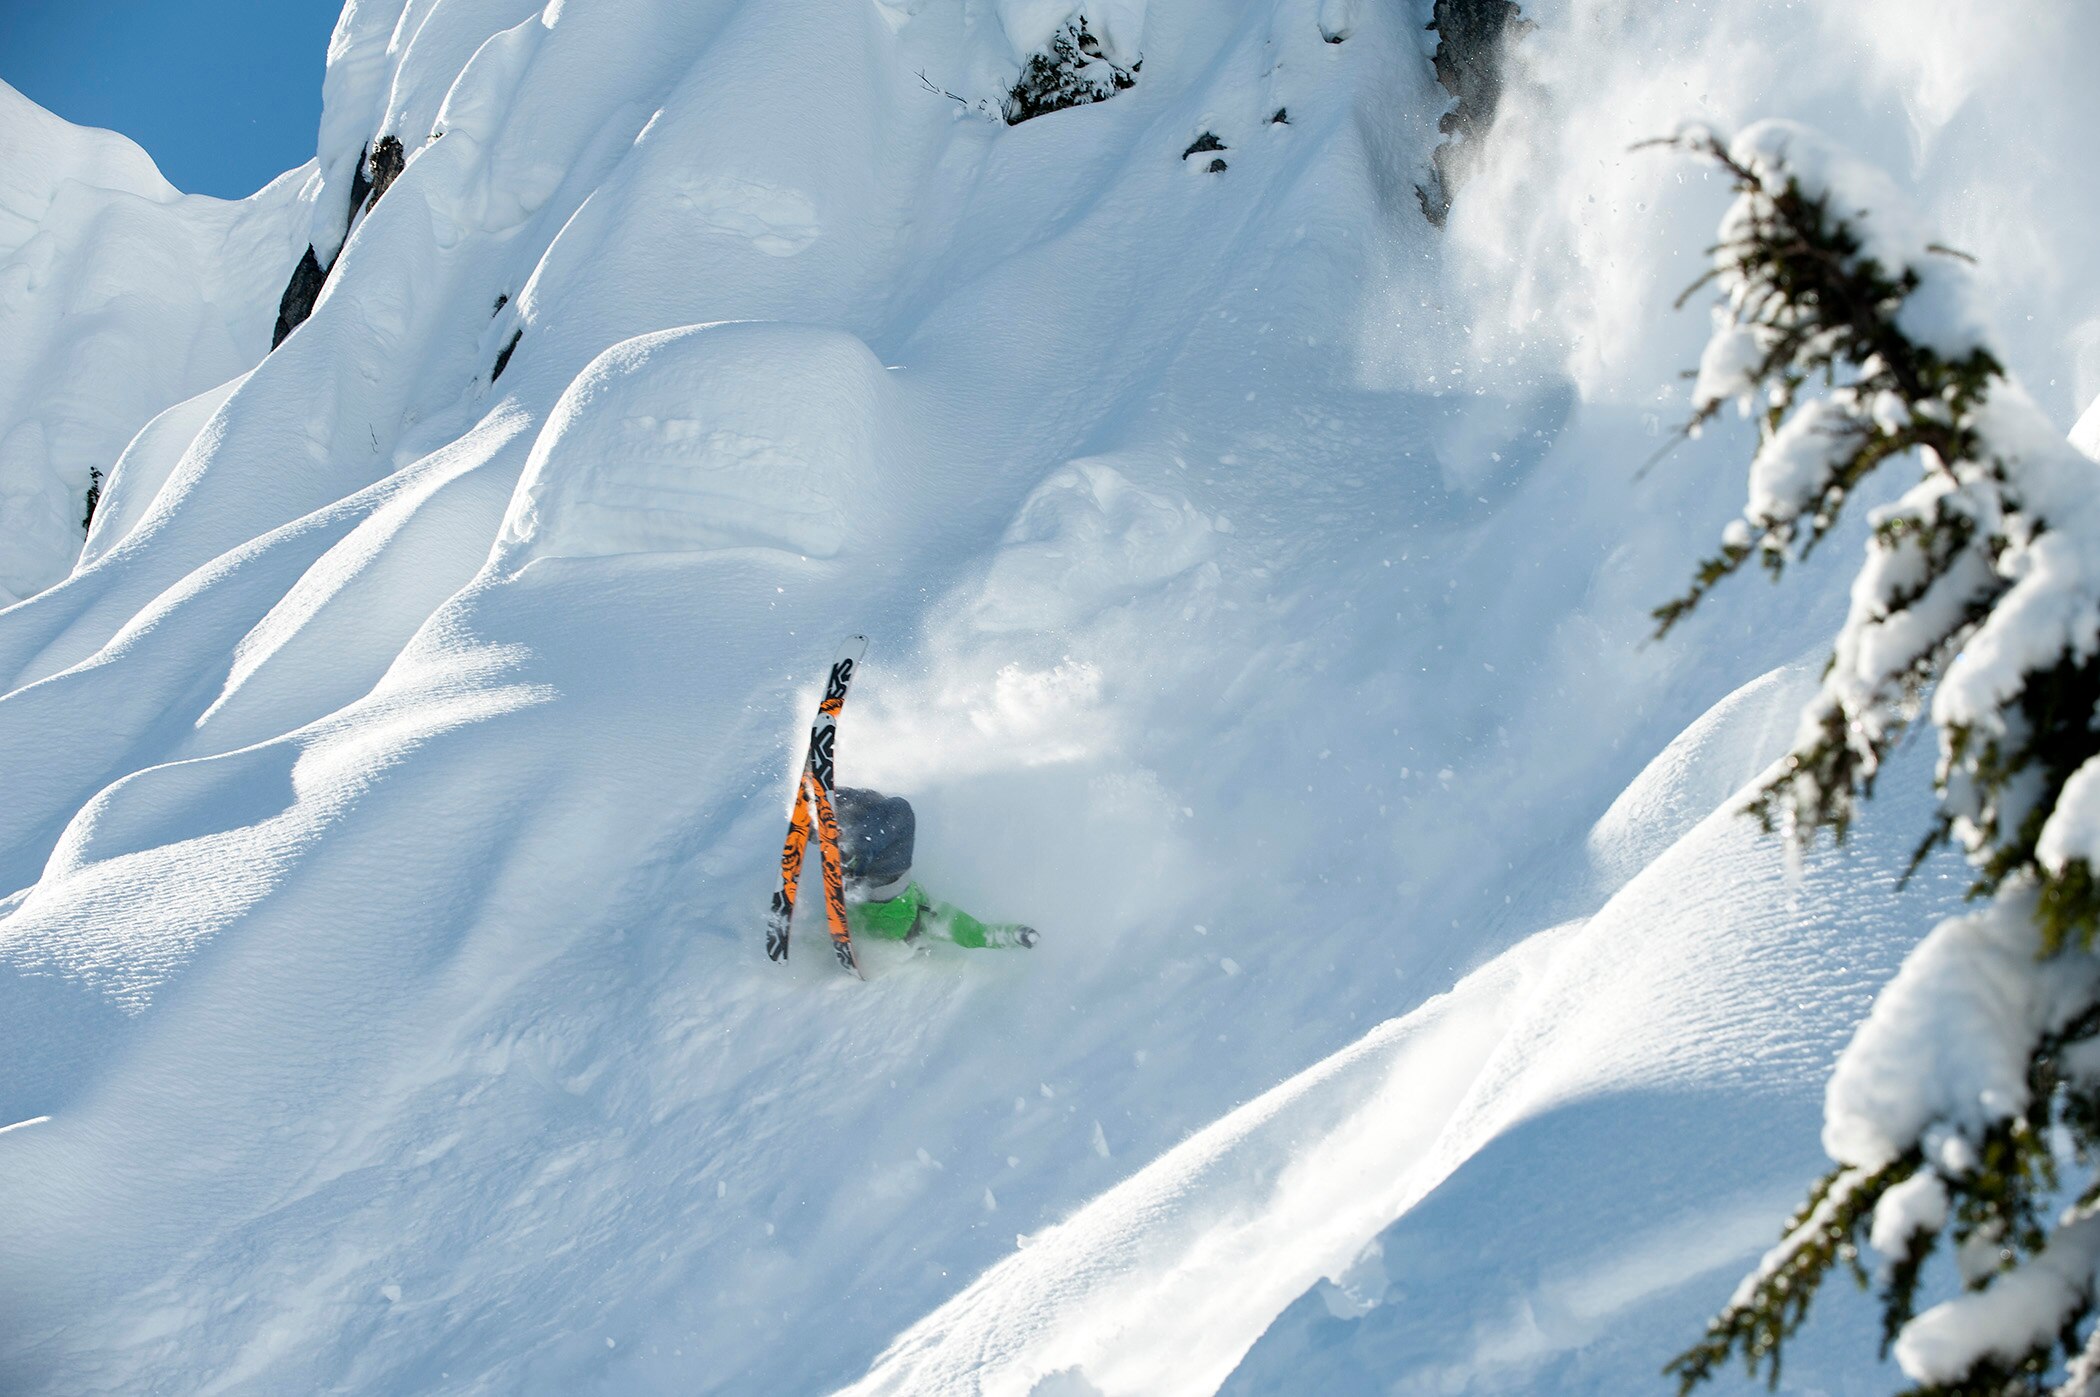
Remember the basic photo techniques—proper exposure, rule of thirds, interesting vantage points, etc.—before you go out and shoot. See our previous lesson if you need a little refresher.
Have fun!
