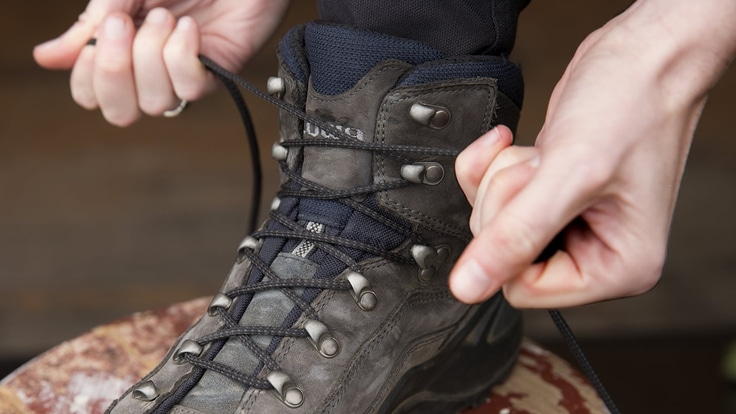
Most of us master shoe-tying in elementary school and don't give our laces much thought after that. If your hiking boots start to wear on your feet in uncomfortable ways, though, you'll be glad to learn a few new lacing tricks that could help improve your comfort.
In this article, we cover three ways to re-lace your boots to help relieve foot discomfort:
- Surgeon's Knot: Simple and versatile, it can keep your heel from slipping.
- Window Lacing: Alleviates pressure points on the top of your foot.
- Toe-Relief Lacing: A stopgap remedy to get you back to the trailhead.
It's important to note that the lacing techniques described here aren't a substitute for getting the right fit when you buy your boots. For that you need to see a footwear specialist at an REI store.
Related: How to Choose Hiking Boots
Choosing the right hiking boots is a matchmaking process. Your dream hiking boots need to sync with how and where you hike. Before you tie the knot, though, you also have to be sure they're a perfect fit.
Video: How to Lace Hiking Boots
Surgeon's Knot
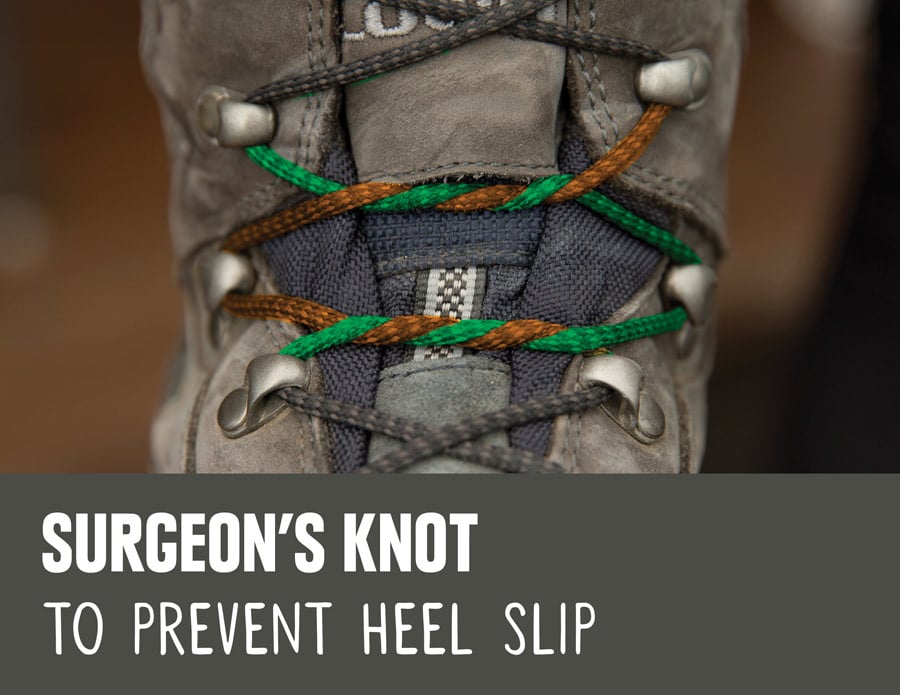
When your heel is slipping excessively as you hike, you probably have too much interior volume at the top of your foot. Cinch down your boot and hold it in place with two surgeon's knots: Once secured, these hold fast where they're placed and won't work themselves loose.
- Pull out any slack in the laces, snugging the boot over the top of your foot.
- Locate the two pairs of lace hooks closest to the point where the top of your foot begins to flex forward; you'll be tying a surgeon's knot at each of these pairs.
- Wrap the laces around each other twice, then pull them tight; be sure to run the lace directly up to the next hook to "lock" in the knot's tension.
- Repeat Step 3 at the next highest set of lace hooks.
- Finish lacing the rest of your boot in your usual way.
Window Lacing
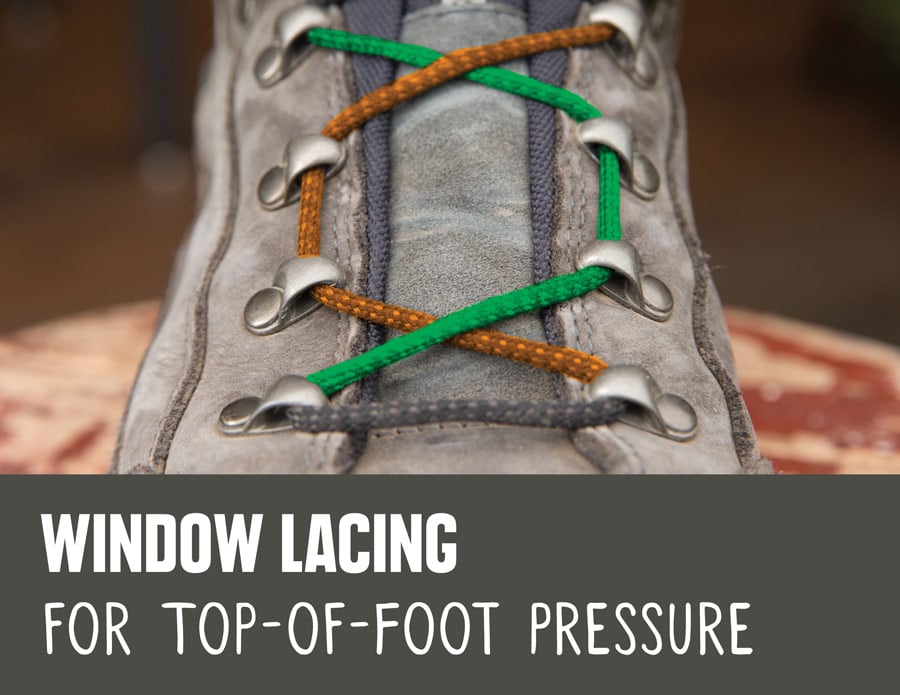
If your well-tied boots start to create a pressure point on the top of your foot, window lacing (aka "box lacing") can help alleviate the problem:
- Unlace the boot down to the hooks that are just below the pressure point.
- Re-lace by going straight up to the next hook and then crossing the laces over.
- Finish lacing the rest of your boot in your usual way; alternatively, you can tie a surgeon's knot at the lower and upper edge of your window for a snugger hold.
Toe-Relief Lacing
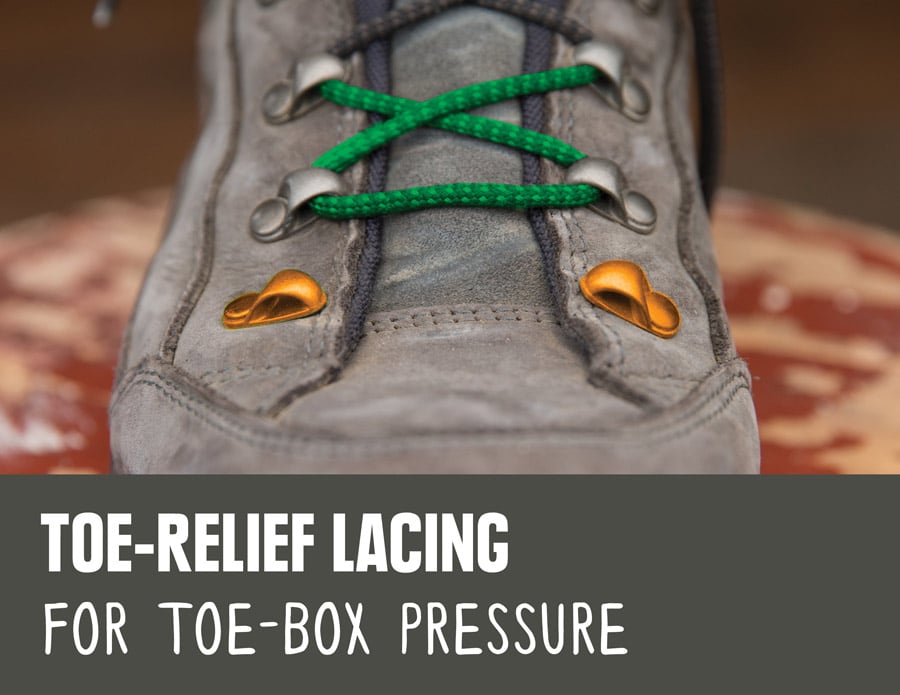
If your toes are in a world of hurt, this stopgap measure can help you make it back to the trailhead. This trick works by relieving pressure in the toe box:
- Completely unlace your boot.
- Lace it back up—but skip the first set of hooks; this opens up the toe box and takes some pressure off your digits.
If your toes always hurt when you hike, it's time to get a different pair of boots. An REI footwear specialist can fit you in boots that will give you just the right amount of wiggle room.
Boot Laces
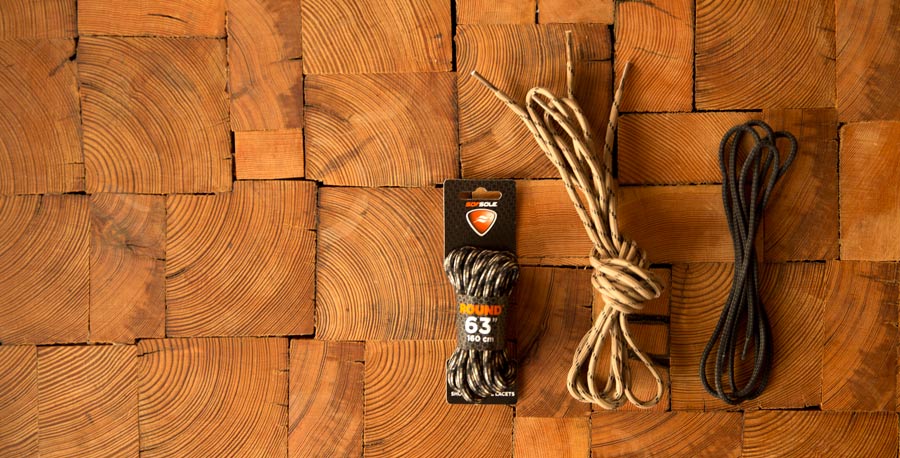
Most boots come with long laces to allow for different techniques, so you should be able to do any of these lacing tricks using your current laces.
If your laces are worn out, be sure to replace them with ones that match both the shape (round, oval or flat) and length of your previous pair.

