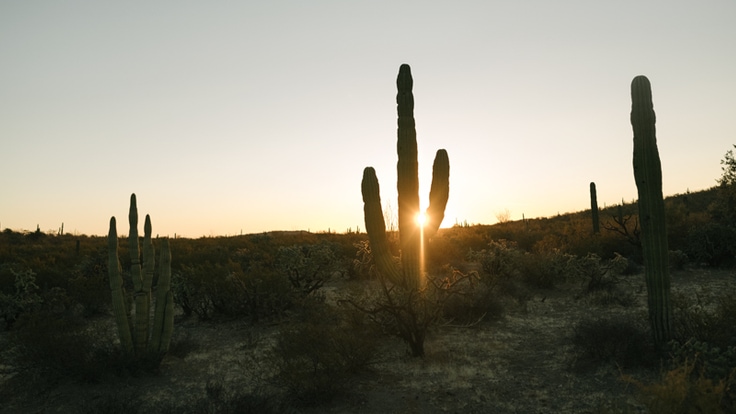
How many times have you tried to capture photos of a gorgeous sunset or sunrise only to be disappointed when the results were nowhere near as spectacular as you'd hoped? All too often, pictures just don't seem do justice to those magnificent displays of color in the sky.
To improve your chances of capturing that great shot, it first helps to have an understanding of some fundamental photography concepts. Being prepared is also key. Before you head out, make sure you know how to use your camera and, of course, what time the sun rises and sets. Hop online and do a quick search for sunrise/sunset times, or if you want to be really precise about it, download a smartphone app (such as The Photographer's Ephemeris) that can not only tell you sunrise/sunset times but also calculate exactly where the sun will be on the horizon based on your location. If you have a chance to scout your location ahead of time, that will also help you determine right where to be and when to be there in order to nail the shot.
Here are eight more tips for taking better sunrise and sunset photos. A word of caution: When taking pictures of sunrises and sunsets, be careful not to look directly at the sun through the viewfinder on your camera. Doing so can cause permanent damage to your eyes.
1. Choose a Low to Mid-Range ISO
When shooting a sunrise or sunset, you'll generally want to use a low to mid-range ISO setting, like 200, 400 or 800. During sunrise or sunset, there's less available light than in the middle of the day, so going with one of these ISO settings rather than the lowest possible (which is typically 100 on most cameras) will give you some leeway when choosing your aperture and shutter speed while still providing a high-quality image.
If you need a quick primer on ISO and help understanding the relationship between ISO, aperture and shutter speed, see our Understanding Exposure in Photography.
2. Choose a High Aperture
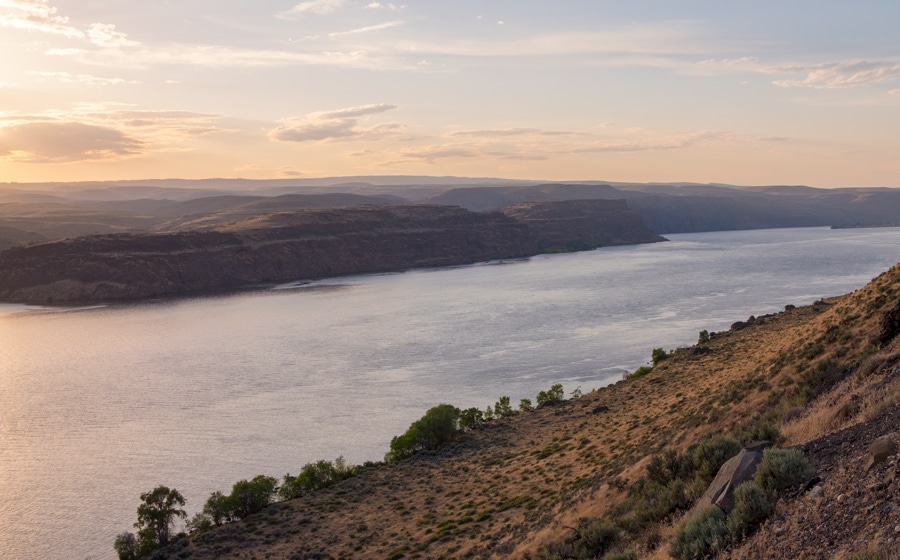
Most people will choose to use a high aperture, such as f/11, f/16 or higher, when taking sunset photos. This allows for greater depth of field (the zone within a picture that appears in focus) so that everything from the foreground to the background will be sharply in focus. However, there's no rule against lowering the aperture to achieve a certain creative effect.
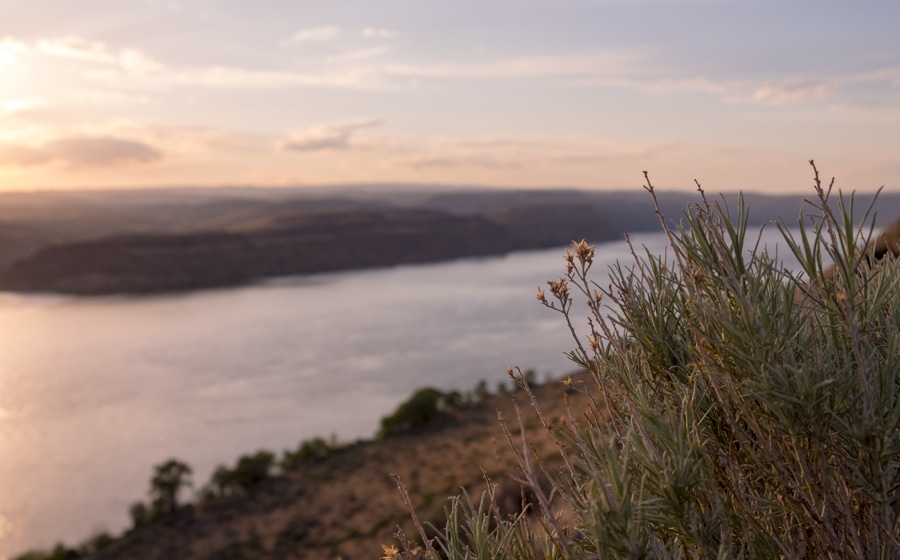
If you want to blur the background and bring all the attention to a subject in the foreground, go ahead and set the aperture low, like f/4 or even lower. Play around with different apertures and see what you get. Read more about aperture.
3. Determine a Shutter Speed
With your ISO and aperture set, it's time to choose the shutter speed that will give you a proper exposure. Keep an eye on your light meter while adjusting the shutter speed and when it reads "0," it's telling you the exposure is correct. To make this really simple, put your camera in aperture priority mode (if it has it) and your camera will automatically select the shutter speed that will work best for a proper exposure.
Also, consider that if your shutter speed gets too low you may need a tripod to prevent blurring caused by the shake of your hands. The general guideline for determining the lowest usable handheld shutter speed is to look at your lens focal length and use a tripod for any shutter speeds lower than that number. For example, if your lens has a focal length of 50mm, you should be able to shoot at 1/50 of a second without getting handshake blurring, but you'll want to use a tripod for speeds slower than that. Learn more about shutter speed.
4. Bracket Your Exposures
Relying on your camera's light meter to get the best shot can sometimes produce mediocre results, especially during sunrise or sunset when you're trying to expose for the bright sun on the horizon and darker subjects in the foreground. To get the best exposure, try a technique called bracketing. Bracketing involves taking several pictures exposed above and below what your camera suggests.
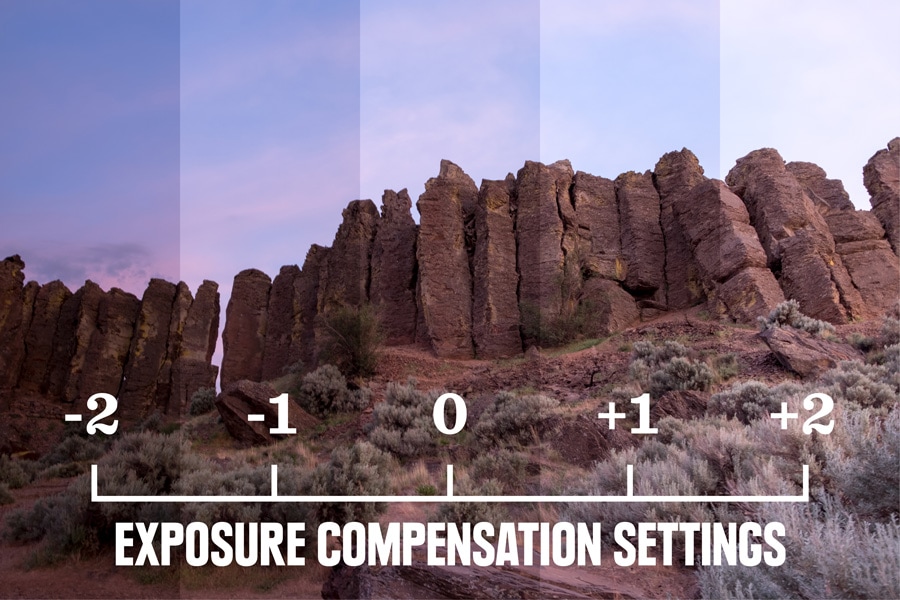
Bracketing Tips
There are several ways you can bracket exposures:
Automatic exposure bracketing
Many digital cameras include automatic exposure bracketing. With this setting turned on, the camera automatically takes several shots (usually three or more) at different exposures. You can review the shots later and decide which to keep.
Exposure compensation
Using exposure compensation, you can easily adjust the exposure up or down to fine-tune the brightness or darkness of the image. Many cameras have a dial or button that lets you do this.
Manual adjustments
Manually adjusting the aperture or shutter speed is another way to bracket. For example, if your camera suggests taking the picture at 1/125 of a second and f/5.6, you could bump the shutter speed up one stop to 1/250 of a second to let less light in and then down one stop to 1/60 of a second to let more light in. Keep in mind how adjusting the shutter speed and/or aperture will affect the motion and depth of field.
If you're using a smartphone that doesn't allow you to make these adjustments, you can try to achieve similar results by adjusting the exposure to lighten and darken the scene and taking multiple shots of the same scene. Most smartphone cameras let you do this with some combination of tapping, holding and swiping.
5. Expand Your Subject Matter
When you're out taking pictures of a sunrise or sunset, it's natural to be captivated by a vibrant horizon line and let that be the only thing you include in your photo. But, when you look at the photos later, you might find that while the colors cast by the sun are stunning, the images lack the splendor of the scene that you saw with your own eyes.
This is often because the images don't include elements that provide a sense of scale, depth and originality. Next time, try taking a step back and incorporating things like trees, people, rocks, water or other natural features in the foreground and middle ground.
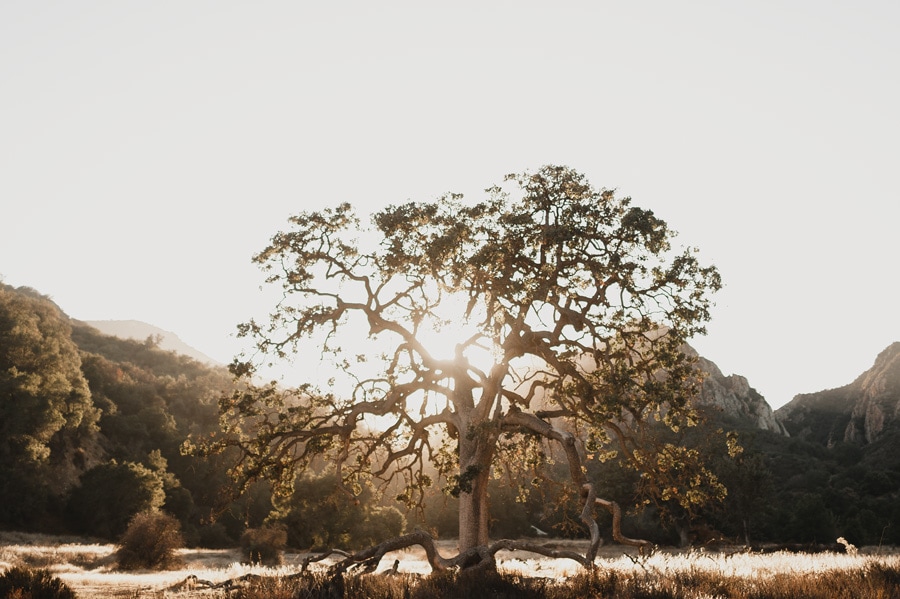
Also, consider that sometimes a beautiful photo of a sunrise or sunset doesn't even include the sun itself. While you're shooting, take a moment to look around and notice how the golden light of sunrise spreads across the valley below or how the pink hues of sunset are painted on the surrounding peaks. Force yourself to look beyond the burning orb in the sky and find creative ways to add interest to your images.
6. Use the Rule of Thirds and Leading Lines
A well-composed image arranges all of the visual elements, including the sun and other things, like trees, clouds or people, so that they appeal to the eye, tell a story and/or evoke a certain emotion.
Composition Tips
Here are a couple ways to improve the composition of your photos:
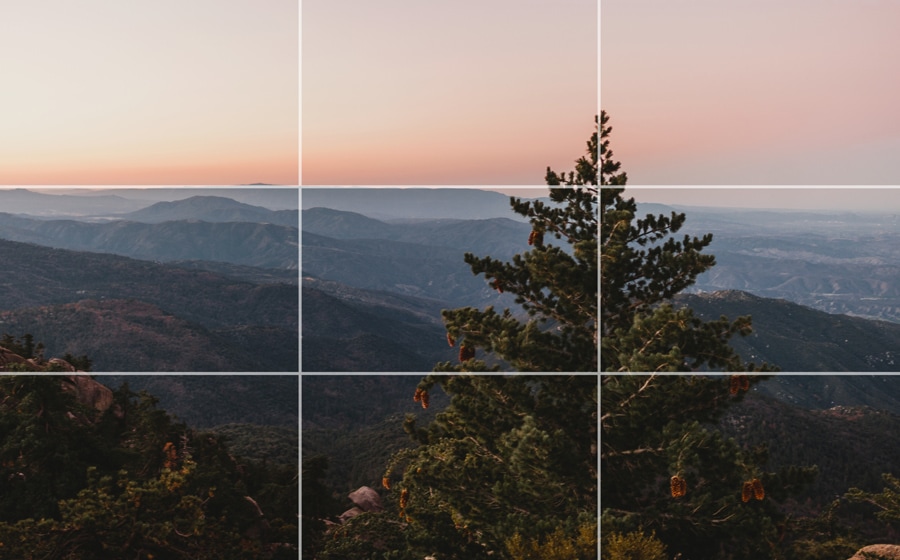
Use the rule of thirds
The rule of thirds is a basic compositional technique and an easy way to improve your photos. To use it, you simply need to mentally break up your image into thirds vertically and horizontally with gridlines and position the subject(s) of your photo either along the lines or at the intersection of two lines. This will create a more balanced and visually interesting picture. To make this really easy, many cameras allow you to display a grid in the viewfinder and/or on the LCD screen so you can quickly compose images with the rule of thirds in mind. For example, rather than composing a sunrise or sunset photo so that the horizon cuts across the middle of the image, try taking the picture with the horizon at the bottom or top third. Play around with positioning the brightest or most colorful spot off to the right third or left third.
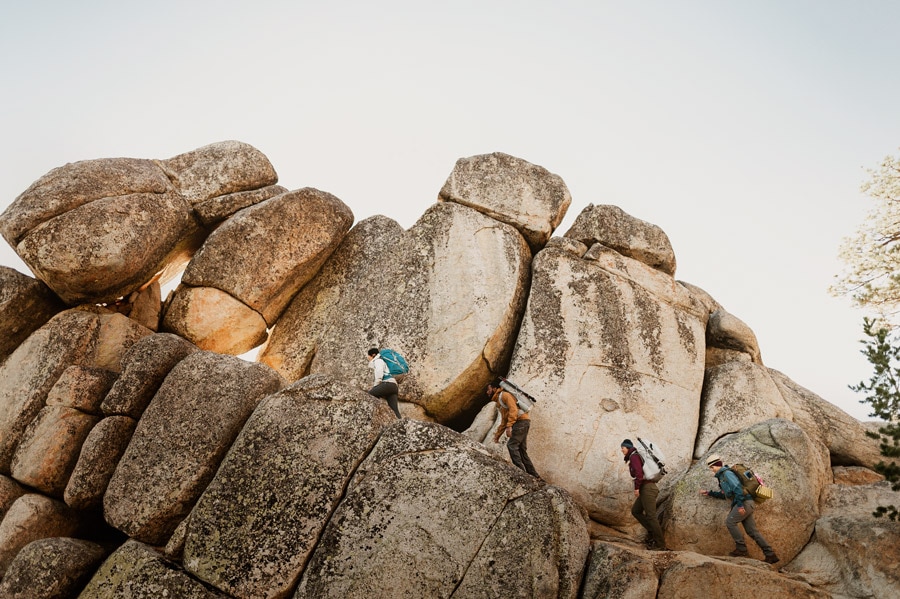
Make use of leading lines
Carefully composing lines in your pictures is a powerful way of drawing the viewer's attention to the main subject and creating a sense of movement through the image. For instance, when taking a sunrise picture, think about how you can use trees in a forest, a field of tall grass, wispy clouds or a winding trail to guide the viewer's eye through the image to the sun on the horizon.
Learn more about composition in our article, Photo Composition: Seven Tips to Take Better Photos.
7. Focus Manually
When you're taking pictures toward the sun, the intense lighting can sometimes cause your camera's autofocus to struggle to lock onto something. If your camera allows you to do so, switch to manual focus so you can ensure you get a shot that's perfectly sharp.
8. Keep Shooting
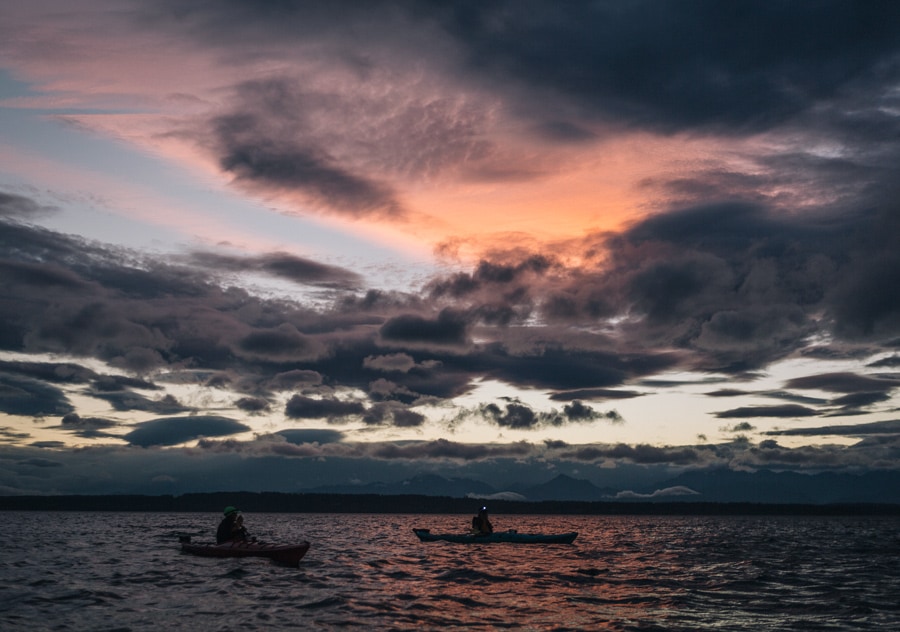
Just when you think you've seen the best of the sunrise or sunset, the colors might become even richer or a cloud could move in and cast beautiful sun rays. Sunrises and sunsets change constantly so keep on shooting to be sure you don't miss the best part. And, while you're at it, experiment with different compositions and exposures.
