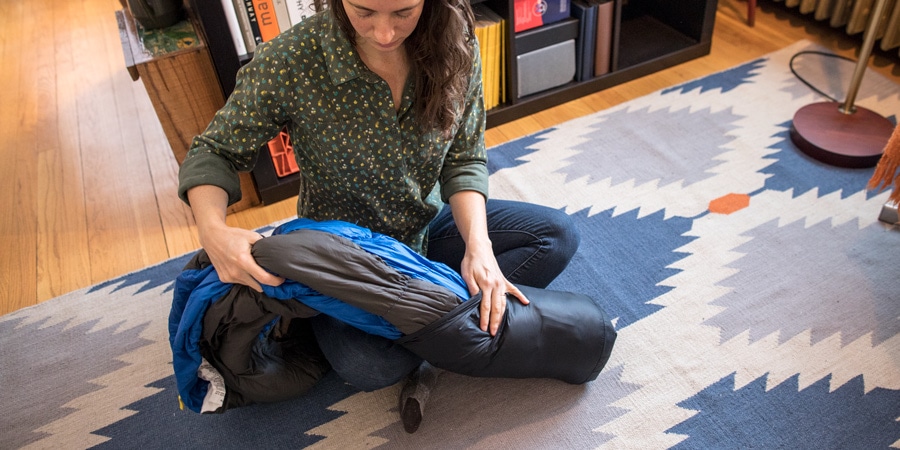
Those of us who love to backpack often develop a secondary obsession: the love of a sleeping bag that stuffs down to almost nothing. When it comes to storing your sleeping bag between trips, though, it's important to free it from stuff-sack confinement.
Properly storing your sleeping bag at home is both simple and important to do:
- Extract it from its stuff sack.
- Dry it thoroughly.
- Loosely stow it inside a large breathable cotton or mesh sack.
- Store it in a place that's both cool and dry.
These steps are critical for a backpacking bag, which we methodically compress before we hit the trail. These home storage rules apply whether a bag has down or synthetic insulation. The rules also apply to big, boxy camping bags.
To learn even more about caring for your bag, read Sleeping Bag Care.
Why Too Much Compression is Bad for Your Bag

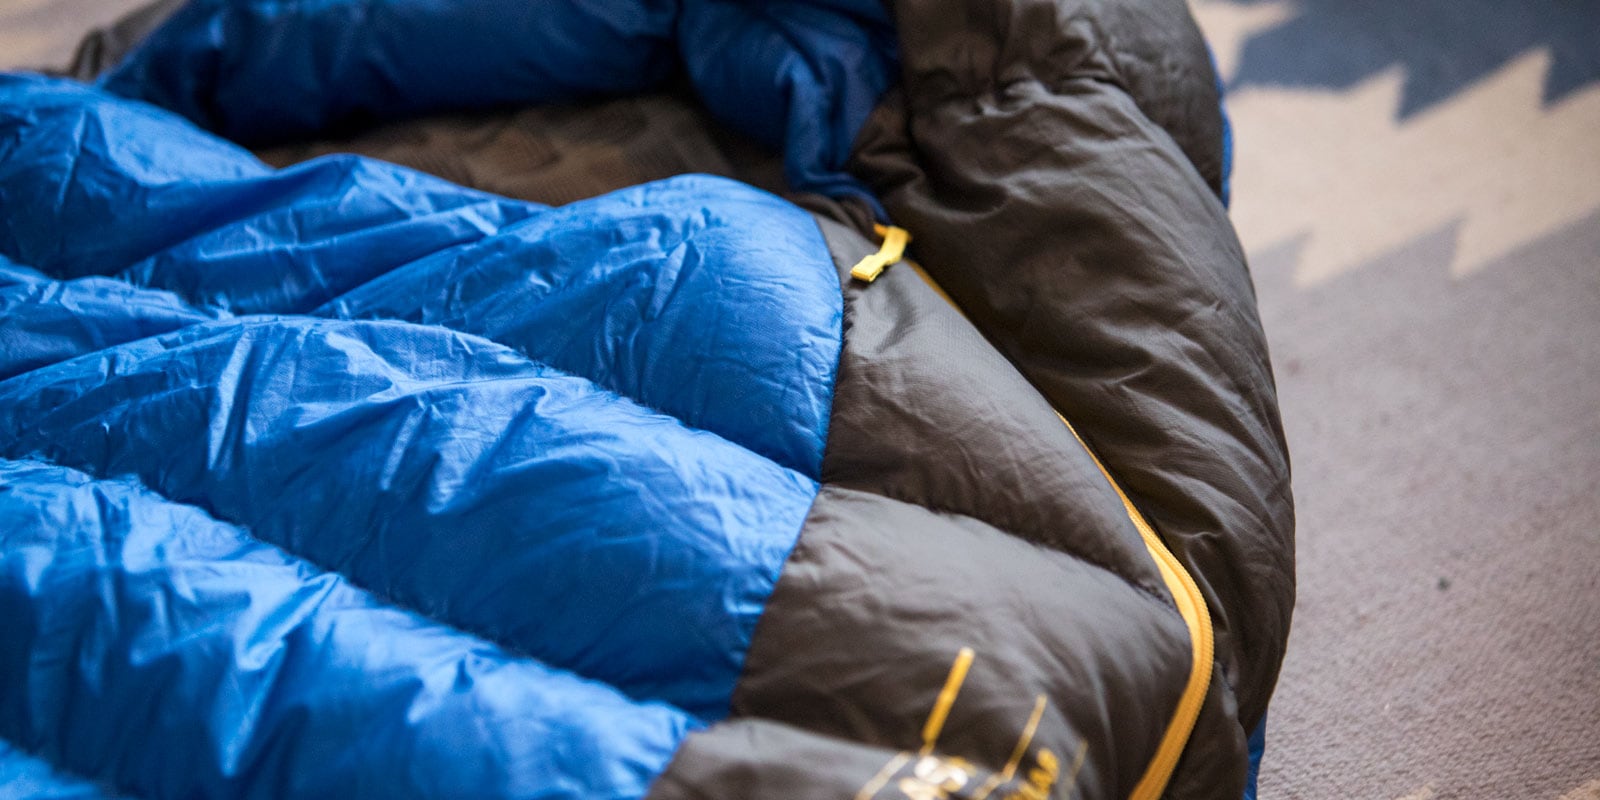
Insulation loft is key to keeping you warm. Both down and synthetic fills need to fluff up (loft) to create small air spaces within the insulation. These then trap body heat to help you stay warm while you sleep.
If you were to set your sleeping bag down without a sleeping pad underneath it and then crawl inside, you'd find that the bottom of the bag would feel cold. That's because the insulation is compressed by your weight and can't loft properly.
While both down and synthetic bag insulations do a good job of fluffing up after being compressed, there is a limit to their resilience. If you leave your bag in a compressed state (inside its stuff sack) for several months, it will lose resiliency and lofting ability. Synthetics tend to do worse than down in this regard, but both types of fills will be compromised.
How to Dry Out Your Bag

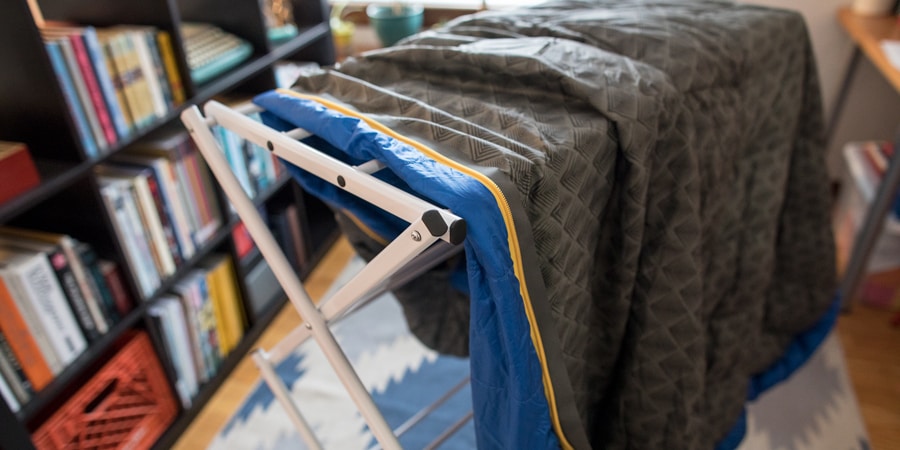
If you don't dry out your bag between trips, mold and mildew can grow on the surface and inside the insulation. First, fully unzip it. Then hang your bag over a line or on a large hanger in a covered outdoor space for 6 to 8 hours. Don't leave your bag in direct sunlight, though, because UV rays can weaken the fabric.
You can aid the drying process by turning the bag inside out for the first 4 or so hours, then turning it back right-side out for 4 more hours. This is especially important to do if your bag's outer shell is waterproof, because that type of shell blocks the dissipation of moisture.
If no outdoor space is available where you live, then you can hang the bag in a dry, temperature-controlled indoor area. Setting up a fan or dehumidifier will speed the drying process. You can also use a large commercial dryer (home dryers aren't big enough), though that's not usually needed unless you wash your bag. Tossing two or three clean tennis balls into the dryer helps fluff up the fill and dry everything uniformly. Always dry your sleeping bag on a low heat setting, and check it frequently to avoid damage from heat or twisting.
Cleaning Your Bag
Even if you don't have a mold or mildew problem to solve, washing your bag periodically is a good idea because body oils, sweat and dirt in the insulation can compromise performance. Most people can do this every few years. If you're an avid backpacker, then washing once a season is recommended.
Where to Store Your Bag

Find a humidity- and temperature-controlled location
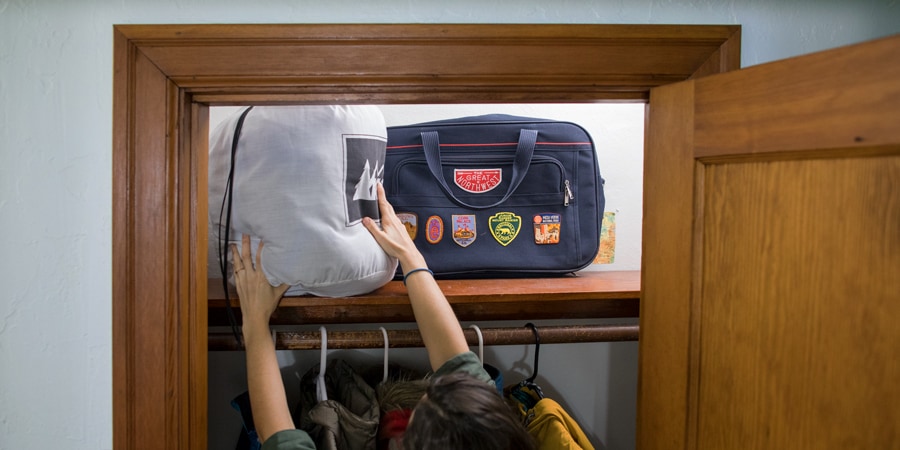
Moisture and temperature extremes are hard on your bag, so avoid damp basements and unheated (and uncooled) spaces like garages and attics. Susceptibility to temperature extremes also makes car trunks a no-no. Find an honored position in the corner of one of your closets instead.
Place it inside a giant, breathable sack
You'll need to find a roomy corner in that closet. That's because the best storage sack is the jumbo cotton storage bag that most bags are sold with today. That bag keeps things contained without compressing the fill, while also allowing air circulation. If your bag didn't come with a large storage bag, you can use a king-size pillowcase. That pillow case is a little on the small side, though—a much better option is to buy a cotton or mesh sack (90L is a good size) to store it in.
