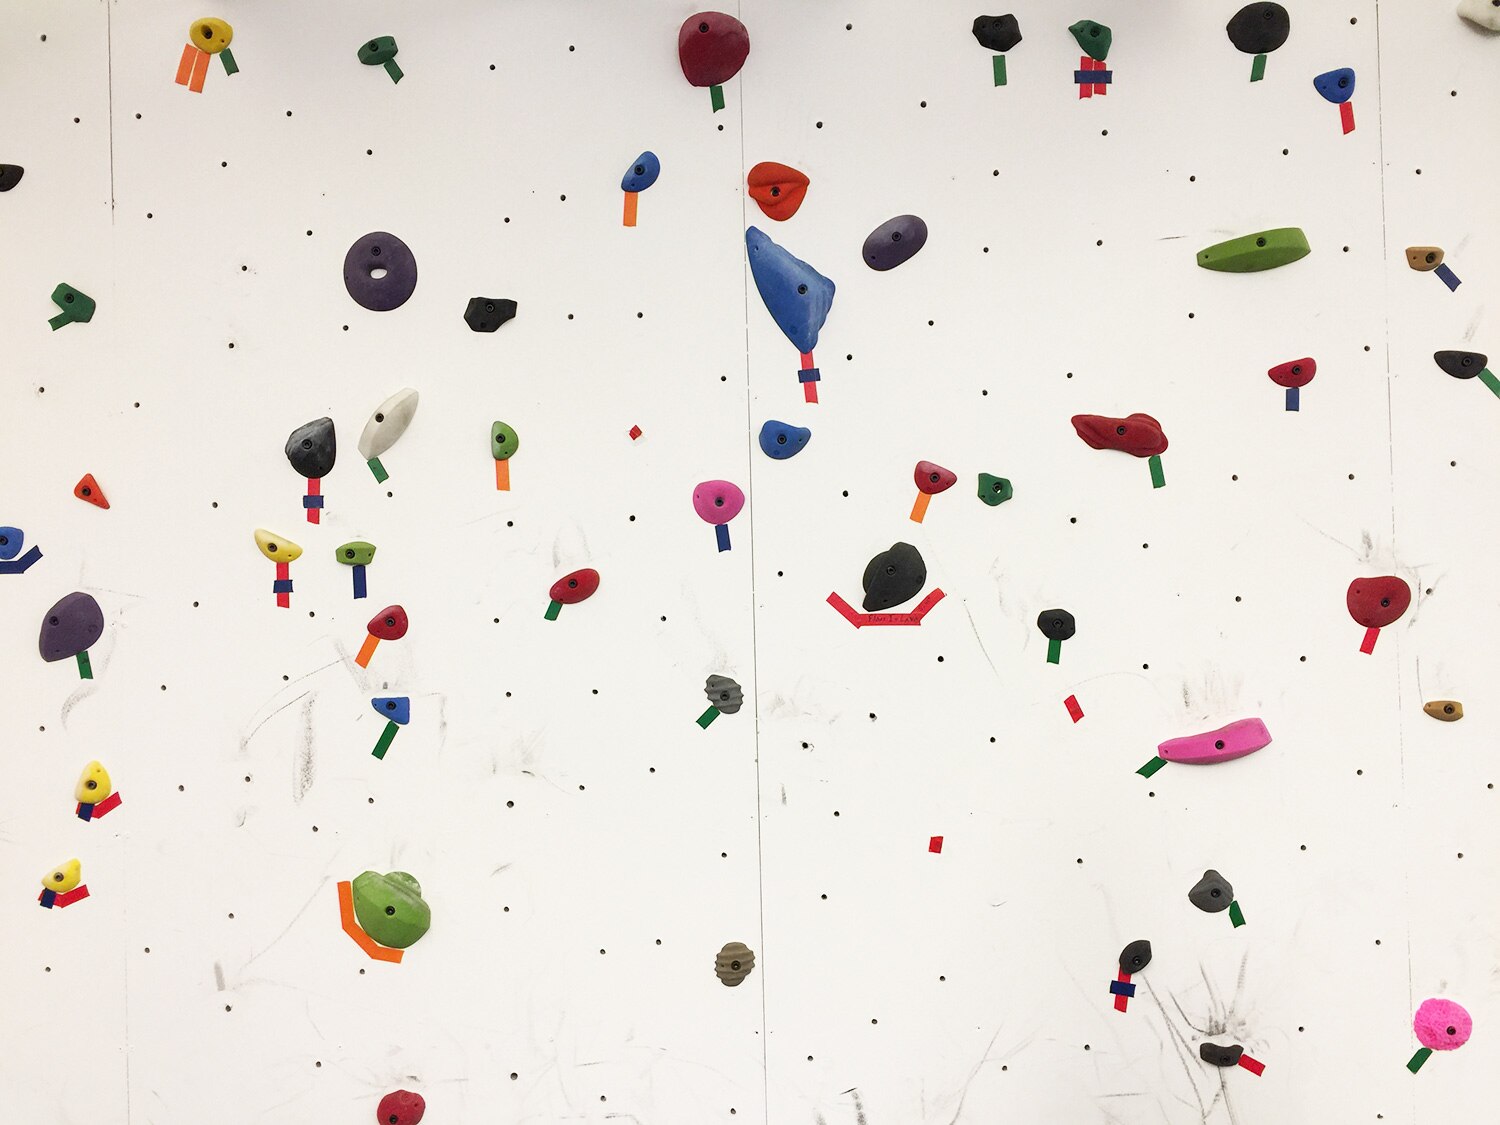
Routesetting is something that anyone can do, but as with everything, it takes experience and a desire to be a constant student of the craft to become good and be efficient at replicating your favorite moves. As a longtime setter at Colorado's Boulder Rock Club as well as national comps, I've learned a few things that will get you on the fast-track to manufacturing those killer sequences that will keep you and your friends coming back for more.
Get the Right Materials
There are two main considerations you need to take into account when affixing holds to your newly constructed masterpiece: whether or not you have the right fasteners to attach those holds (screws or bolts) and if said fasteners are long enough. When using screw-on features or adding set screws (additional screws that prevent spinners) to holds, use a gauge that is burly enough to withstand the force of you wrenching on it. We use a 9-gauge deck screw at the Boulder Rock Club, and I recommend nothing smaller than an 8-gauge to play it safe. The head of the screw should also sit flush with the surface of the hold and if possible, be located in a place where it won't affect your grip.
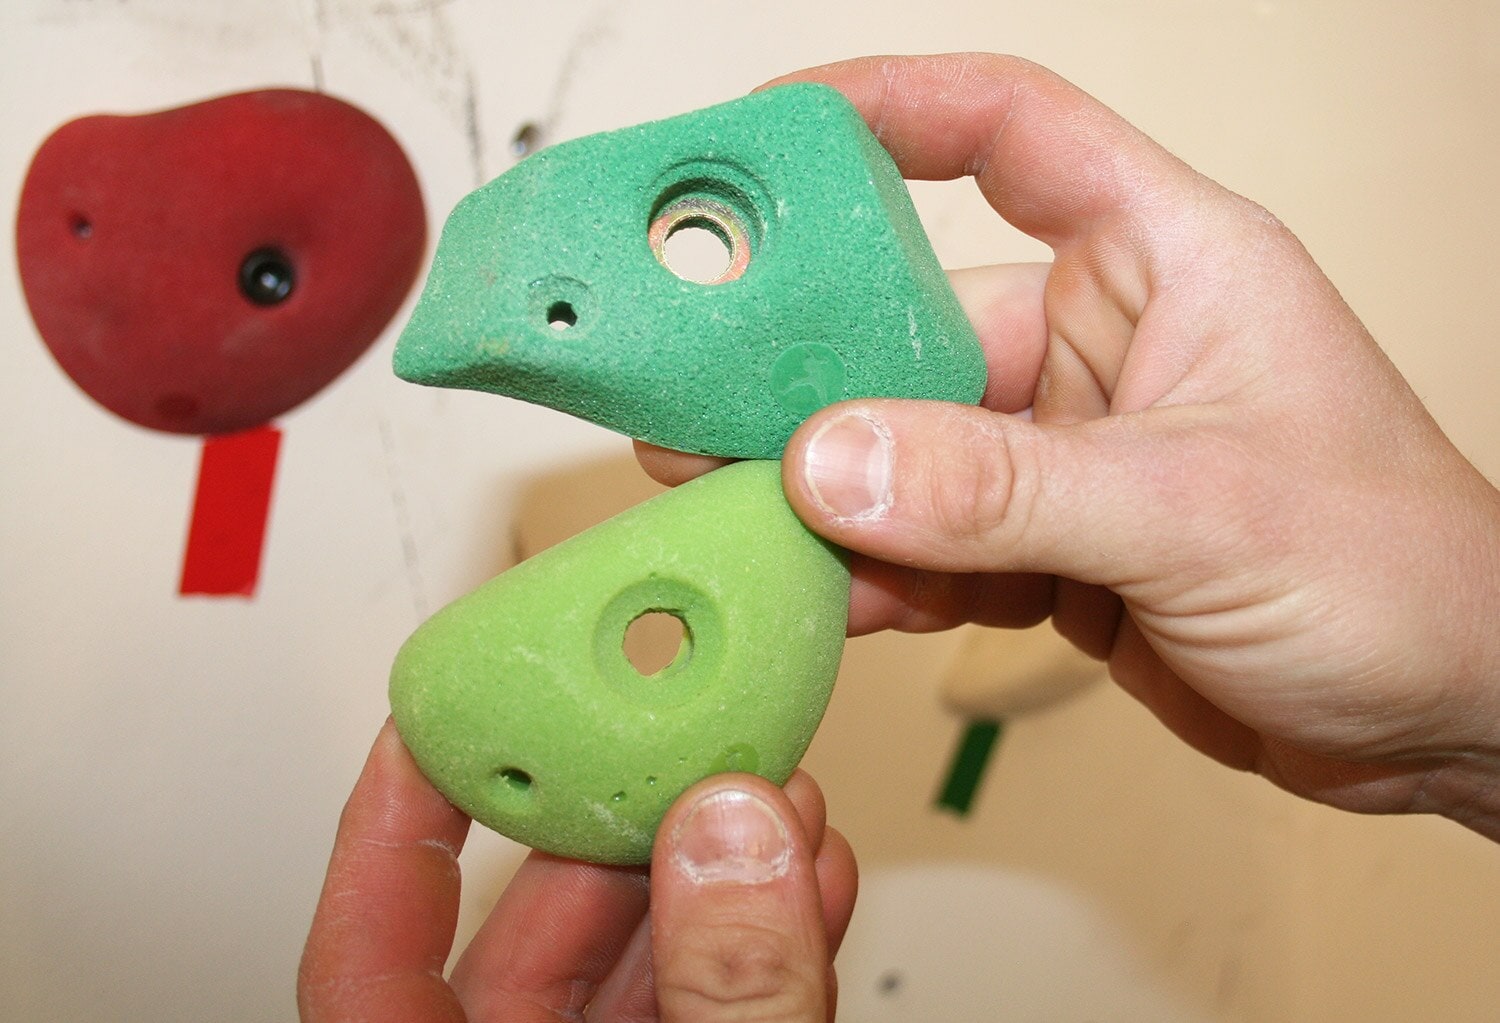
First, figure out which style of bolt head your hold requires. There are two main types, "cap heads" and "martini heads," and they are not interchangeable. Thankfully, choosing the type of bolt is as simple as the childhood concept of putting the square peg in the square hole, or for some, not putting the square peg in the round hole. Locate the bolt hole in the hold and observe whether there is a metal washer visible and also the shape of the recess where the bolt will be inserted. As a general guideline, if there is a washer visible your choice should be a "cap head" bolt and if the recess is cone shaped you should use a "martini head." The occasional exception to this occurs and for that, use your best judgement.
The second consideration, length, is super important because using a bolt that isn't long enough can result in stripping the threads in a t-nut or a hold ripping off the wall; hitting you square in the money maker and possibly knocking out a tooth or two. Bolts are expensive and you won't always have the best-case-length (threads that fully engage the entire length of the t-nut in the wall) so if you are going to use a bolt a little on the short end you want to make sure that at least 5-6 threads are exposed when you slot it through the hold's bolt hole.
Hone Your System
One way to improve at anything is to make the system you are using more efficient. And, of course, that starts with having a system. My system is to work in stages; this often starts with stripping the wall (taking all the holds off) giving me a blank canvas to work with, followed by hold selection and finally forerunning (climbing and changing anything that sucks).
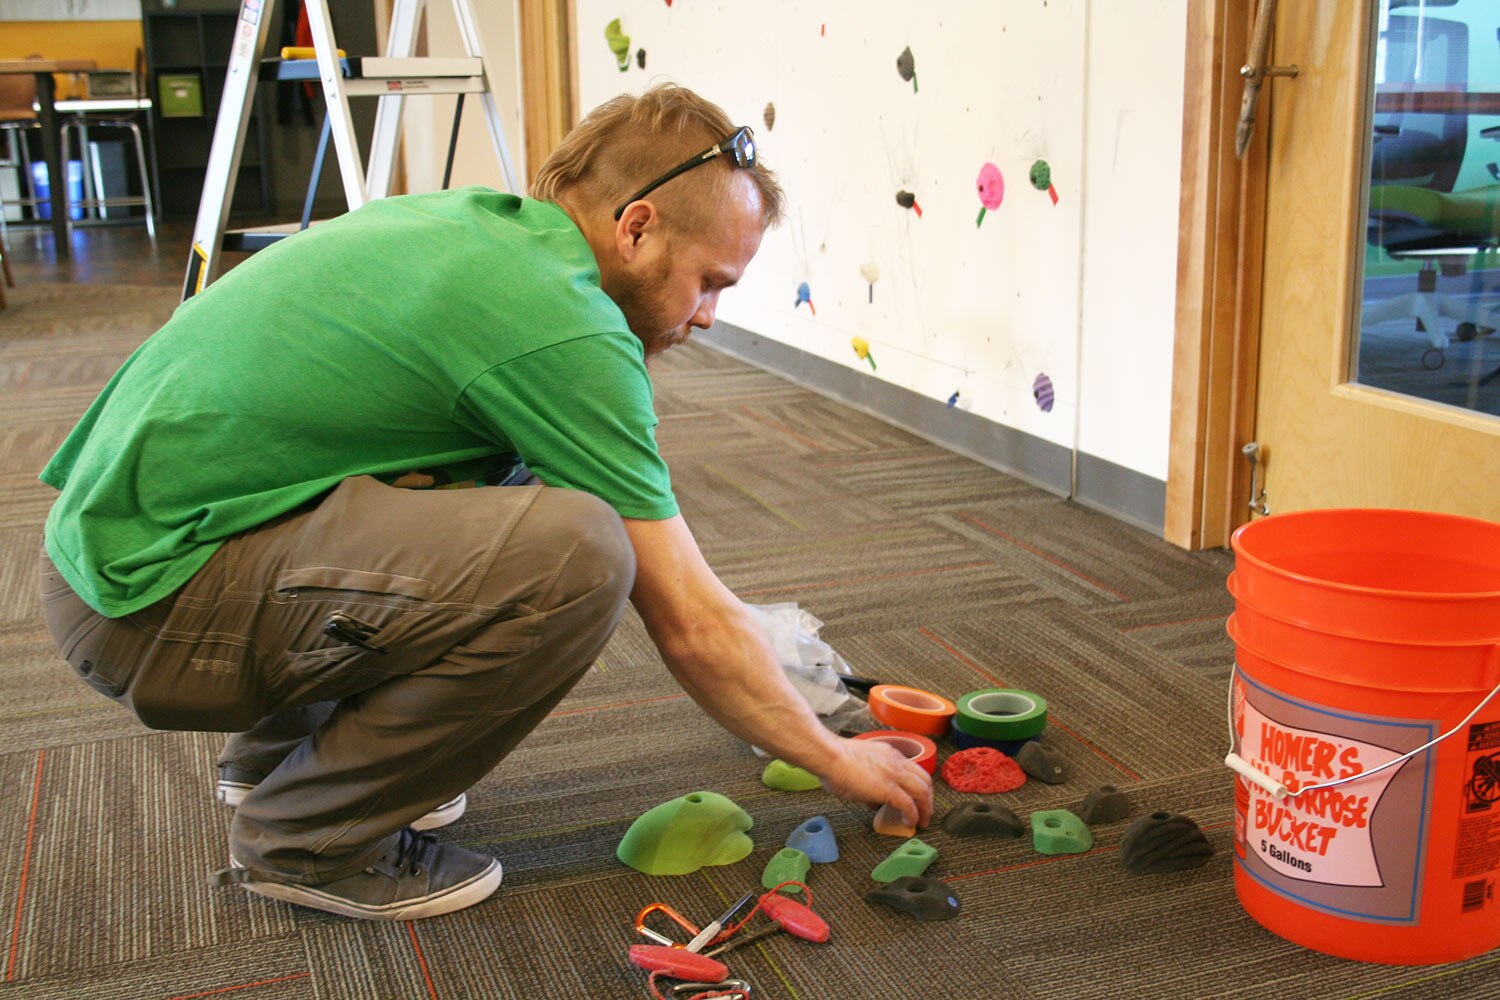
Whether you strip the wall or not, have answers for the following questions before you put holds on the wall: What terrain will I be climbing? Is my problem going to be technical? Powerful? Do I have a specific hold or move in mind? Will it contain weird movements? Who will be climbing it? What does my padding situation look like? These ideas can help guide you in your quest for the next plastic classic.
Now, get the general idea of your problem on the wall (the skeleton) without climbing each move as you add holds. It's tempting, but the more you climb the longer it takes to get the problem up, and you are using energy that you'll need to crush this masterpiece when it's done. Also, forcing yourself to visualize the movement will help you become more efficient in the future at both putting holds on the wall and at deciphering the sequence of your next project. It's good to get a few skeletons on the wall before you start forerunning.
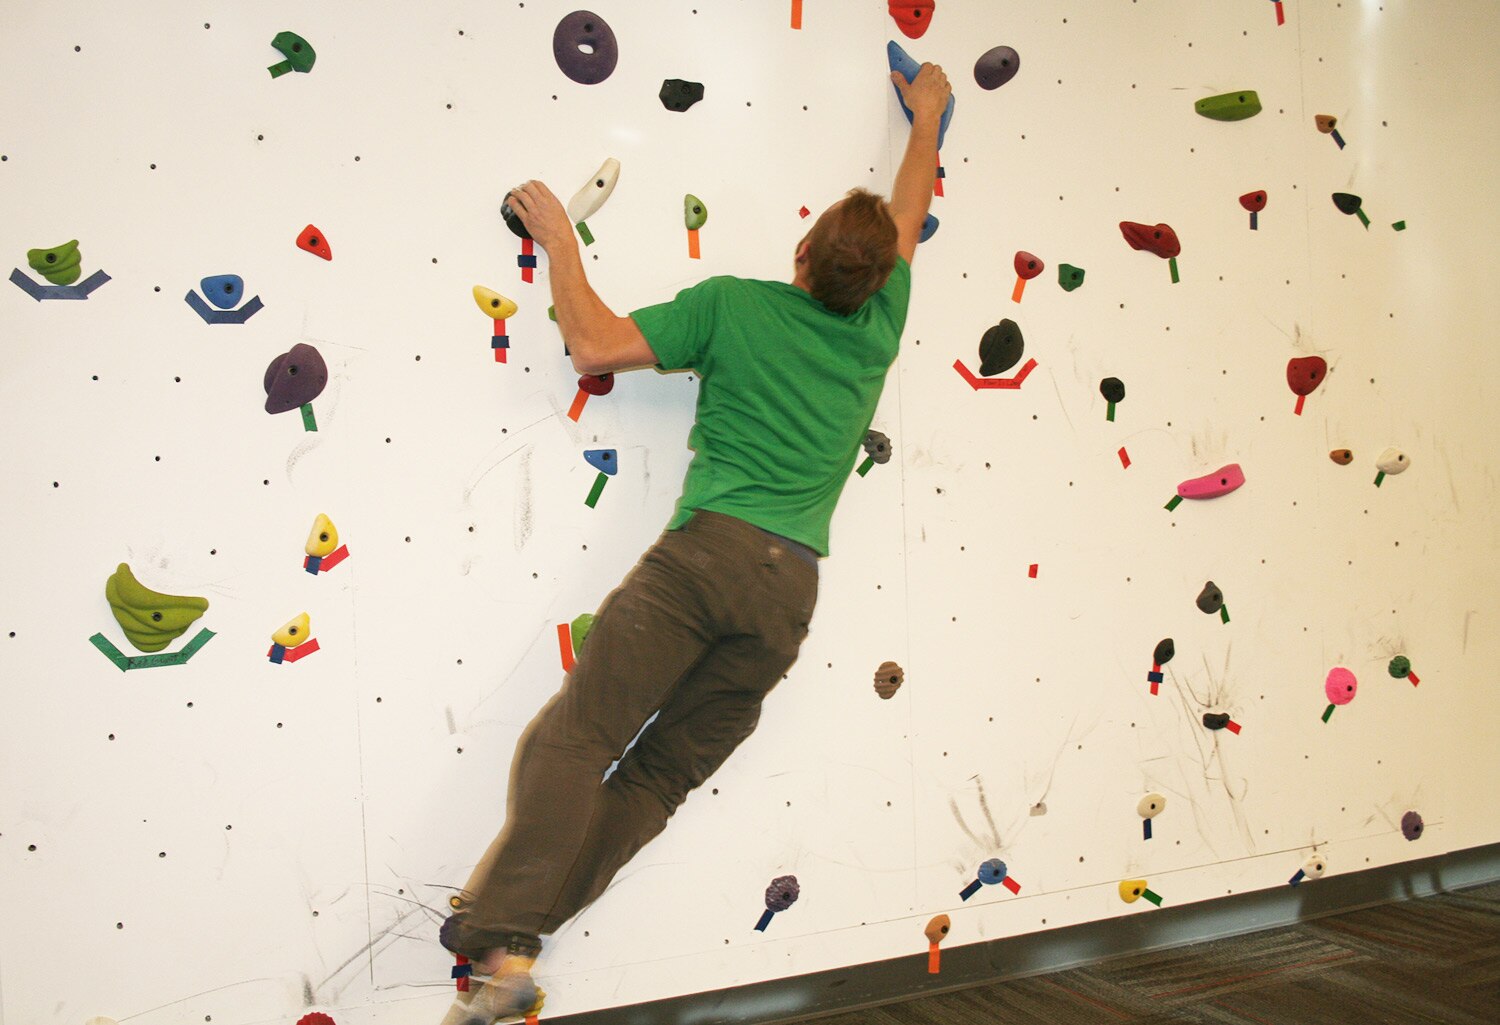
To kick-off the forerunning stage you should chalk all the holds using a chalk ball (which fills all the pores on the holds with chalk to counteract the oil and sweat from your hands or grease from the bolts, hopefully preserving friction), leave some extra hand holds, foot holds, and bolts accessible, and put your climbing shoes on. You don't need to send it at this point, rather, like a Michelin-star chef finishing an entrée, fine-tune until each flavor is perfect and you are ready to serve this dish up for consumption. Rotate, move and/or replace each hand and foot until it's just right.
Finishing Touches
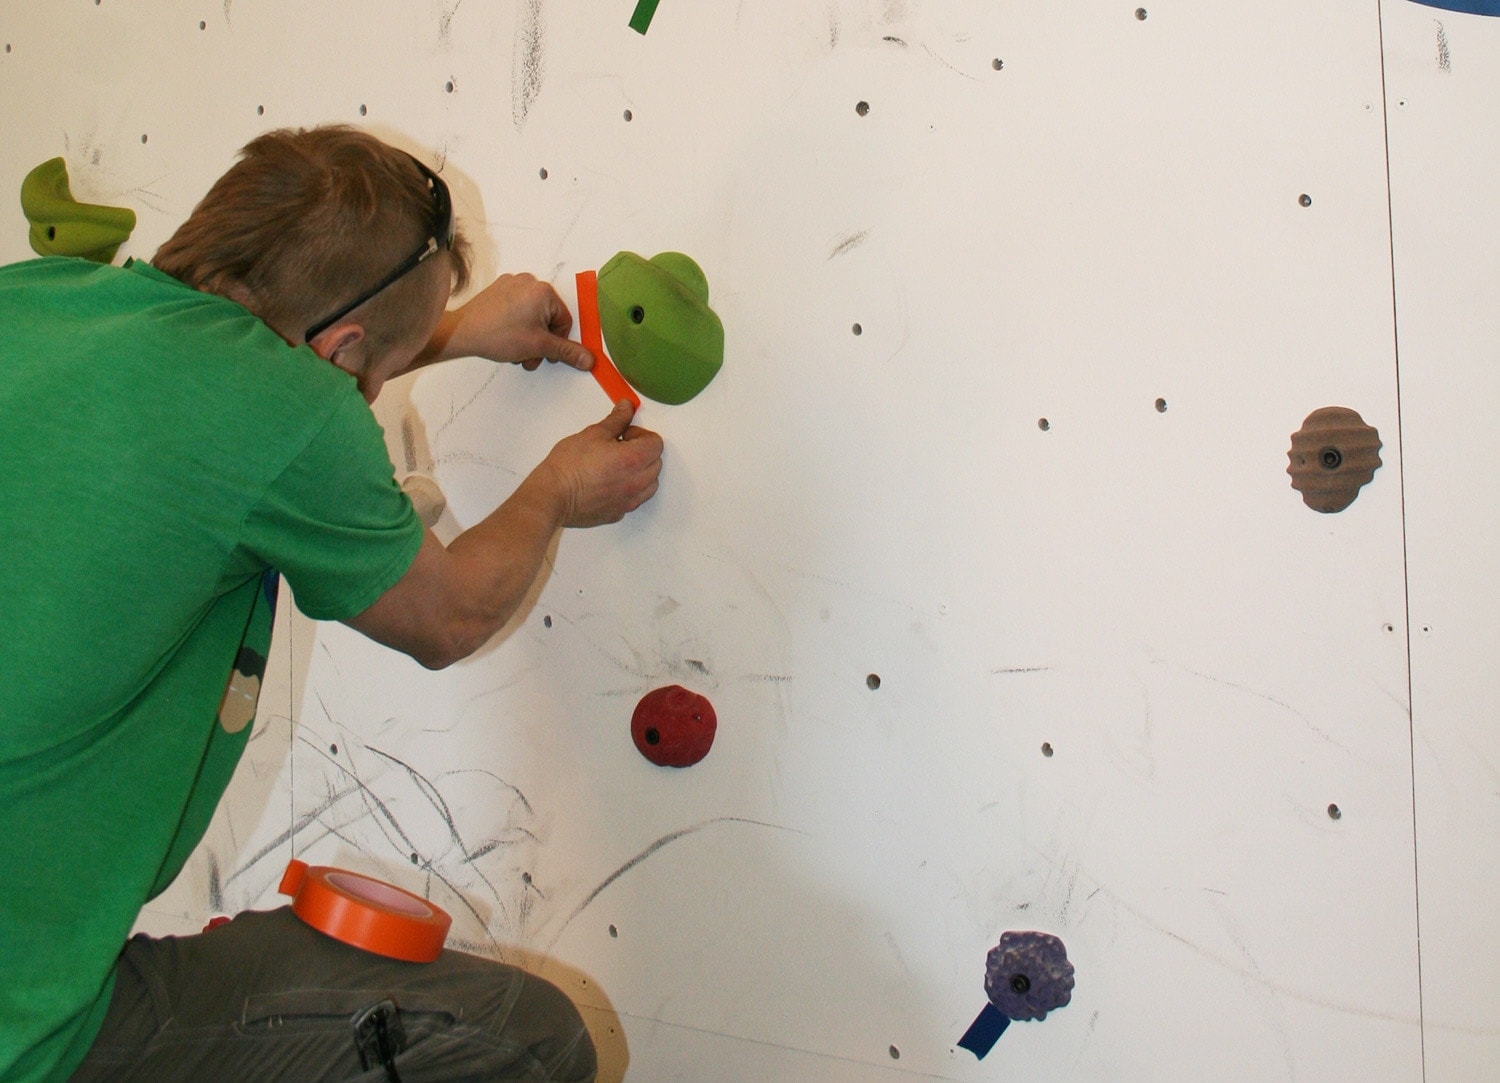
The final presentation of your problem is completely up to you; maybe you will choose to use tape, set problems by hold color or create a database of sequences in a notebook (or app for the tech savvy). Whatever you do to prepare it for the masses, keep in mind that the aesthetics of your final product are important but should fall third behind function and quality because you aren't just putting holds on the wall to admire their beauty. It's how it climbs that matters most.
Feedback
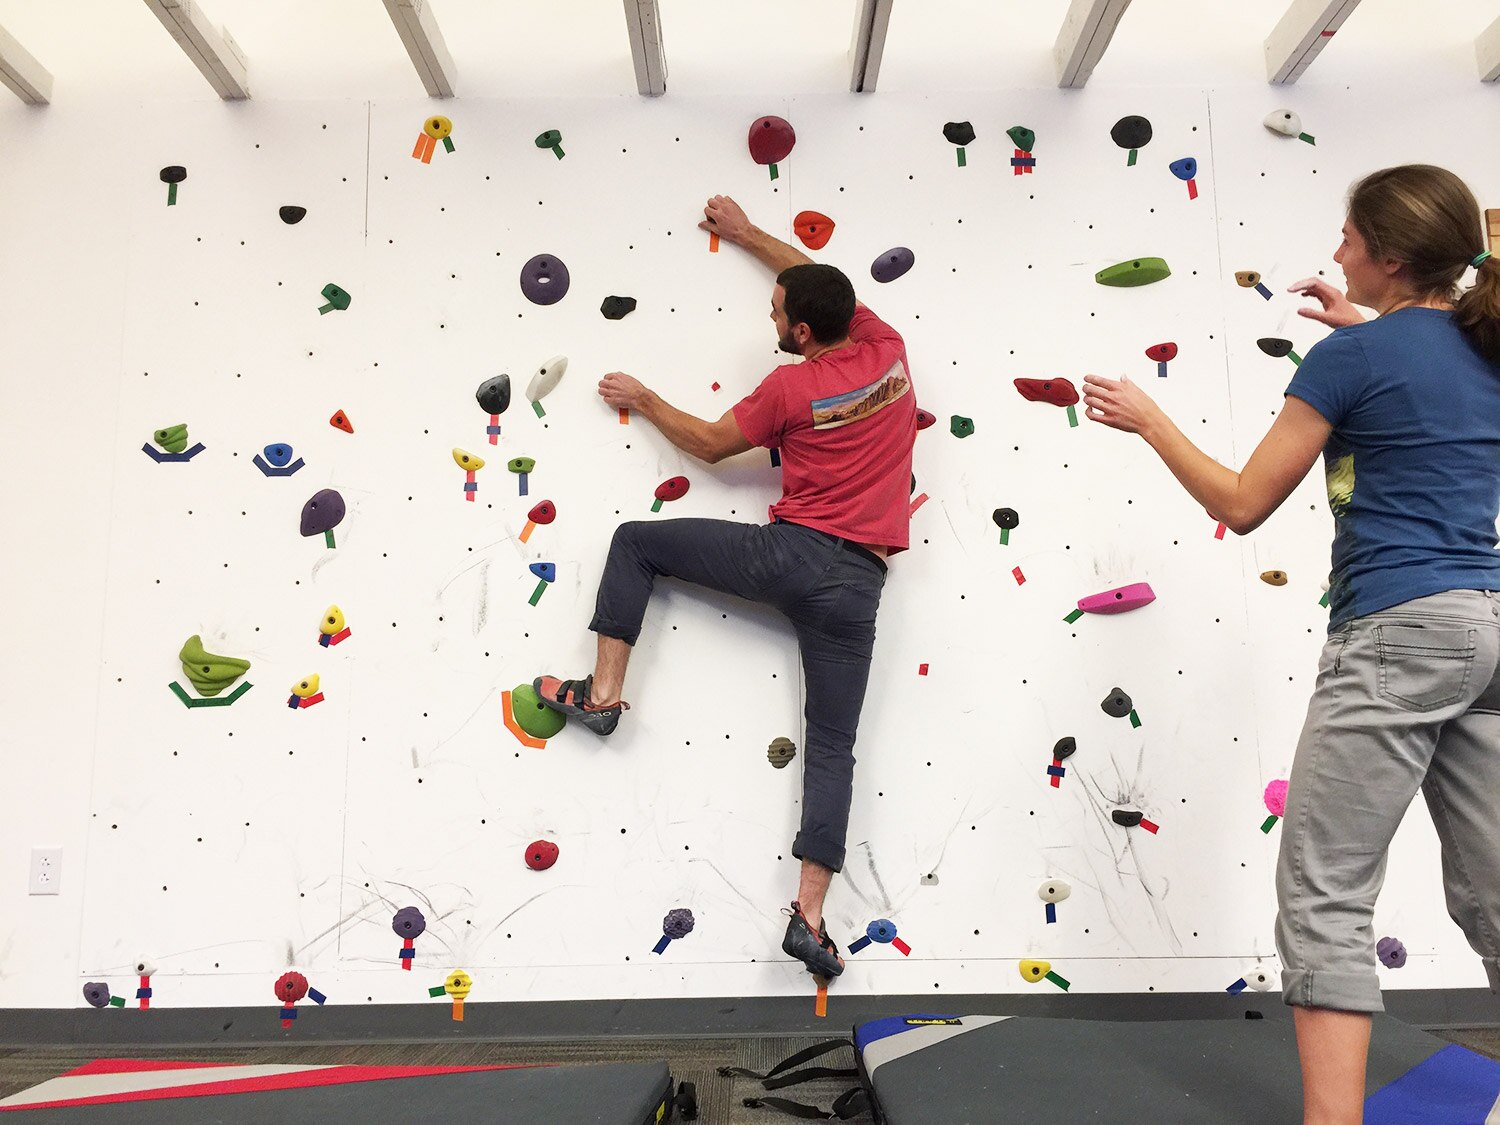
The most important step to growing as a route-setter is to be open and amenable to criticism. When someone thinks a move is "awkward" or "weird" discuss how moves felt (i.e. Was it the movement? Or the holds? Or a combination?) and what was the intended sequence versus the actual climbed sequence. On the flip side, if there is a problem that is enjoyed by all consider why that might be. A lot can be learned through the conversations you'll have with others and by watching them climb.
Remember, as with most things we do, it takes time and practice to become proficient at something. After you log some mileage and you are ready for the next step you should check out Louie Anderson's The Art of Course Setting, talk to your local climbing gym, enroll in USA Climbing's competition setting certification process or watch endless hours of setting videos on the web. No matter whether you choose to set for personal growth, to challenge your friends or just the pure joy of bolting plastic to a wall; stick with it, stay positive and have fun!
My Setting Process, Simplified
1. Choose a location on the wall: Fill blank space or follow a feature2. Decide on style/movement: Technical? Powerful? Endurance? Training-forced movements?3. Pick out holds/moveable features. Decide color and style.4. Find the right hardware: "cap head" v. "martini head" and/or tough screws5. Skeleton: Get your general idea on the wall6. Forerun: Chalk holds, have extra holds, climb. Rotate, move, switch holds, climb. Tape/label.7. Feedback: self-evaluate and solicit peer reviews
