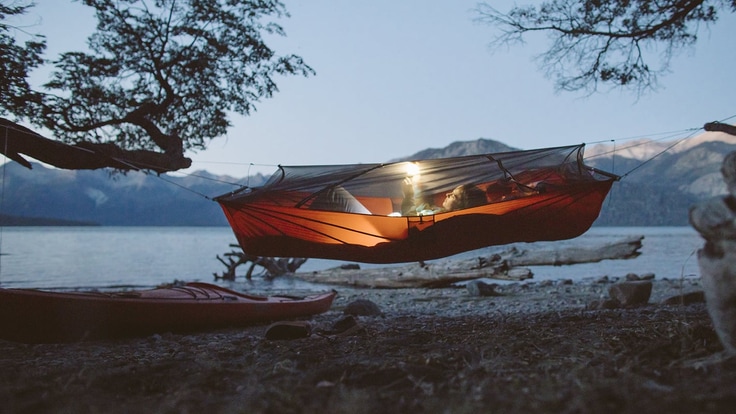
If you relish sleeping under the stars and exploring by watercraft in equal measure, then you’ll probably love kayak and/or canoe camping. The activities are as straightforward as they sound: You pack your vessel with all the essentials (and creature comforts) for an outdoor overnight, and then treat the water as your trail. Paddling to your campsite is a different way to enjoy the outdoors, and you get time on the water before slumbering under an inky sky.
Here’s everything you need to know to get started.
Jump Ahead:
- Canoe Camping vs. Kayak Camping
- Know Your Skill Level
- What to Pack
- How to Pack
- Choosing Your Campsite
- Setting Up Camp
- Camp Cleanliness/Personal Hygiene
- What to Look For in a Kayak or Canoe
Canoe vs. Kayak Camping
While you can load up your essentials and paddle to a campsite in either a canoe or kayak, there are a few important distinctions to know when choosing which craft is best for you.
Storage
Canoe
Generally, a canoe has more storage than a kayak. This vessel is often larger and has ample space throughout the hull (the body of the canoe). This allows users to stow gear beyond the Ten Essentials, like a hammock; a small folding table and camp chairs; firewood; a Dutch oven for cooking; and even a larger cooler for fresh food, ice and water. A canoe can range from 11 to 17 feet long and, depending on the size, can fit your necessary and nice-to-have items with ample space to sit in and navigate comfortably. One caveat: Pay attention to your vessel’s weight capacity. A 16-foot canoe, for instance, may have a capacity of 75 pounds. Exceeding this limit can compromise stability.
Kayak
A kayak’s main storage is in the hatches, often at the front and/or the rear of the watercraft, and a kayak offers just enough space for essentials like a sleeping bag, a small tent, warm camp clothes, fire starters, a first-aid kit, nonperishable food, and a map and compass.
“When I’m kayak camping, I like to think of it as backpacking,” says Manuel Trevino Frias, a Texas-based day guide. “I pack tight and just take basic needs for the amount of time I’m spending camping.”
Everything you’re bringing on a kayak camping trip needs to fit in the hatches. Strapping additional packs to the top of a kayak is an option in a pinch, but you risk throwing your vessel off balance and dripping water on gear when paddling. A few days before a trip, test-pack your kayak. If a few items don’t fit, reconsider what you’re bringing to determine what’s essential. Kayaks’ weight tolerance varies, but generally speaking, they have a lower capacity than canoes.
Pro tip: If you want to bring a cooler on your kayak camping trip, consider a soft-sided version. It’ll be easier to fit inside your vessel’s hatches.
Length of Stay
A kayak’s storage capacity limits trips to about two to four days, though this can vary based on where you’re camping. For instance, if you can filter water from a natural source, you can kayak camp for longer than if you have to pack it all in (remember, you’re limited by your craft’s weight capacity and space).
A canoe allows for trips one week or longer thanks to a roomy hull that can hold more essentials, like food and drinking water, as well as additional creature comforts.
For example, Austin Rosel, another Texas-based day guide, once took a 10-day canoe camping excursion in Canada. For a trip of that length, it’s not uncommon for him to bring fishing gear, a cooler, a grill, a bag of charcoal and even a bundle of firewood in his boat. “Talk about comfortable,” he says. “Those trips are really hard to come home from sometimes!”
Know Your Skill Level
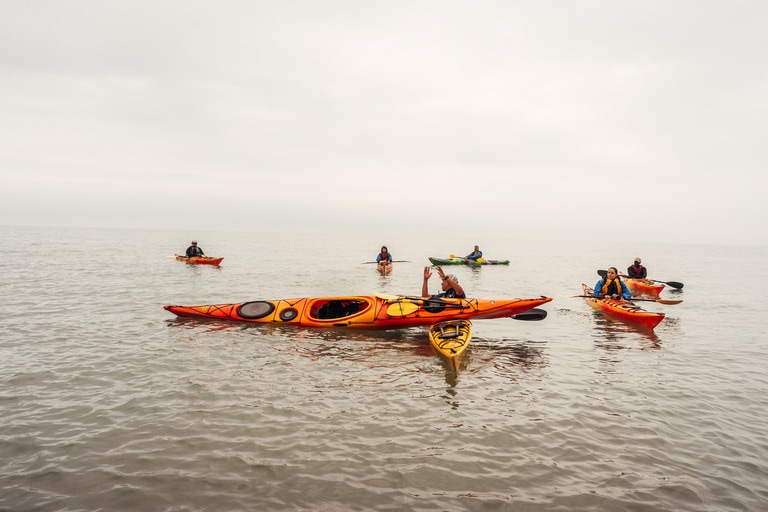
Understanding and honing certain skills is key to staying safe and having a good time on any adventure. If you or your friends are new to kayak or canoe camping, start with a one-night trip to get a feel for the physical and mental demands. When in doubt, head out with someone more experienced, or search online for local classes and guided trips.
Here are basic skills kayak and canoe campers should know.
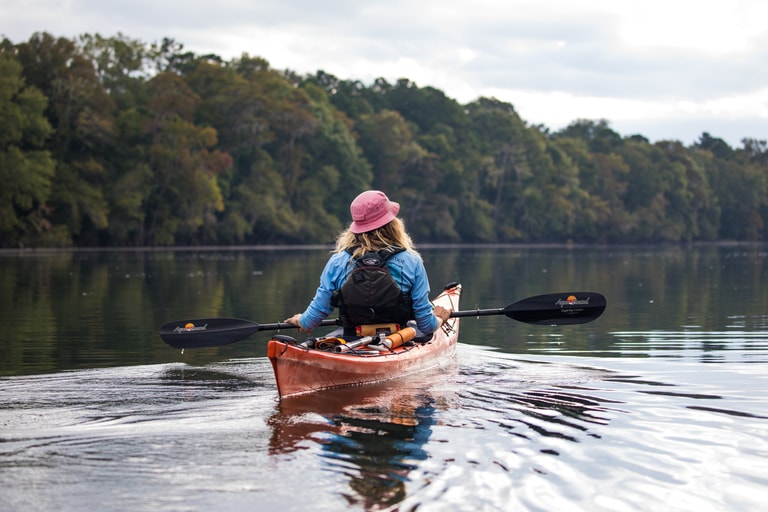
- Paddling: Strong paddling skills are required to reach your campsite safely and efficiently. For tandem vessels, make sure you know how to paddle with a partner. For canoeing, in particular, Rosel says mastering the J stroke is vital. This paddling technique—similar to a front stroke but with a slight paddle rotation at the end—allows you to keep your boat moving in a straight line without switching sides. “Without the J stroke, you’re constantly dripping water on your stuff and just plain working too hard,” Rosel says. Consider taking a class to hone your skills. (Related reading: How to Paddle a Kayak)
- Water skills: Sure, it’s fun to take dips at your campsite. But swimming as a skill is also important in the event you flip your vessel or it becomes swamped with water. You should know how to exit a flipped watercraft, drain it and get back in. The REI Expert Advice library has several resources for learning about these skills, whether you’re alone or paddling with a partner: How to Self Rescue, How to T-Rescue and How to Wet Exit. You can also find canoe safety-and-rescue classes in your area by checking the American Canoe Association website. (Related reading: Paddling Safety and Rescue Gear and Water Safety Skills Guide)
- Reading a map and compass: This is true on any adventure but perhaps especially on the water; Electronics can get damaged, die or malfunction. And because there’s often no Wi-Fi in the wilderness, you shouldn’t depend on a phone navigation app as a backup. Plan for the unexpected by plotting your course on a physical map so you can navigate using a compass. A deck-mounted marine compass allows for hands-free navigation, and the large dial is easy to read on the water. A handheld compass can keep you on course in choppy waters—when the deck-mounted design is difficult to read—and help you navigate on land. (Related reading: How to Use a Compass)
Setting up camp: You should know how to pitch a tent, build a campfire (and practice fire safety) and create a meal using a backcountry stove or grill. (Related reading: Camping for Beginners)
What to Pack
Make a checklist of your gear so you don’t forget anything—there’s no returning home or stopping by the store. Start by packing The Ten Essentials, then add items specific to your trip and preferences. You can reference this Backpacking Checklist to get started.
Note: The list below isn’t exhaustive, but it’s a good place to start. You can add or subtract select items based on weather conditions and personal preferences, but don’t compromise on the Ten Essentials.
Safety, Emergency and Navigation
- Helmet (for rough water)
- Sun protection: This can include sunscreen, a sun hat, sunglasses and/or sun-protective clothing
- Waterproof map (or a waterproof case for a map)
Related Reading: The Best Sunglasses of 2024, How to Choose and Use Sunscreen and How to Choose First-Aid Kits
Clothing and Shoes
- Paddle-specific apparel: This can include paddling gloves; a paddling jacket; and a moisture-wicking shirt, pants and/or shorts
- Hiking boots or hiking shoes if you plan on trekking nearby trails
- Beanie (for cold weather)
Tip: Avoid cotton garments. They become heavy when wet, take a long time to dry and lose temperature quickly, which can be a safety concern, especially in colder climates.
For Camp
- Fire starter, matches and/or a lighter
- Water and/or a portable water filter or purifier
- Toiletries: This can include biodegradable soap and shampoo; a toothbrush; and bathroom supplies
- Rope or a clothesline for hanging wet items
Miscellaneous
- Dry bags
- Waterproof cases for electronics
How to Pack
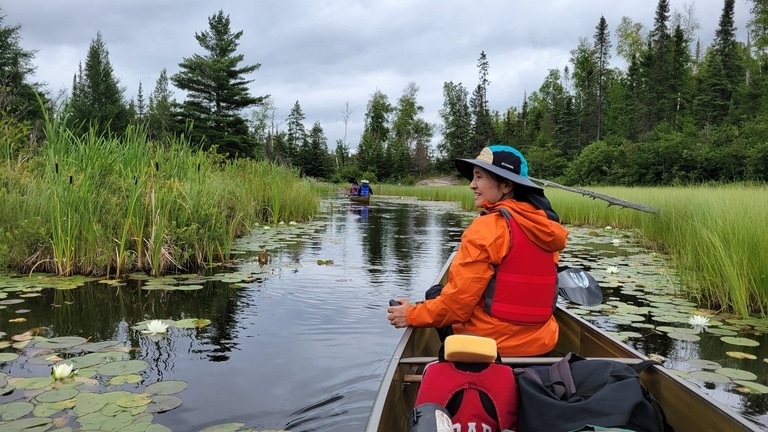
Consolidate your gear as much as possible, and use multiple small dry bags instead of a few large ones for better organization and weight balance. Label dry bags with waterproof tape to find gear quickly. Pack a large duffel to throw your dry bags into if you have to carry your watercraft across shallow water or are camping further inland. Check your boat’s weight capacity, and make sure not to exceed it.
Rosel recommends bringing one pack of gear for multiple people and one pack for food. “That way, you can hang your food pack in a tree or haul it to the cook site and haul the other pack to where you are sleeping.”
Pro tip: Assume your gear will get wet. Use two or three dry bags to protect your sleeping bag, camp clothes and other insulating materials.
Packing a canoe. Keep the weight low in the boat to prevent it from becoming top-heavy and wobbly. In general, Rosel suggests packing the canoe so it’s heaviest at the back, allowing it to track straighter. However, Rosel says, adjust weight distribution based on wind conditions. “Your canoe is a weathervane. If the wind is at your back, you want the front of the canoe slightly raised. The wind will tend to straighten out the boat. If the wind is in your face, you want the back end slightly up for similar reasons.”
Packing a kayak. Situate lighter items in the bow and stern and heavier, bulkier items near the cockpit. This helps maintain balance. Gear like clothing and a tent can go in between. If you want to strap gear to the outside of your kayak, choose items that you don’t mind getting wet.
Choosing Your Campsite
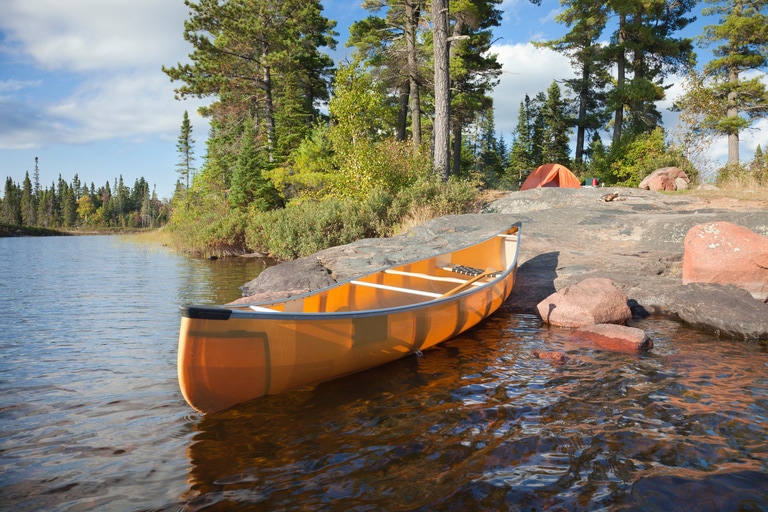
Survey your topo maps each morning before you set out to find a suitable stopping point for the night. This will familiarize you with the day’s paddling route, as well as plan the day’s breaks and meals so your group can get as far as it needs to go.
Keep in mind that camping locations chosen early in the day are not always in sight by the time night begins to fall. Pick a number of backup stopping points along the day’s route, so that when early afternoon rolls around, there will be a couple of options nearby to choose from.
Also, when camping next to a body of water, there are two important guidelines to follow:
- Pack out everything that you bring into the wilderness (including garbage, toilet paper, extra food and so on).
- Leave each campsite as clean or cleaner than when you arrived.
These common sense rules will ensure that the paddling routes (and surrounding lands) you enjoy remain unspoiled for wildlife and people alike.
If you want to choose your campsite before heading out, know this: There’s no national database of canoe and kayaking campsites, so you may have to get creative to find a paddle-in spot. However, consulting a park’s website is a great place to start. Some national, state and local parks allow canoe and/or kayak camping. Just research the site beforehand so you don’t unwittingly camp on private property.
Another option is to search for campsites on Recreation.gov or Hipcamp.
Using Established Campsites
Stick to established campsites whenever they’re available. These sites help limit your impact on the land, and follow Leave No Trace guidelines. They may also offer basic amenities like firepits, level sleeping areas and pit toilets to make your camping experience more pleasant.
Choosing Your Own Campsite
When established sites are not available, select your camping spot based on the following impact considerations:
- Campsites should be located no less than 200 feet away from all fresh water sources to limit the possibility of source contamination.
- Campsites should be placed so that they do not damage any fragile plant life.
- Campsites should be placed in locations that offer some kind of natural or human-made protection from the elements (behind small hills or dunes, under the cover of low trees).
- Campsites should be placed so that they minimize visual impact on other paddlers passing by.
Note: If you’re paddling in a coastal region, remember to take the tides into account when you choose your campsites. To stay safe from rising waters, look for high tide lines near the top of the beach and stay at least 100 feet beyond them. If you’re paddling on a river, keep your eyes open for high water marks and evidence of flood washes.
Setting Up Camp
There are a number of tasks involved in setting up camp. Approach the process as a team effort. After unloading your boats, make sure they’re secure for the night by carrying them up and away from the water’s edge.
After the boats are safe, establish camp by collecting water, setting up the tent(s) and laying out the camp kitchen. Divide up the work among group members. Try to alternate these duties throughout your trip so that people don’t get bored doing the same jobs day after day.
If you’re traveling with a large group, consider writing down a rotating job schedule that can be reviewed and agreed upon before your trip begins. A written plan will keep things running smoothly and cut down on disputes.
Camp Cleanliness/Personal Hygiene
To avoid contaminating fresh water supplies, wash your dishes, clothes and yourself far away from all wilderness water sources. Use a collapsible sink to carry cleanup water at least 200 feet away from any freshwater source so the ground can filter any waste water before it works its way back into the wastewater. If you must use soap, use only a biodegradable version. Soap residue can easily spawn an algae bloom.
When disposing of human waste, dig a small cat hole at least 4 to 6 inches deep and at least 200 feet away from all water sources, campsites and trails. After you’ve taken care of business, cover the hole completely and pack it down tight. Either carefully burn your toilet paper (if permitted) or pack it into a sealed plastic bag. In particularly sensitive areas, consider using WAG Bags to pack out all human waste.
Note: When paddling in coastal regions, it was once considered acceptable to dispose of solid human waste within the intertidal zone (the area exposed during low tide). While the abundance of bacteria in this zone can hasten the decomposition of fecal material, this waste-disposal strategy is no longer recommended due to recent laws designed to protect water quality. So, either bury solid waste in areas beyond high tide (and pack out all used toilet paper) or use WAG Bags. Urine, meanwhile, is acceptable for deposit in intertidal zones.
What to Look For in a Kayak or Canoe
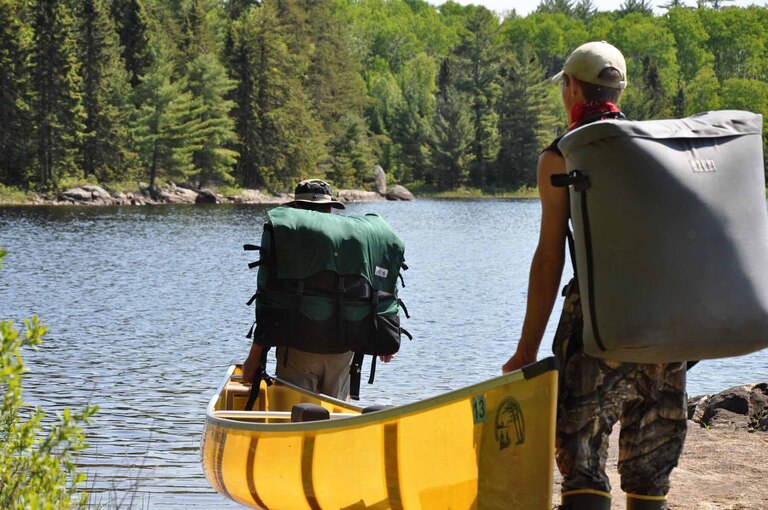
Not all kayaks and canoes are suitable for camping. Here’s what to consider.
Kayaks
Touring and sea kayaks generally offer more storage compared with recreational kayaks. Keep load capacity in mind, and look for kayaks that are UV-resistant. If you plan to portage (carry your vessel) at any point, consider a lighter design. (Related reading: How to Choose a Kayak)
Canoes
Let the water you’re paddling on and the length of your trip be your guide. For winding rivers, smaller models maneuver easily but have less storage capacity, while larger boats travel straighter (good for lakes) and carry more gear. The type of hull matters too. For instance, flat bottoms turn effortlessly, and V-shaped hulls cut through water for a faster glide. (Related reading: How to Choose a Canoe)
