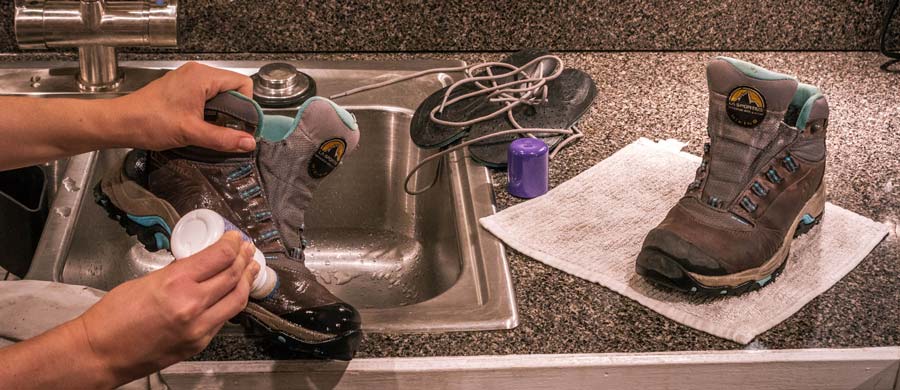
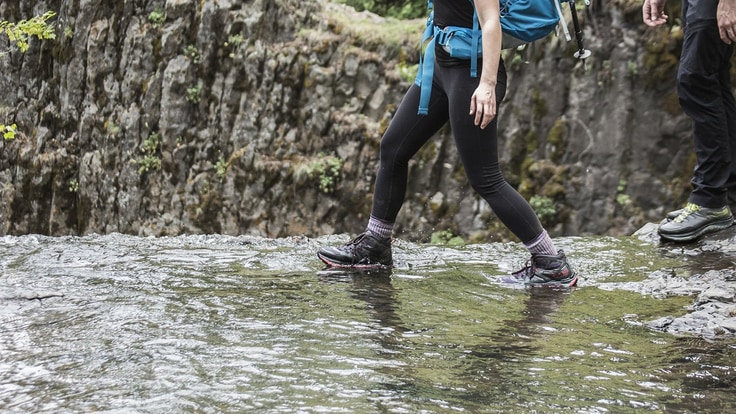
Because almost all hiking boots are factory-treated with a Durable Water Repellent (DWR) finish, new boots rarely require treatment out of the box.
But that finish will eventually wear off and need replacing. You'll know it's time when you see that water no longer beads up and rolls off the boot's surface and that water is consistently absorbing into the outer layer of your boots.
The main steps to waterproofing your hiking boots are:
- Choosing the appropriate waterproofing treatment
- Cleaning your boots
- Applying the waterproofing treatment
- Drying your boots
Choosing a Boot Waterproofing Treatment

- Typically, waterproofing treatments are designed for either full-grain leather or "rough" leathers like suede or nubuck. Be sure to read product descriptions and product application instructions carefully before you buy and use a waterproofing treatment.
- Wax-based leather waterproofing treatments, once the norm, are less common now. And if you want the option of resoling your boots later, avoid them because wax residue impairs the ability of a new adhesive to bond with a new sole.
- If your hiking boots have a Gore-Tex® membrane, or another type of waterproof/breathable membrane, no treatment is needed in those areas. Simply clean the fabric in those areas.
Shop footwear treatment products
Prepare Your Boots for Waterproofing
Waterproofing products work best on clean, damp boots. You don't want dirt or grit to compromise coverage and penetration and you need water inside that exterior layer of the boots to help draw the waterproofing treatment fully in.
To clean your hiking boots:
- Remove laces prior to cleaning.
- Use a soft brush to gently remove dust and dirt.
- For a more thorough cleaning, add running water and whatever boot cleaner you have chosen.
For more details on how to clean your boots prior to waterproofing them, read How to Clean Hiking Boots.
Applying the Waterproofing Treatment
- Start by ensuring that water is soaked fully into the thickness of your boot leather. If you just finished cleaning them, the time is ideal.
- Running water over your boots isn't sufficient; it takes a long time to soak water into the leather.
- If your boots are dry or aren't wet enough after cleaning, wrap a very wet towel around them and let them sit in a utility sink for a couple of hours.
- Once water is fully soaked into your boots, apply the waterproofing treatment. Steps vary, so read and carefully follow the application instructions for your product.
Drying and Storage Tips After Application
- Dry boots at normal temperature in a place with low humidity.
- Do not use a heat source.
- For quicker drying, use a fan.
- You can also stuff newspaper into the boots to speed drying; change the paper frequently (whenever it's damp).
- Store boots where temperatures are stable and normal. Do not store boots in attics, garages, car trunks or any damp, hot or unventilated place.


