The first blister probably occurred shortly after the first humans strapped something on their feet to protect them from primeval terrain. Today, the lowly foot blister has evolved into one of the most common injuries to hikers. The good news is that our knowledge about them has also evolved.
There are three keys to dealing with blisters:
- Know what causes blisters: Pressure, heat and moisture are all culprits.
- Prevent blisters from forming: Get good-fitting boots; wear a thin liner sock under your hiking socks and take care of any hot spots right away, covering them with a padded blister bandage, Moleskin or tape.
- Care for blisters before they worsen: Cut a blister-size hole in a piece of blister padding and protect it with that; avoid draining if possible and dress it like a wound if it pops.
The information in this article is taken, in part, from NOLS Wilderness Medicine, 6th edition, which is the basis for the curriculum taught by instructors at NOLS. You can take one of its courses at many REI stores:
Remember: Safety is your responsibility. No article or video can replace the advice of a physician, nor professional instruction and experience. Make sure you're practiced in proper techniques and safety requirements before you render first aid.
Take a Wilderness Medicine Class with REI
Video: Blister Prevention and Care
What Causes Blisters?

Blisters can be caused by burns, allergies, skin conditions or even spider bites, but the most common culprit is friction. When you have enough friction in a focused spot, cell damage occurs. The serum (fluid) inside a blister helps protect and heal the damaged tissue. Red fluid found in a blood blister simply means that capillaries in the area of the blister have also been damaged.
Several factors make blisters more likely to happen:
- Pressure: A tight spot in your boot or a wrinkle in your sock can create a friction pressure point.
- Direct friction: Any place where a shearing force grabs the skin and slides can cause a blister. That might happen inside your boot heel or inside a glove where you grip the shaft of a trail tool. Eventually the epidermis (upper skin layer) separates and fluid enters the space, causing a blister.
- Moisture: Moister (sweatier) skin is softer skin, which is more susceptible to damage when friction occurs.
How to Prevent Blisters

Preventing blisters is all about awareness and vigilance. Once you know the factors that up your odds of getting blisters, your goal is to monitor and minimize those factors.
To prevent blisters, follow these guidelines:
- Make sure your boots fit and are broken in properly: To avoid pressure points, slippage or both, the foundation of blister prevention is getting the right fit when you buy your boots. And the inaugural voyage shouldn't be the major backpacking trip that inspired you to get them. For more details, read Hiking Boots: How to Choose and Breaking in Hiking Boots.
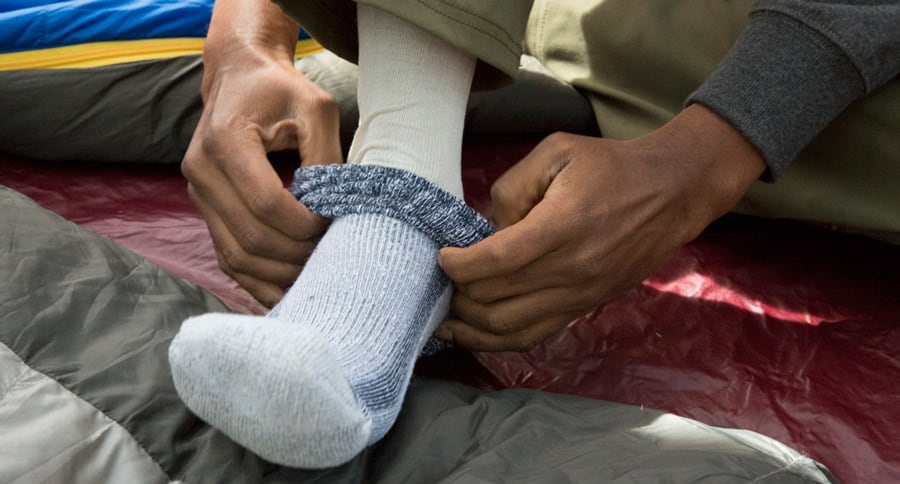
- Wear proper socks: When hiking, the number one rule is to avoid cotton, which retains moisture. Go with synthetic or wool instead and make sure they fit properly (too big and you can have wrinkles; too small and you can create pressure points and sock slippage). You might also want to do the following:
- Wear liner socks: These add a protective layer between skin and your primary hiking socks and can help wick away moisture. Double socks can perform the same function.
- Change to dry socks: Fresh socks get your feet back to the same low moisture level you had at the beginning of your hike. They can also come in handy if your socks get soaked during a stream crossing.
- Deal with hot spots quickly: Pay close attention to how your feet feel as you hike. The minute you sense an uncomfortable spot, stop and take your boots and socks off. If the area is even slightly red, then dry it off and apply your preferred form of protection. Many companies sell blister kits that include a range of products for both treatment and prevention. Blister prevention kits might include:
- Tape: Studies suggest that inexpensive "tear-to-size" paper surgeon's tape is effective and has a gentle adhesive; kinetic tapes also work very well; cloth and synthetic medical tapes are additional options, as is duct tape in a pinch.
- Blister bandages with pads and gels: Products like 2nd Skin can be used on both hot spots for prevention and for blister treatment.
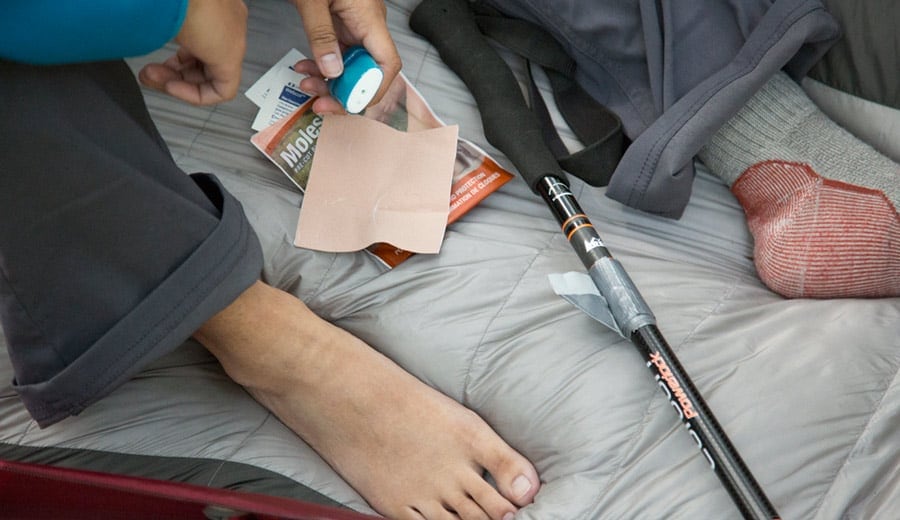
- Moleskin: The classic cut-to-size blister-coverage product is durable and sticks well; similar products do the same thing but go by different names.
How to Treat a Blister

To treat a blister, try one of the following options:
Molefoam with a doughnut hole: Cut a large enough hole for the blister; then the surrounding foam should keep your sock from rubbing and further irritating the area. For extra protection, you can add a layer of Moleskin or tape over everything.
Blister bandages with pads and gels: These add a protective layer to prevent a blister from getting worse. Pads provide cushioning; gels soothe the area by cooling it off.
Drain the blister, if necessary: In general, refrain from opening a blister to release the fluid: You're creating a chance for infection and you're removing the protection and healing that the serum provides. However, to drain a large blister that's too painful to leave undrained, follow the steps below. If your blister pops on its own, then follow steps 4 and 5:
- Wash the blister and surrounding area with antibiotic soap.
- Sterilize your needle with alcohol or heat.
- Insert the needle near the base of the blister.
- Dress the blister like you would a wound, using antibiotic ointment and gauze or a Band-Aid.
- Cut and place Molefoam with a doughnut hole around the area to prevent further irritation; for added protection, fill the hole with antibiotic ointment or a blister pad, then add a layer of tape over the top.
While it's rare for a blister to get infected, it's important to keep a close eye on it. Evacuate to get medical care if the following symptoms develop: redness, pain, pus or red streaks traveling toward the nearest lymph node.


