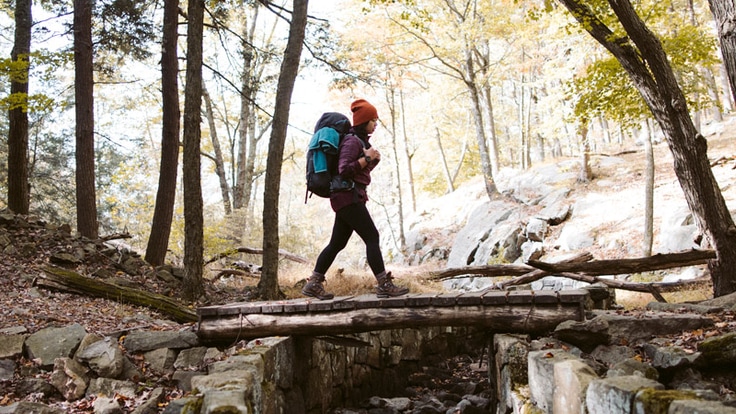
Backpacking is an adventure that blends hiking with backcountry camping. It lets you broaden your horizons beyond the car campground to enjoy a richer, more immersive outdoor experience. A key distinction from day hiking is the size of your pack—your backpack (and you) must carry all of life's essentials on your back. And you must choose those essentials with care.
To get ready for your first backpacking trip, follow these steps:
- Choose an easy destination: Short overnight hikes close to home are best.
- Get essential gear and clothing: Borrow and scrounge gear to save money.
- Plan your food: Just-add-water meals can be found at your local REI, or find easy to cook options at regular grocery stores. Also pack plenty of snacks for trail fuel.
- Get ready for your trip: Condition yourself to do the planned hike with a fully loaded pack; get your permits; brush up on Leave No Trace principles.
If you have an experienced backpacking friend who knows you well, invite them along and they can be your guide. But you can also do this backpacking thing on your own—that's the focus of this article. We advise you to bring a friend regardless of their backpacking knowledge, though, because that makes any trip safer and more fun.
Find a Backpacking Class at REI
If you prefer to learn in a class, we can help:
Find your class
Travel-style backpacking, where your pack holds urban essentials for extended touring, isn't covered here. But we've slept in our share of hostels and can offer some advice on ways to stretch your dollars in our budget travel tips article.
1. Choose an Easy Backpacking Destination
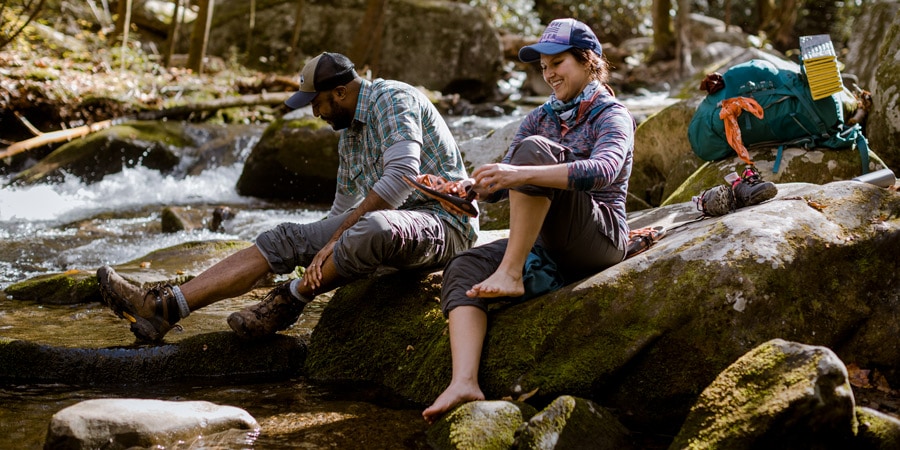
The key advice here is to err on the side of easy. If the hike is too hard, it can make for a miserable experience. If it's too easy, then you simply have more time to explore the area around your camp.
Follow these tips when you decide where to go backpacking for the first time:
- Consult with experienced backpackers: Hiking club members and REI store staff love to make trip recommendations. Hiking guidebooks are a valuable tool—you'll find the best selection for a given area in local REI stores and other local outdoor retailers.
- Pick a place close to home. You want to spend more time hiking than driving. You also want to have ample daylight hours to reach camp before dark.
- Just a few miles roundtrip is fine: Plan on shorter distances than your typical day hike because walking with a heavier pack is slower and more difficult.
- Aim for a few hundred feet of elevation gain: If you've hiked much, then you know that mileage alone doesn't tell the full story. So also choose a trail with less elevation gain than your typical day hike.
- Pick a well-traveled trail and well-established camp: It's nice to have hikers and backcountry campers nearby who can give you a hand if you run into difficulties.
- Make sure there's water near camp: If your source will be a lake or large river, you should be fine. Streams and springs can dry up, though, so double check with local land managers before relying on a small water source.
- Consider going without Junior or Fido on your first trip: Though they can both be great fun, their presence will complicate things a little. If and when you decide to have them join you, check out our articles on Backpacking with Dogs and Backpacking with Kids.
- Seek summer weather: Unless your destination is one where extreme heat or fire danger can be an issue, go in mid-summer to maximize daylight hours and your odds of comfortable conditions. Always check weather forecasts and don't hesitate to cancel or turn back if a storm moves in.
- Consider "walk-in" campgrounds: Some state and national parks have campgrounds that are within a mile or so of a car campground. Staying in one of them is an excellent way to transition into backpacking.
Learn more by reading How to Plan a Backpacking Trip.
2. Get Essential Backpacking Gear and Clothing
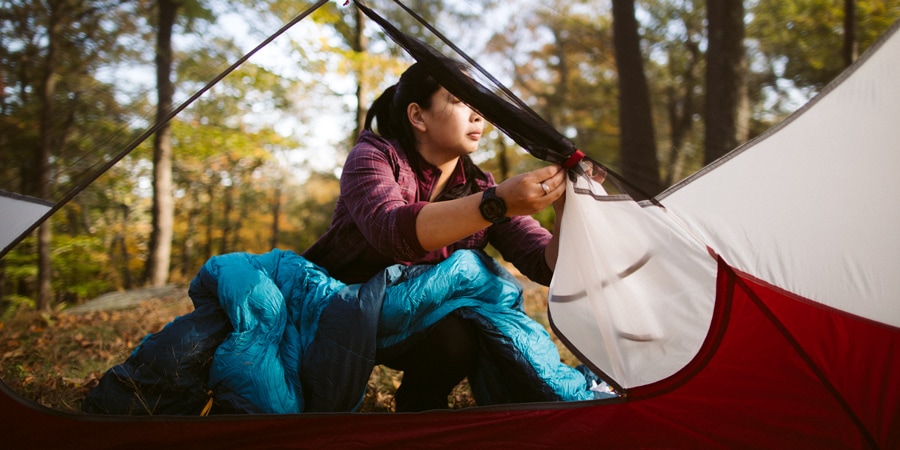
Keep your initial investment low by borrowing or renting the priciest items—your tent, sleeping bag and pad. Because they must fit you well, boots, and to a lesser extent packs, need to be your own personal gear.
What Gear to Bring Backpacking
Because you have to carry and fit it all into your pack, backpacking gear has to be lightweight and compact. That's why, with a few exceptions, it's not practical to simply repurpose car camping gear. Remember, too, that you'll be splitting up gear like tents and pots and stoves when you hike with a friend. The following are essential items you'll need for any backpacking trip:
- Tent: Plan to share because a two-person tent weighs less and is more economical than two one-person tents. Bring a tent rated for three seasons (spring, summer and fall) rather than a four-season tent because you're not ready for mountaineering just yet. Learn more by reading How to Choose a Backpacking Tent. You can also check out our guide to the best backpacking tents.
Shop Backpacking Tents - Backpack: If you do borrow a pack, try it on first to be sure that it fits comfortably. Load it up with assorted items to about 30 pounds, and take it out on a long test hike. If it's comfortable on the hips and in the shoulders, it's probably fine for this first backpacking trip. If you decide to buy a pack, have an REI pack specialist measure your torso so they can properly fit you. Don't be tempted by an ultralight model for your first backpack because it will be less padded and have a less supportive structure than a more deluxe model. If you're determined to minimize weight, look first at ultralight tents, sleeping bags and sleeping pads. Learn more by reading Backpacks: How to Choose. You can also check out our staff picks for the best backpacks.
Shop Backpacking Packs - Sleeping bag: If you decide to buy a bag, consider the pros and cons of down fill vs. synthetic fill, especially in terms of the weather conditions you're likely to encounter. For your first bag, synthetic is a good choice because it's versatile and generally more affordable than down. Learn more by reading Sleeping Bags for Backpacking: How to Choose.
Shop Backpacking Sleeping Bags - Sleeping pad: Cushioning is crucial to a good night's sleep. Insulation is, too, which is why you can't take a pool float and hope to sleep warm. If you buy a pad, consider the virtues of each type: closed-cell foam pads, insulated air pads and self-inflating pads. If you can sleep well on a super-firm surface, then a closed-cell pad can save a lot of weight and money. For a good compromise between comfort and value, choose a self-inflating pad. Learn more by reading Sleeping Pads: How to Choose.
Shop Sleeping Pads - Stove: If you own a single-burner camp stove that weighs less than a pound, it's probably fine for your first backpacking trip. If you choose to buy, you'll have to consider fuel types first and then make your stove choice. A lot of beginners go with a gas-canister stove because they're affordable and easy to use. And be sure to pack along a full canister or bottle of the right type of fuel for your stove. Learn more by reading How to Choose a Backpacking Stove.
Shop Backpacking Stoves - Water treatment: Even pristine-looking sources can hide things you'd rather not drink, so it's wise to treat all water in the wilds. You can borrow a filter, but an ultralight and simple option for your first trip is chemical treatment: tablets or drops you add to a bottle to purify your water. Learn all about buying and using water treatment gear by reading How to Choose a Water Filter or Purifier and How to Filter Water.
Shop Water Treatment - Kitchen supplies: Save money by scrounging from camping gear or well-worn items from your local thrift shop or home kitchen (not the fine china). Bring just enough pots, pans, plates, cups and utensils so that you can cook and eat each of your planned meals. Bring a small sponge and some biodegradable soap for washing dishes (well away from camp and water sources). A tiny towel also comes in handy.Shop Camp Cookware
Shop Camp Dinnerware
What Clothes to Bring Backpacking
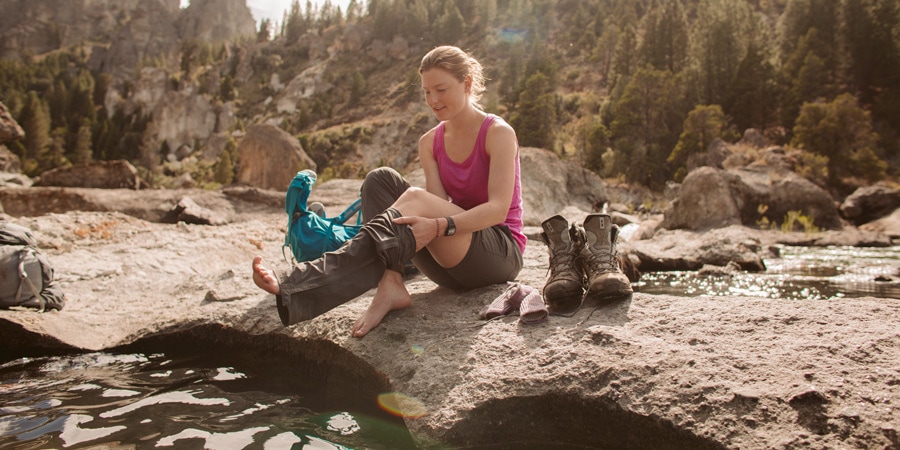
No need to buy a bunch of special "hiking clothes" for your first backpacking trip. Simply go through your fitness wear and find clothing made of moisture-wicking, quick-drying fabrics like nylon and polyester. (Moisture-wicking fabric pulls sweat away from skin to keep you dryer.) Avoid cotton, which slurps up water and takes a long time to dry when wet—that can chill you and, in a worse-case scenario, lead to hypothermia.
Your backpacking clothing should be grouped into layers:
- Next-to-skin base layers (aka long underwear): Important because even warm days can end with cold nights.
- Hiking layers: Nylon pants (may be rollup or zip-off), T-shirts, sun shirt, sun hat.
- Insulation: Puffy vest or jacket, lightweight fleece pullover, warm hat and gloves.
- Rainwear: Definitely bring a waterproof/breathable jacket; whether you also bring rain pants depends on the weather forecast (rainwear is also good at preventing mosquito bites).
The beauty of layering is that it lets you quickly adapt to changing conditions. It also lets you put together a robust clothing defense against storms that move in suddenly, bringing cold and rainy weather.
If you have a favorite pair of non-cotton athletic tights or yoga pants, they can work as either your base layer or your hiking pants. Worn as pants they won't offer you handy stash pockets and they'll be more susceptible to brush snags and rock abrasion than regular hiking pants.
Learn more about how to choose backpacking clothes by reading What to Wear Backpacking.
What Shoes to Bring Backpacking
Because your feet are crucial to a successful trip, footwear is your most important item. Some backpackers insist on supportive over-the-ankle boots, while others prefer lightweight trail running shoes. To learn more, read Hiking Boots vs. Trail Runners: The Great Debate.
Your boots or shoes should be well broken-in before you go. Wear wool or synthetic socks, and consider bringing an ultralight pair of shoes or water sandals for wearing around camp (and for fording creeks).
Learn more by reading Hiking Boots: How to Choose or Trail-Running Shoes: How to Choose.
Basic Backpacking Checklist
We've talked about major items above, but that's not all you need to carry. There's no convenience store nearby, so you need a way to be sure you have all essential gear in your pack. Use the checklist below to be sure you have everything for your trip, then use it again to check off items as you load your backpack:
Printer-friendly version (PDF)
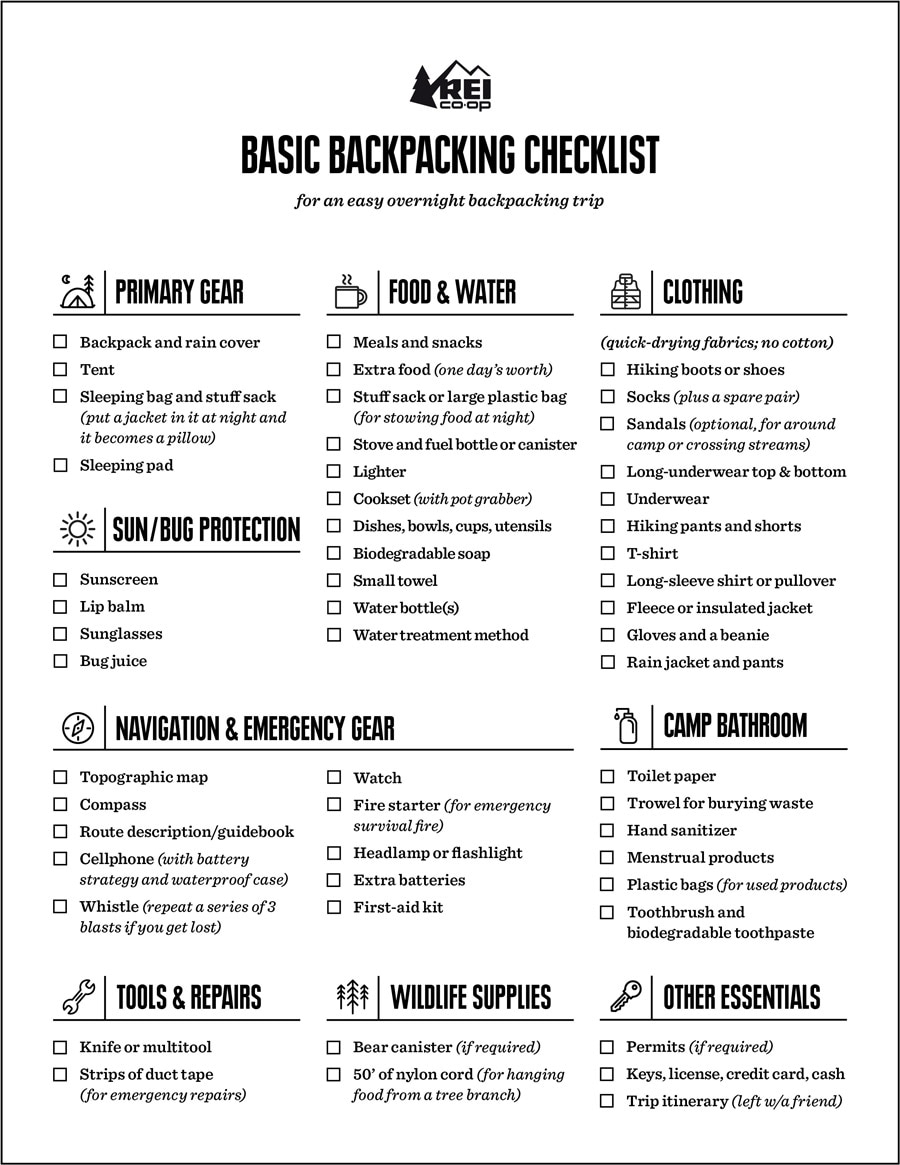
You can also take a look at our Comprehensive Backpacking Checklist to find additional things to consider taking on this trip, or on future trips.
Tip: Grab your checklist when you get home from your trip. As you unpack, make notes about what worked well and what didn't work so well. After a few trips doing this, you'll have a checklist that's customized for you.
3. Plan Your Backpacking Food
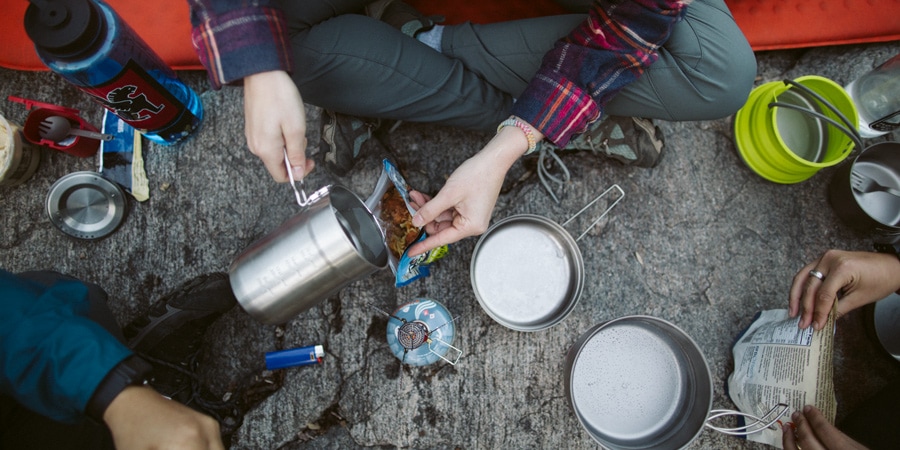
For an overnight backpacking trip, plan for dinner, breakfast and a couple of lunches. Freeze-dried backpacking food is your lightest and easiest option (just add boiling water) for entrees, but it's also pricey. Save money by going to the grocery store instead. You won't have a cooler, so perishable things like fresh eggs can't be on the menu. Learn more by reading Meal Planning for Backpacking.
Avoid canned food (too heavy) and try to accurately project how much you'll eat because an excessive amount food adds weight and bulk to your pack. You need some extra food, though—enough for an added day in the wilds. Here are some specific meal-planning tips for your first backpacking trip:
- Dinner: Look for all-in-one meals such as packaged noodle or rice entrees. Boxed meals can be removed and placed in a plastic bag for easier packing.
- Lunches and snacks: Bring high-calorie, high-protein energy bars and trail mix to munch on during the day because backpacking burns a lot of metabolic fuel. Keep thing simple by making lunch a trailside affair with ample snacks and a longer rest. Other backpacking lunch options include bagels, jerky, dried fruit and nuts.
- Breakfast: This can range from a cooked entrée (pancakes anyone?) to hot oatmeal from a mix to two or three breakfast bars. You have to weigh the advantages of starting your day warmed up and fueled up versus hitting the trail earlier. If you can't go without your caffeinated beverage, your simplest option is an instant coffee mix or tea bags.
- Wildlife Precautions: On the trail follow common-sense measures like keeping a respectful distance away from animals and taking care not to come between large mammals and their young. At night, secure all food and scented personal products well away from camp. Often this is done by putting everything in a spare stuff sack and then using some nylon cord to hang it from a high a tree branch. You can also use a bear canister to secure things, even if the main concern is rodents stealing your food. To learn more read Food Handling and Storage for Backpackers and Campers.
4. Getting Ready for Your Backpacking Trip
Set yourself up for success by taking steps to be sure you're physically, mentally and logistically prepared for your trip. To get ready for backpacking, follow these tips:
- Get physically ready: You're not training for a marathon, but even a short trip can be physically demanding. At a minimum do plenty of day hikes and be able to comfortably handle trails with a similar distance and elevation gain as your planned trip. Do at least a few pre-trip hikes of similar difficulty wearing a backpack loaded with 30-plus pounds. You can also read our article on Backpacking Training Tips and Exercises for workout ideas, though you don't need anything this comprehensive for your first trip.
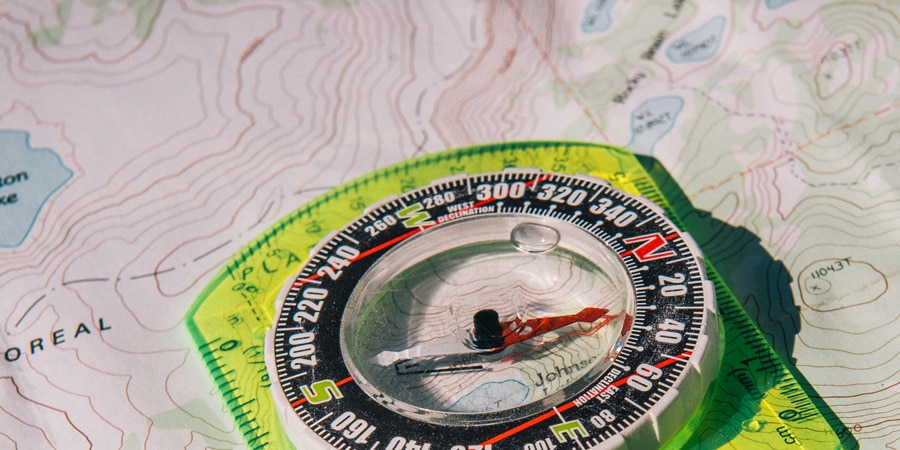
- Get mentally ready: Familiarize yourself with your gear ahead of time. Pitch your tent, fire up your stove and filter some water before you go. Learning basic first aid and map and compass navigation is also a wise move, and both skills will serve you well even if you don't go on future backpacking trips.
- Figure out your logistics: In addition to figuring out your ride to and from the trailhead, you need to be sure you have all of the necessary permits. Popular destinations are especially likely to require them. Check with the local land management agency to learn what's required—land managers are also a great resource for updated trail conditions, fire restrictions and other valuable intel.
- Leave a trip plan with a friend or family member: Include details about where you're going and when you expect to be back. That gives them a jump on alerting help if you ever need it
- Do your packing early: Don't wait until the night beforehand to load your pack. Read How to Pack and Hoist a Backpack for helpful loading tips. Do your pre-trip pack loading several days in advance, then weigh it to be sure you didn't overdo it. A rule of thumb is that it should weigh no more than 20 percent of your body weight. If your pack weighs well above that mark, take a hard look at your checklist and see what you can jettison. You can also learn more ways to cut pack weight by reading How Much Should Your Pack Weigh?
Related Articles
To learn even more backpacking basics, read the following articles:
