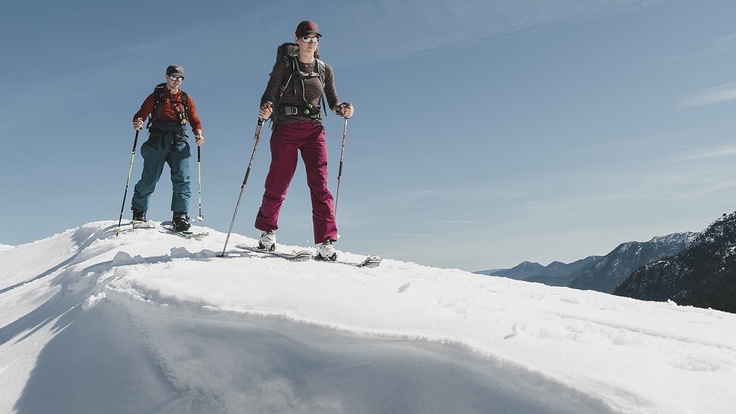
As you travel in potential avalanche terrain, make it a habit to test the snow throughout the day. A simple poke at the snow surface with your ski pole now and then can give you useful information (for instance, if the upper layers are changing as you progress up a slope). You should also perform more involved tests of the snowpack as detailed below.
Snow Pit
The first step in evaluating snowpack safety is to dig a snow pit. It is critically important that the pit be dug on a slope that is the same aspect and angle as the slope you intend to travel, while still being sure to not expose yourself to an avalanche if one were to trigger. This is tricky and should be practiced with someone with lots of experience.
- Dig a pit 5 feet deep or to the ground (whichever comes first) on an open slope after probing to see if there is any old avalanche debris, rocks or brush in the way. Make the face of the pit smooth with your shovel.
- Use a glove to brush the surface of this wall to see if there are visible layers.
- Use a credit card or driver's license and, holding it lightly, slide it down the wall. Notice where the card catches on hard layers.
- Do the same starting at the bottom and sliding up.
- Next, do a finger test for soft layers, running your gloved hand first down and then up the wall. Note where the hard layers (possibly sun or wind crust) and the soft layers (depth hoar) are located.
- If you don't detect any significant layers in the snow, you can continue on your trip. But if there are crusty or soft layers, you should then perform at least one of the following tests.
Rutschblock Test
This "sliding block" test (pronounced ROOTSH-block) shows how much force is needed to make the snow slide on a given slope. It is usually performed by a person on skis, but can be done with someone on snowshoes or a splitboard style of snowboard as well.
- Make sure your snow pit (described above) is at least as wide as your skis.
- Use a snow saw to cut the sides of the block up the slope about a ski pole length.
- The critical step: Cut across the entire back of the block as deeply as possible (should be as deep as the front). This is also most easily done using a snow saw.
- Notice at which point the block breaks and a layer slides off:
- R1 - slides during digging or cutting the block.
- R2 - slides during approach (climbing up the slope above the block) or stepping gently onto it.
- R3 - slides during knee bend.
- R4 - slides during first jump.
- R5 - slides during second jump.
- R6 - slides during move to middle of block, deep knee bend and 3 jumps.
- R7 - does not slide.
- If the block fails before step R5, the snow is showing signs of instability. If you have to jump in the middle of the block, there's likely a low chance of avalanches on slopes with similar angle and aspect.
Extended Column Test (ECT)
The Rutschblock test is fairly reliable in predicting fracture initiation (how much force is required to start an avalanche). The Extended Column Test has become more popular because it not only predicts fracture initiation, it includes fracture propagation (how big the avalanche might be). The ECT is also easier to perform since the size of the isolated block is smaller.
- Like the Rutschblock test, start with a snow pit (this time only 90cm wide) and analyze the layers of the snowpack.
- Cut the sides of the block up the slope about 30cm (approximately the length of your shovel blade). Again, a snow saw is best for making these cuts.
- Cut across the back of the block to isolate it using either a snow saw or Rutschblock cord.
- Place your shovel face down on the top of the isolated column at one end (not the middle).
- Place your wrist next to your shovel blade and tap the blade 10 times with your hand falling from your wrist, then 10 times with your hand falling from your elbow, and then 10 times with your hand falling from your shoulder.
- During the taps, watch the column for both fracture initiation and propagation. Note the number when failure occurred (1 through 30).
What the Tests Mean
Whether you perform the Rutschblock or the ECT, you should repeat the test at a minimum of a couple more locations and compare the results.
Deciding what to do with the results is not easy. Obviously, the earlier the block/column fails, the less stable the slope. There is no magic number at which you will be safe! You must use ALL your observations along with multiple stability tests to reach the conclusion that is right for you and your group on whether to ski/ride that slope.
There is another observation to consider as well: When your block/column fails (or shears), note the quality of that shear. This is recorded simply as:
Q1: clean and fast shear, high energy release.
Q2: clean or average shear, sluggish release or little movement at all.
Q3: uneven, stepped or broken shear.
A Q1 shear is of more concern to the backcountry traveler than a Q3 shear.
Remember: Safety is your responsibility. No internet article or video can replace proper instruction and experience—this article is intended solely as supplemental information. Be sure you're practiced in proper techniques and safety requirements before you engage in any outdoors activity.
