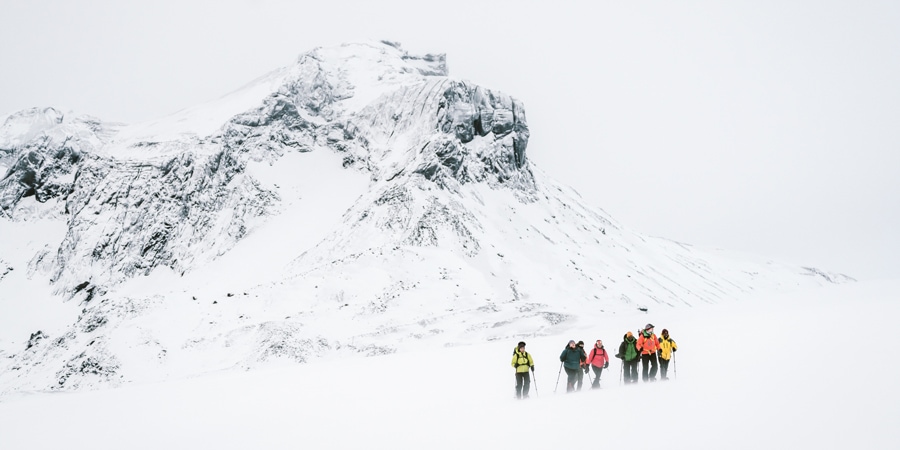
One of the allures of snowshoeing is its utter simplicity. With minimal gear and basic skills, you can be on your way. But a snowshoe trip in the backcountry is very different from a summer hike—even snowshoers have been victims of avalanches. So if you plan to go snowshoeing, take time to learn about avalanche risks so you can take steps to avoid them.
Before you head out snowshoeing, learn and follow these avalanche precautions:
- Understand how avalanches start: Learn and think about where and why avalanches occur so you can avoid them on your next snowshoe outing.
- Check the avalanche forecast to assess risks the day you go: Check the forecast before finalizing your day's plan. When on the snow, keep your eyes out for clues that conditions differ from the forecast. Alter plans to minimize risks, choosing routes that fit the current avalanche danger and your skill set.
- Know when to carry avalanche rescue gear: If there's even a slight chance you'll be in avalanche terrain, then carry an avalanche transceiver, snow shovel and avalanche probe—and know how to use them.
- If you're the snowshoe trip planner, then take additional precautions: Sticking with managed resort trails at first is wise. For trips further afield, check out route descriptions online or in guidebooks. You also need to learn how to use mapping programs to identify slope angles and existing avalanche routes.
The best way to fully learn about snowshoeing avalanche risks is to take a class. Avalanche.org lists avalanche courses and providers nationwide. You can also learn more by reading our Avalanche Awareness series.
Remember: Safety is your responsibility. No internet article or video can replace proper instruction and experience—this article is intended solely as supplemental information. Be sure you're practiced in proper techniques and safety requirements before you engage in any outdoor activity.
Understand How Avalanches Start
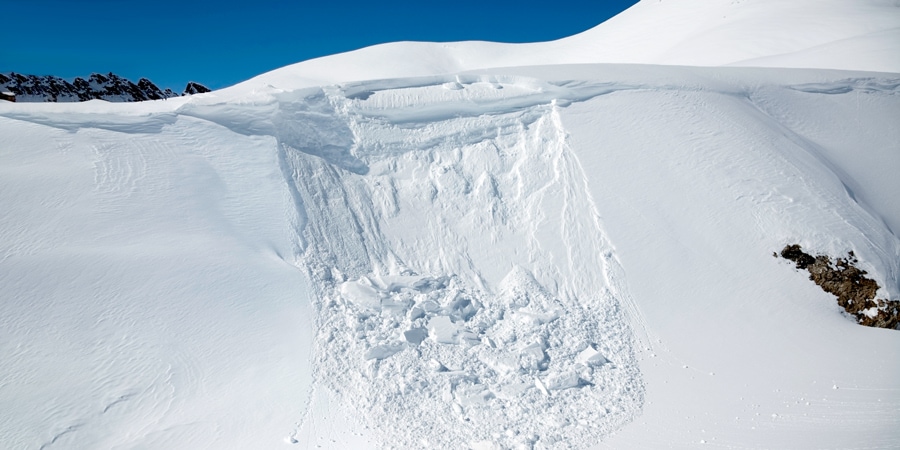
If you are snowshoeing anywhere in the mountains, you are traveling where avalanches can occur. The first step in avoiding avalanches is learning to recognize where and why they happen.
The recipe for avalanches requires three basic ingredients: unstable snow, an avalanche trigger and avalanche terrain:
Unstable snow: Determining snowpack stability starts when you check the avalanche forecast. The makeup of snowpack can be complex. Avalanche experts compile numerous observations, from both professionals and recreationists, in order to create a daily assessment of the avalanche risk. But understanding unstable snow doesn't stop there. Check out the red flags section below for some clues you may be encountering unstable snow.
An avalanche trigger: Most avalanches involving people are triggered by the eventual victim or someone in their group. So, while avalanches can and do naturally occur, your decisions about where you travel and who you travel with have the greatest impact on your safety.
Avalanche terrain: Avalanche terrain is anywhere an avalanche can start, run and stop. Even if where you are traveling seems relatively flat, you could still be in avalanche terrain if the slopes above you are steep and open.
An avalanche consists of three basic parts:
- Avalanche start zone: Most avalanches start at a slope angle of 30 to 45 degrees. The type of slope that poses the greatest risk is one that has few, if any, anchors (trees and other vegetation).
- Avalanche track or path: On some mountainsides these stand out as a white finger of snow that breaks up the tree cover and runs down the hillside.
- Avalanche runout zone: This is where an avalanche stops or comes to rest. Lack of trees and other vegetation is a clue you're in a place where an avalanche may stop.
As a snowshoer you typically will not seek out the steeper slopes that backcountry skiers and snowboarders do, but you may still cross avalanche tracks or runout zones. Always keep a watchful eye on terrain that you're on—as well as steeper terrain above you where an avalanche might begin.
To learn more read Intro to Avalanche Safety.
How to Assess Risks on a Snowshoe Trip
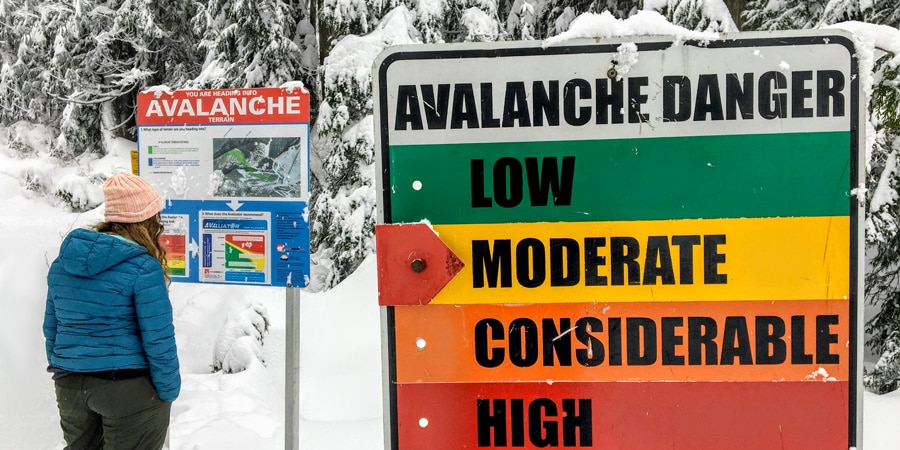
Mitigating avalanche risk on the day of your snowshoe outing requires you to follow several important practices:
Check the avalanche forecast before you leave home: The avalanche forecast changes every day. Avalanche risk depends on weather and the way the snowpack formed with each storm throughout the season. The daily avalanche forecast accounts for overnight developments and boils down the complexities of weather events and snowpack stability into a danger rating and a bottom-line statement. Read those to glean advice about slopes to avoid. Even when the danger is "Low," avalanches can occur. To learn more, read How to Read an Avalanche Forecast.
Keep an eye on surrounding terrain: A great predictor of future slides is past avalanches. Some avalanche paths are easy to spot; others are less obvious. Always keep a watchful eye on terrain above you. It's also worth noting that a runout zone of an avalanche is not an ideal place to stop and rest, even though it might offer nice views of the surrounding area.
Look for terrain traps: A terrain trap is any feature that can worsen the effects of an avalanche if you were to be caught in one. Watch for and avoid these hazards:
- Gullies: Snow sliding downhill can pile up in gullies, burying a victim deeply.
- Cliffs: If a slide sends you over one, the consequences are much worse.
- Sparse tree cover: Tree trunks become potential impact hazards. (Dense tree cover differs because it tells you an area hasn't had a big avalanche in years—all of those trees help anchor snow to a slope.)
Keep an eye and ear out for red flags: Once you've checked the forecast, make sure to keep your eyes open as you travel and look for signs that indicate unstable snow may be present. These "red flag" observations include:
- Recent avalanches: These can be seen in the forecast or on the slopes. They differ from an old avalanche path in that you can see where snow has recently broken loose or sloughed off.
- Large cracks: Shooting cracks indicate snowpack that is breaking up.
- "Whumpfing": This sound indicates that layers of snow are collapsing underneath you.
- Major weather events: If the day's weather brings heavy rainfall or snowfall, strong winds or a big temperature swing, overall avalanche risk increases.
To learn more, read Reducing Risk: How to Recognize Avalanche Terrain.
Know When to Carry Avalanche Rescue Gear
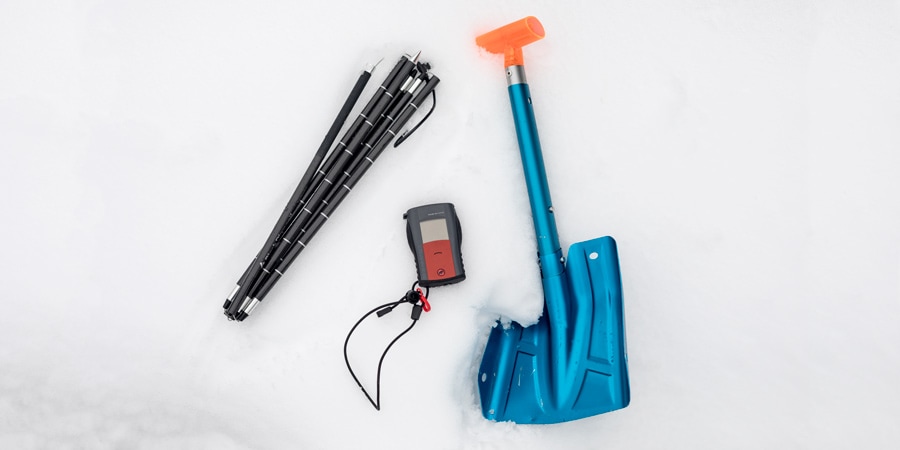
The minute you tromp beyond the boundary of a managed resort, you need to be prepared to perform your own rescue. Each member of your group needs three essentials: an avalanche probe, an avalanche transceiver and a snow shovel. Also be sure you're fully trained—and well-practiced—in how to use your rescue gear. Everyone in your snowshoe group needs to have this level of preparedness. Immediate rescue by the victim's team is the best hope for survival.
To learn more, read Avalanche Safety Gear and Checklist and Avalanche Rescue Overview. You should also sign up for an avalanche rescue course. Consider taking a free online course like Avalanche Aware, a one-hour online program offered through a collaboration between the American Institute for Avalanche Research and Education (AIARE), the Colorado Avalanche Information Center (CAIC) and the NWAC.
Plan Snowshoe Routes to Minimize Risk
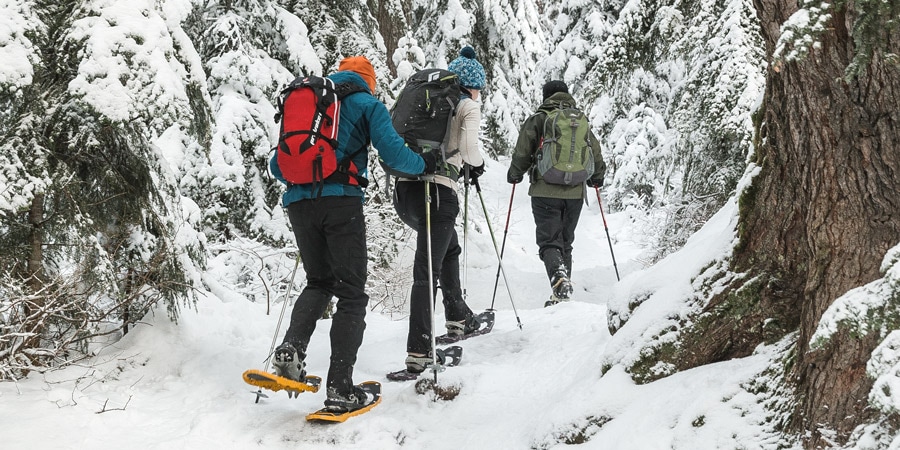
Your goal is to find routes that avoid current avalanche hazards. When planning a winter snowshoe trip, take the following approaches:
Consider resort trails for your first snowshoe outing: Snowshoe trails at a resort or other maintained parks are less likely to have terrain of concern. Resort staff workers monitor conditions carefully—they may also lessen avalanche risk by triggering controlled slides to move unstable snow within the resort.
Research snowshoe routes in guidebooks and online: Trails described as suitable for beginners are a good starting point. Look closely at route descriptions to see if they offer any clues about potential avalanche risk. Park rangers and other land managers can also be great resources to identify trails suitable for beginners.
Use a mapping program to anticipate avalanche terrain: Mapping programs can help you identify avalanche terrain by highlighting steeper slopes and lack of trees. Minimize avalanche risk by selecting routes through lower angled terrain well away from steeper slopes—avoid any slopes that are between 30 and 45 degrees. Winter routes don't follow summer hiking trails, so also look at the slope angle of nearby terrain to allow for route variation.
Consult an online mapping program that shows your intended snowshoe route and has a slope-angle layer. One good option is CalTopo. Note that snowshoe routes can vary from hiking trails because you're not confined to a single path, so also look at the slope angle of terrain that's adjacent to trails.
Being Avalanche Aware Makes Snowshoeing More Fun
While some might suggest that learning all about avalanche safety and taking necessary precautions on your snowshoe outings puts a damper on things, we say it's exactly the opposite: Knowing what you should do beforehand is a great confidence booster. Over time these steps will become second nature, allowing you to focus on the quiet and profound beauty of the outdoors through many contented winters to come.
