I emptied out my backcountry ski pack one evening (something I’m ashamed to admit I very seldom do) and a rainbow of plastic wrappers cascaded onto my living room floor. Energy bars, gels, nut butter pouches, candy bar wrappers—you name it.
Staring at my mini mountain of trash, I couldn’t help but wonder if it would be possible to break up with packaged food. Are single-use snacks necessary to recreate in the mountains?
Aside from the waste I was hoping to reduce, I was also sick of how many preservatives and additives I was consuming in the form of quick energy. Sure, a chocolate bar from the gas station is a convenient and cheap way to fuel up mid-ski tour, but its ingredients don’t make me feel great after the fact.
The convenience factor of grabbing a few packaged snacks on the way to the resort or trailhead is a luxury I knew would be hard to give up. Feeding yourself three healthy meals a day is hard enough to begin with. Tack on the extraordinary amount of energy needed for a day of skiing—in a resort or in the backcountry—and that can feel downright overwhelming. Few of us have enough spare time to spend a few hours a week whipping up homemade almond-butter energy balls.
I wanted to see how much time and energy it would really take. So, I made a commitment to myself: For the course of this entire winter, I would do my best to cut back on the amount of packaged snacks I was eating. It hasn’t been easy. Over the last few months, I’ve practiced reducing waste and eating healthier, all while juggling a life that revolves around outdoor recreation. But it’s possible. Here’s how you can do it, too.
Start with Simple Snacks from Home
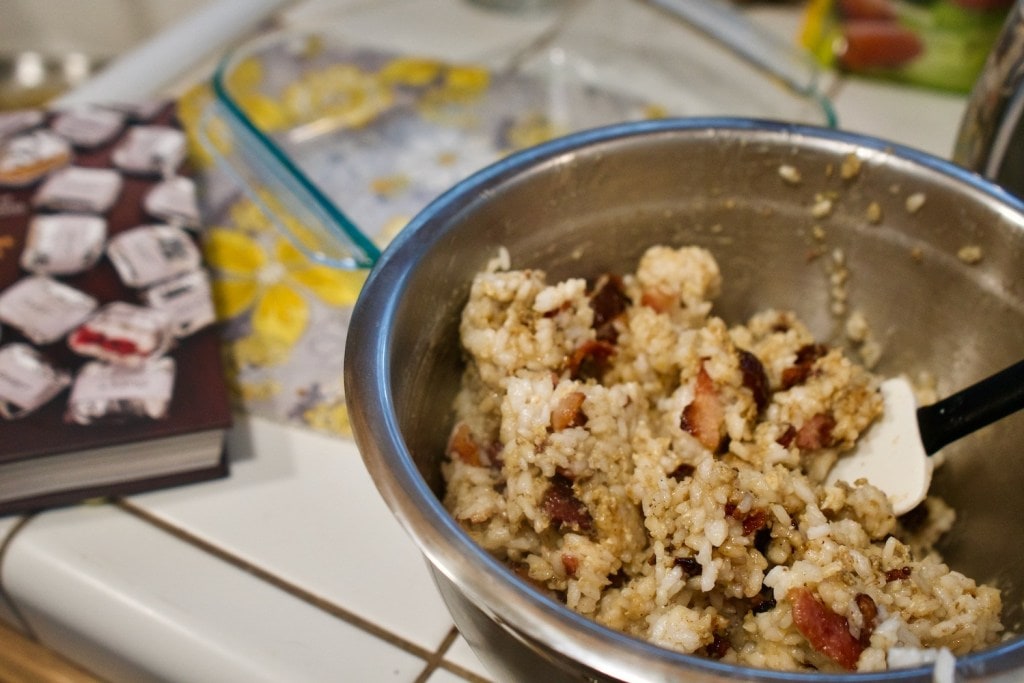
If you have time and are game to experiment, homemade energy bars and cookies taste extra delicious while you’re skiing. Find a few recipes you like, then make them in bulk. One of my favorite things about preparing my own bars was that I wasn’t limited to the flavors I routinely grabbed at my local store. Savory rice balls with bacon have become my new favorite skintrack snack, easy to digest and a savory alternative to traditional energy bars, which tend to be on the sweet side.
If baking isn’t your forte, packing leftovers can be just as good, if not better. I recently went on a ski tour in Grand Teton National Park and feasted on a lunch of leftover paella and chocolate mousse, both stored in small containers that fit into my backpack, much to the shock and then subsequent jealousy of my ski partners. I always try to prepare a little extra dinner the night before a big adventure so I can enjoy it on the go the next day.
If you don’t have time to take something from home, grab a hunk of cheese, crackers or some cured meat and indulge in a little alpine charcuterie. It’s just as convenient as picking up a handful of plastic-wrapped bars from the convenience store but a gazillion times more inspiring.
Pack Smart—and Sustainable
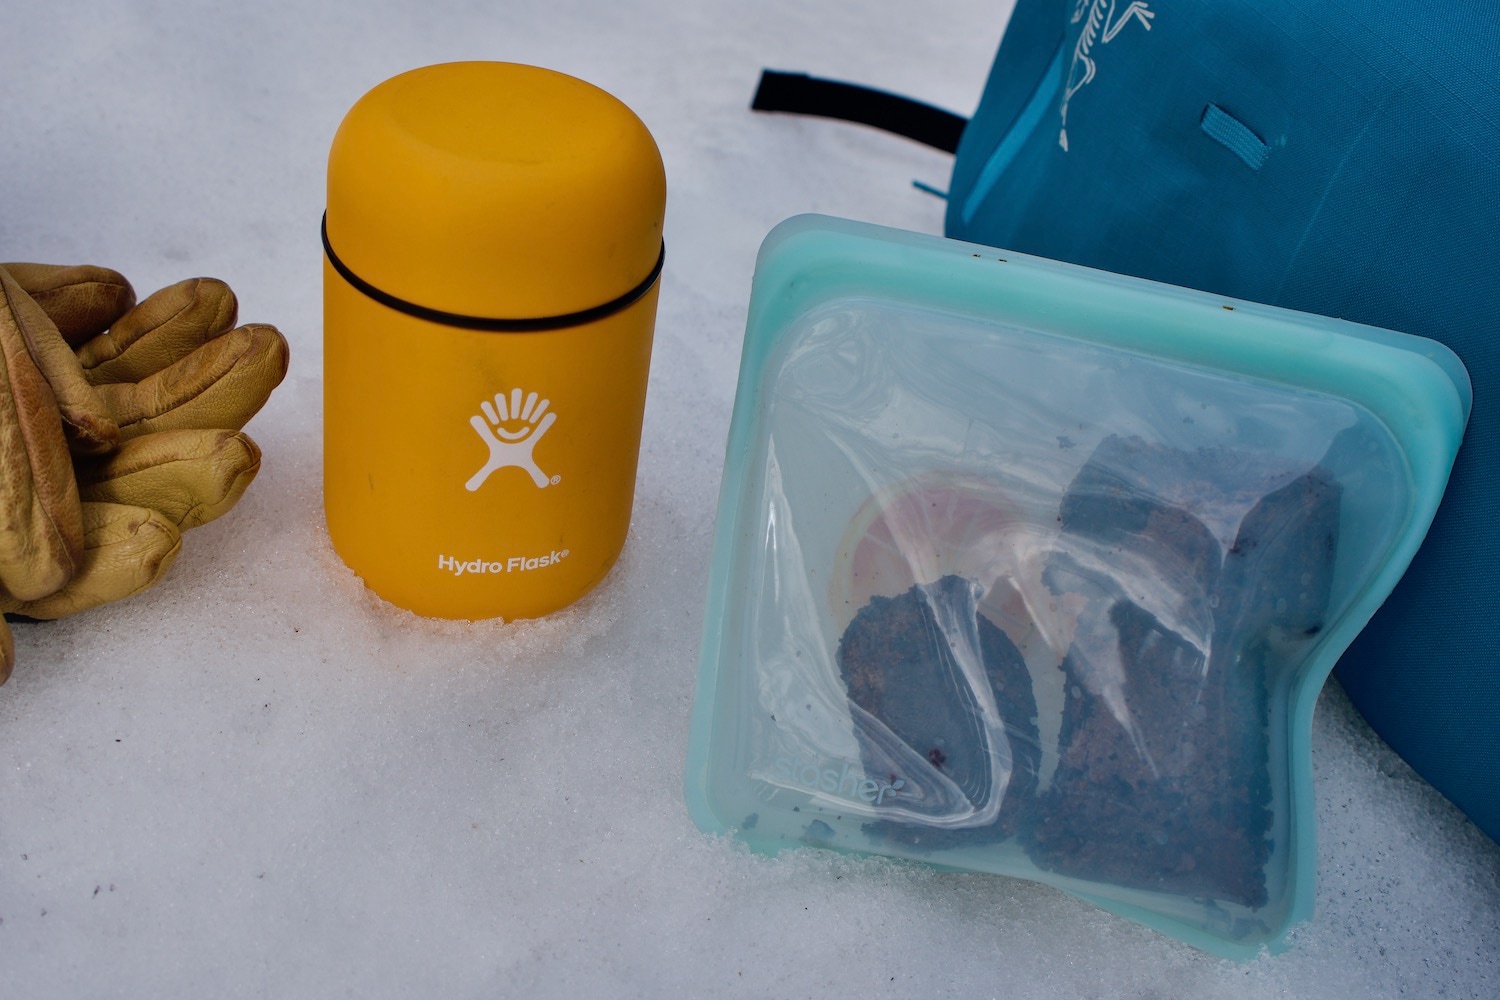
My lunch bag has become a hodgepodge of repurposed vessels and containers since starting this project. Really anything goes here as long as it fits in your pack or pocket and it’s not too heavy. It can be anything including reusable sandwich bags, Bee’s Wrap, lightweight Tupperware or even yogurt, peanut butter or ice cream containers.
For homemade energy bars, I find they fit into pockets and hold their shape best when wrapped tightly. It’s usually worth a little extra weight to tote along some chili or ramen in my Hydro Flask Food Flask, as a warm cup of soup is just about the best thing you could ask for on a cold, windy summit.
I’ve made it through most of the winter without breaking my streak and I have to say, it gets easier as time goes on. What began as a bit of a chore has turned into something I actually look forward to. The best part? My backcountry snacks and lunches have turned from uninspiring calories to gourmet treats I really look forward to. If you want to make some of these treats at home, here are two of my favorite recipes, which are as delicious as they are easy to prepare.

Here’s how to make some ready-for-adventure bars at home. (Photo Credit: Lily Krass)
Recipe: Crispy Nut Butter Bars
Ingredients
1 cup old-fashioned oats
½ cup brown rice crisps
1 cup shredded unsweetened coconut
¼ cup ground almonds or oats
3/4 cup of almond or peanut butter
1/3 cup honey
½ teaspoon salt
1 teaspoon vanilla
For the optional topping:
¼ cup dark chocolate chips
2 teaspoons coconut oil
Directions
1. Mix together oats, rice crisps, coconut, ground almonds and salt.
2. In a small saucepan (or in the microwave), melt the nut butter, honey and vanilla on low until you can stir it evenly.
3. Pour the nut butter mixture over the dry ingredients and mix well with a spoon.
Add more nut butter or oats depending on the consistency. The mixture should stick together, but be moist enough that you can press it into a pan.
4. Press the mixture tightly into an 8×8-inch pan and place it in the fridge. The tighter you pack the mixture, the better shape your granola bars will hold.
5. Add chocolate chips and coconut oil to a bowl and microwave on low for a few rounds until melted.
6. Pour chocolate mixture over nut butter bars and place back in the fridge for at least 30 minutes.
7. Cut into whatever size granola bars you prefer. They can be kept in the fridge for up to two weeks.
Recipe: Bacon and Date Rice Balls
This recipe has been adapted from the Feed Zone Portables cookbook. The book was a big inspiration for me this winter and I highly recommend picking up a copy if you plan to do more of your own food prep for outdoor activities.
Ingredients
3 cups sushi or medium-grain rice (other types of rice like Basmati or Jasmine will not work)
4 cups water
8 ounces bacon, diced
8–10 pitted dates, diced
3 eggs (optional)
1 teaspoon salt
Directions
1. Put the rice and salt in a rice cooker or cook it on a stovetop according to directions.
2. Heat a skillet to medium heat and add the bacon.
3. After the grease from the bacon starts to appear, add the dates and cook until everything is browned. Depending on your bacon, you may need to drain some of the fat.
4. Make a well in the center of the skillet and crack the eggs into the pan.
5. Scramble the eggs and stir everything together.
6. Once the rice is cooked, place it in a bowl with the bacon, dates and eggs. Stir well.
7. Add salt to taste before pressing the contents into an 8×8-inch pan and placing in the fridge for at least one hour.
8. Cut out rice bars into whatever size you prefer. These are best when eaten within three to five days.
What’s your favorite DIY pocket snack? Tell us in the comments.
