One of the most intimidating things about starting to lead outside is all of the gear involved. There are a lot of systems to learn and a lot of gear needed to manage those systems safely.
Here’s some advice on how to build both a sport and trad rack. And remember, learning to lead should only be undertaken with appropriate supervision and guidance from a trained professional (like an accredited mountain guide).
1. Start with sport.
There are two kinds of outdoor lead climbing: sport, where you clip to bolts already drilled into the rock; and traditional (trad) lead climbing, where you use removable protection like spring-loaded camming devices (aka cams) and stoppers. You can start leading either trad or sport depending on what is available in your area. Sport is the easiest because you don’t have to worry about where to place gear and you don’t need to invest in as much of your own gear to get started.

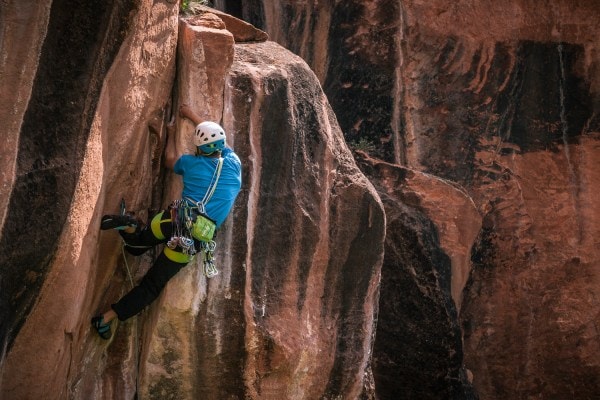
Photo by James Harnois of Anthony Johnson.
To clip bolts, you’ll need all your usual gear for outdoor climbing plus sport climbing quickdraws. Buy 10 or 12 ’draws and you’ll have a sport “rack” to start leading outdoors. If you are climbing something where you need to rappel down rather than walk off the top, you will also need a tether and a back-up prusik cord for rappel. Learn more: Quickdraws, Sewn Slings and Bulk Webbing/Cord: How to Choose.
2. Move into trad.
Plenty of climbers do sport routes for their entire climbing careers and never venture into trad. But, if what you love about climbing is doing long, multi-pitch routes that get you up high, trad climbing is the way to go—there are just far more multi-pitch trad routes than there are sport ones. Trad climbing also allows you to interact with the environment with minimal disturbance: You plug your cams into the crack but take them with you as you go, leaving no trace behind.

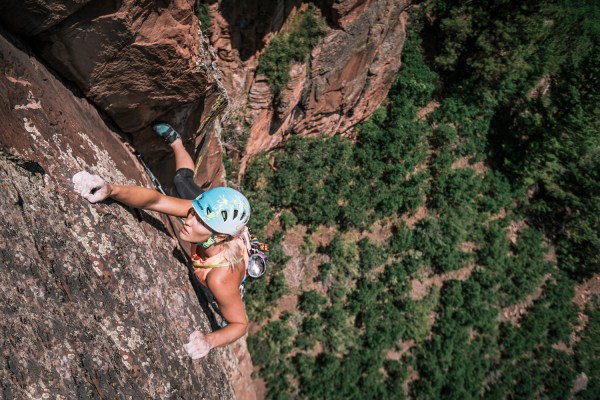
Photo by James Harnois of Alyse Dietel.
To get started trad lead climbing, it’s great to go with a more experienced friend. Share their rack on a climb before buying your own trad rack. If that’s not possible, check out the next section for how to build your rack.
3. Build your trad rack.
What you need in your rack will depend partly on the area where you’re climbing. Smith Rock, for example, requires a lot more stoppers than other places, whereas the Gunks calls for tricams in addition to your standard set of cams. Check out climbing guidebooks for your area for advice on what gear you will need. When in doubt, err on the side of bringing too much gear rather than too little while you are still learning to lead.
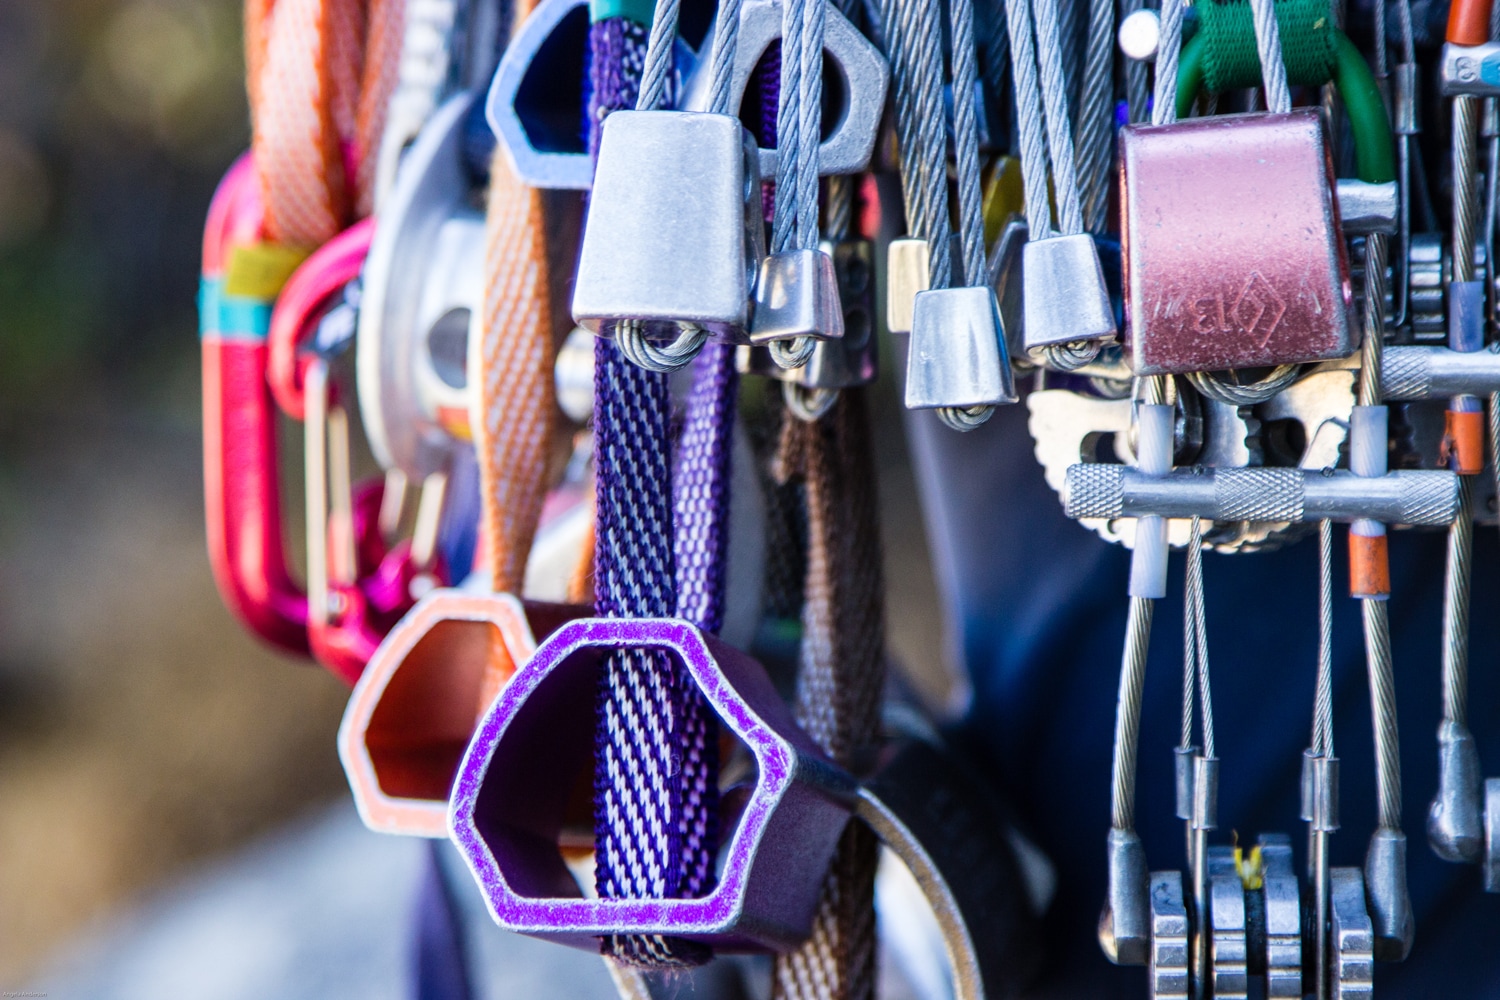
While the gear you need will depend partly on your rock type, a standard single rack consists of the following:
- 1 set of stoppers #1-13
- 1 each of cam sizes .4, .5, .75, 1, 2, and 3
- Approximately 8 alpine draws (two carabiners on a shoulder-length sling)
To turn your single rack into a double rack, invest in the following:
- Another set of cam sizes .4-3
- 4 more alpine draws
- An assortment of smaller cam sizes from 000 to .3
- One large #4 cam
This should have you all set for most climbing out there, though, as I said, it will depend a little bit on your area and your interests (off-width climbing, for example, calls for more large cam sizes like #4 and #5). Experiment and see what works for you, and if you don’t have the cash to invest in a full double-rack right away, that’s okay. Slowly build your own gear and learn what you like and what gear you need to meet your goals.
Learn more:
Active Rock Climbing Protection: How to Choose
Passive Rock Climbing Protection: How to Choose
Shop climbing protection at REI.com.
This does not constitute formal instruction in climbing. Climbing is a dangerous activity and you undertake it at your own risk.
